
F-14 Tomcat Finished Build
/Have a look at my video below of the F-14 Tomcat Finished Build
Have a look at my video below of the F-14 Tomcat Finished Build
look out for the final reveal on the 1/32 Revell BEa Hawk Red arrow, coming very soon
Here are my build shots from start to finish enjoy

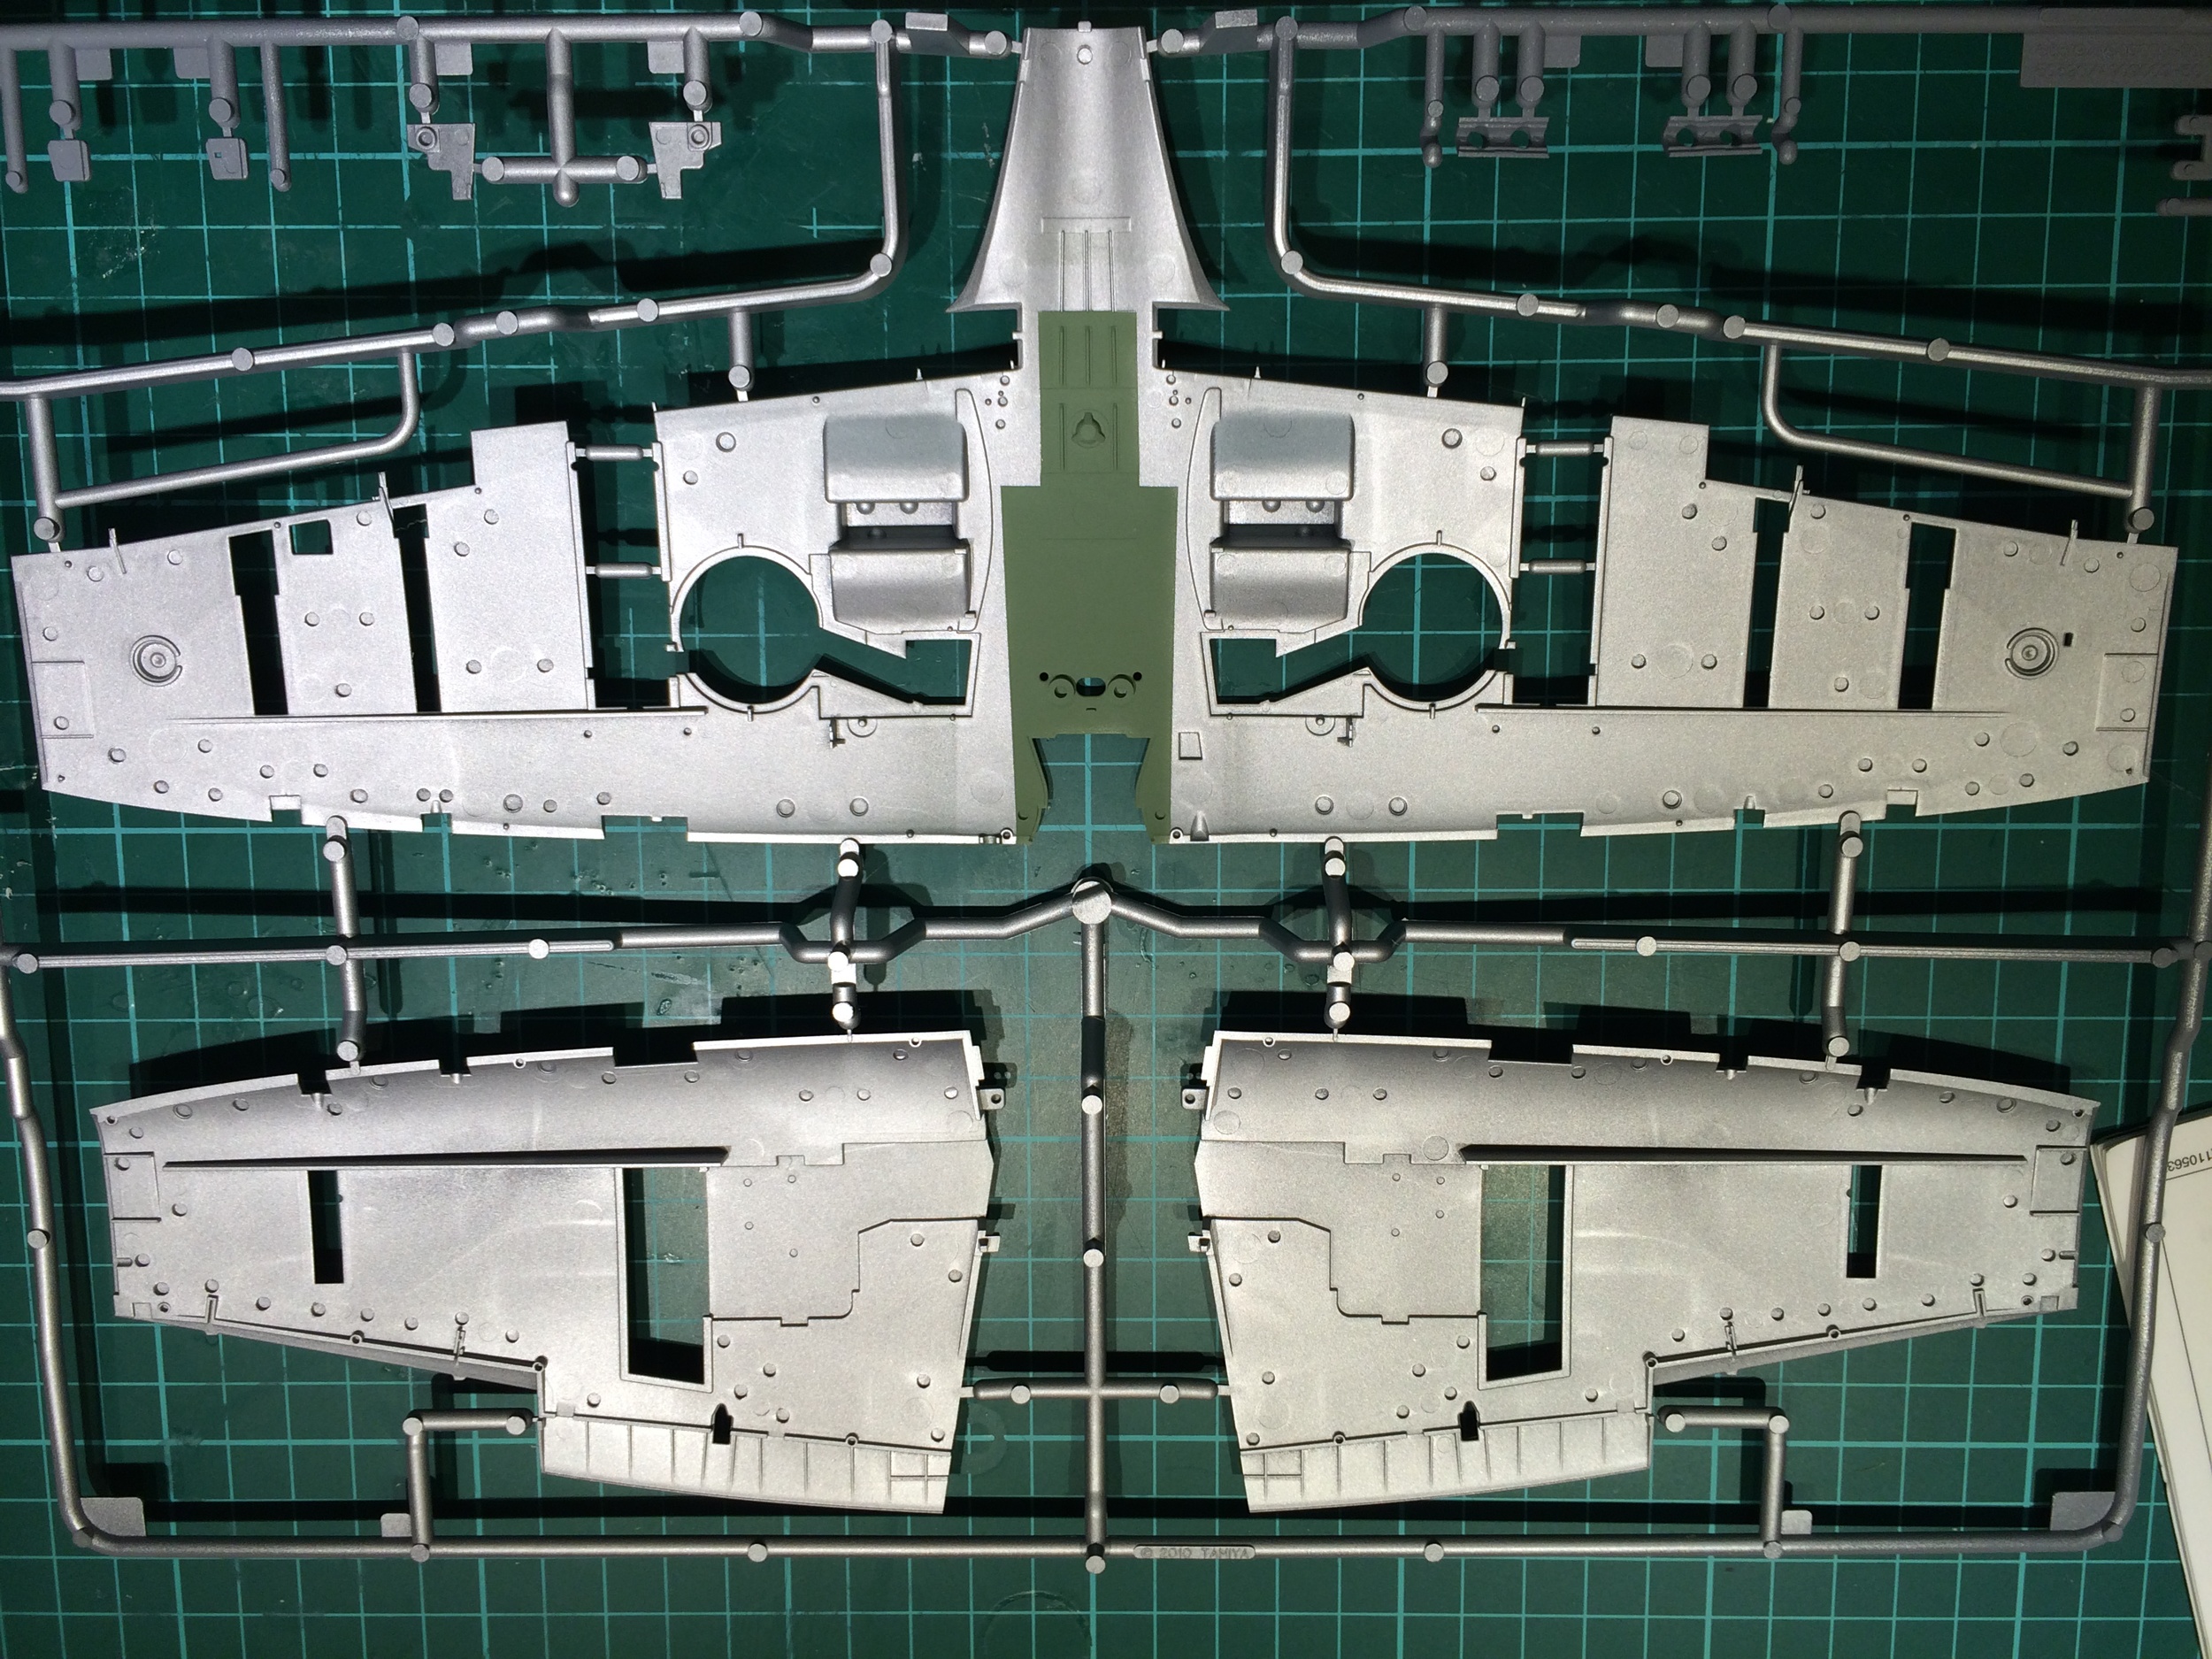
Kit is presented well, can not wait to start
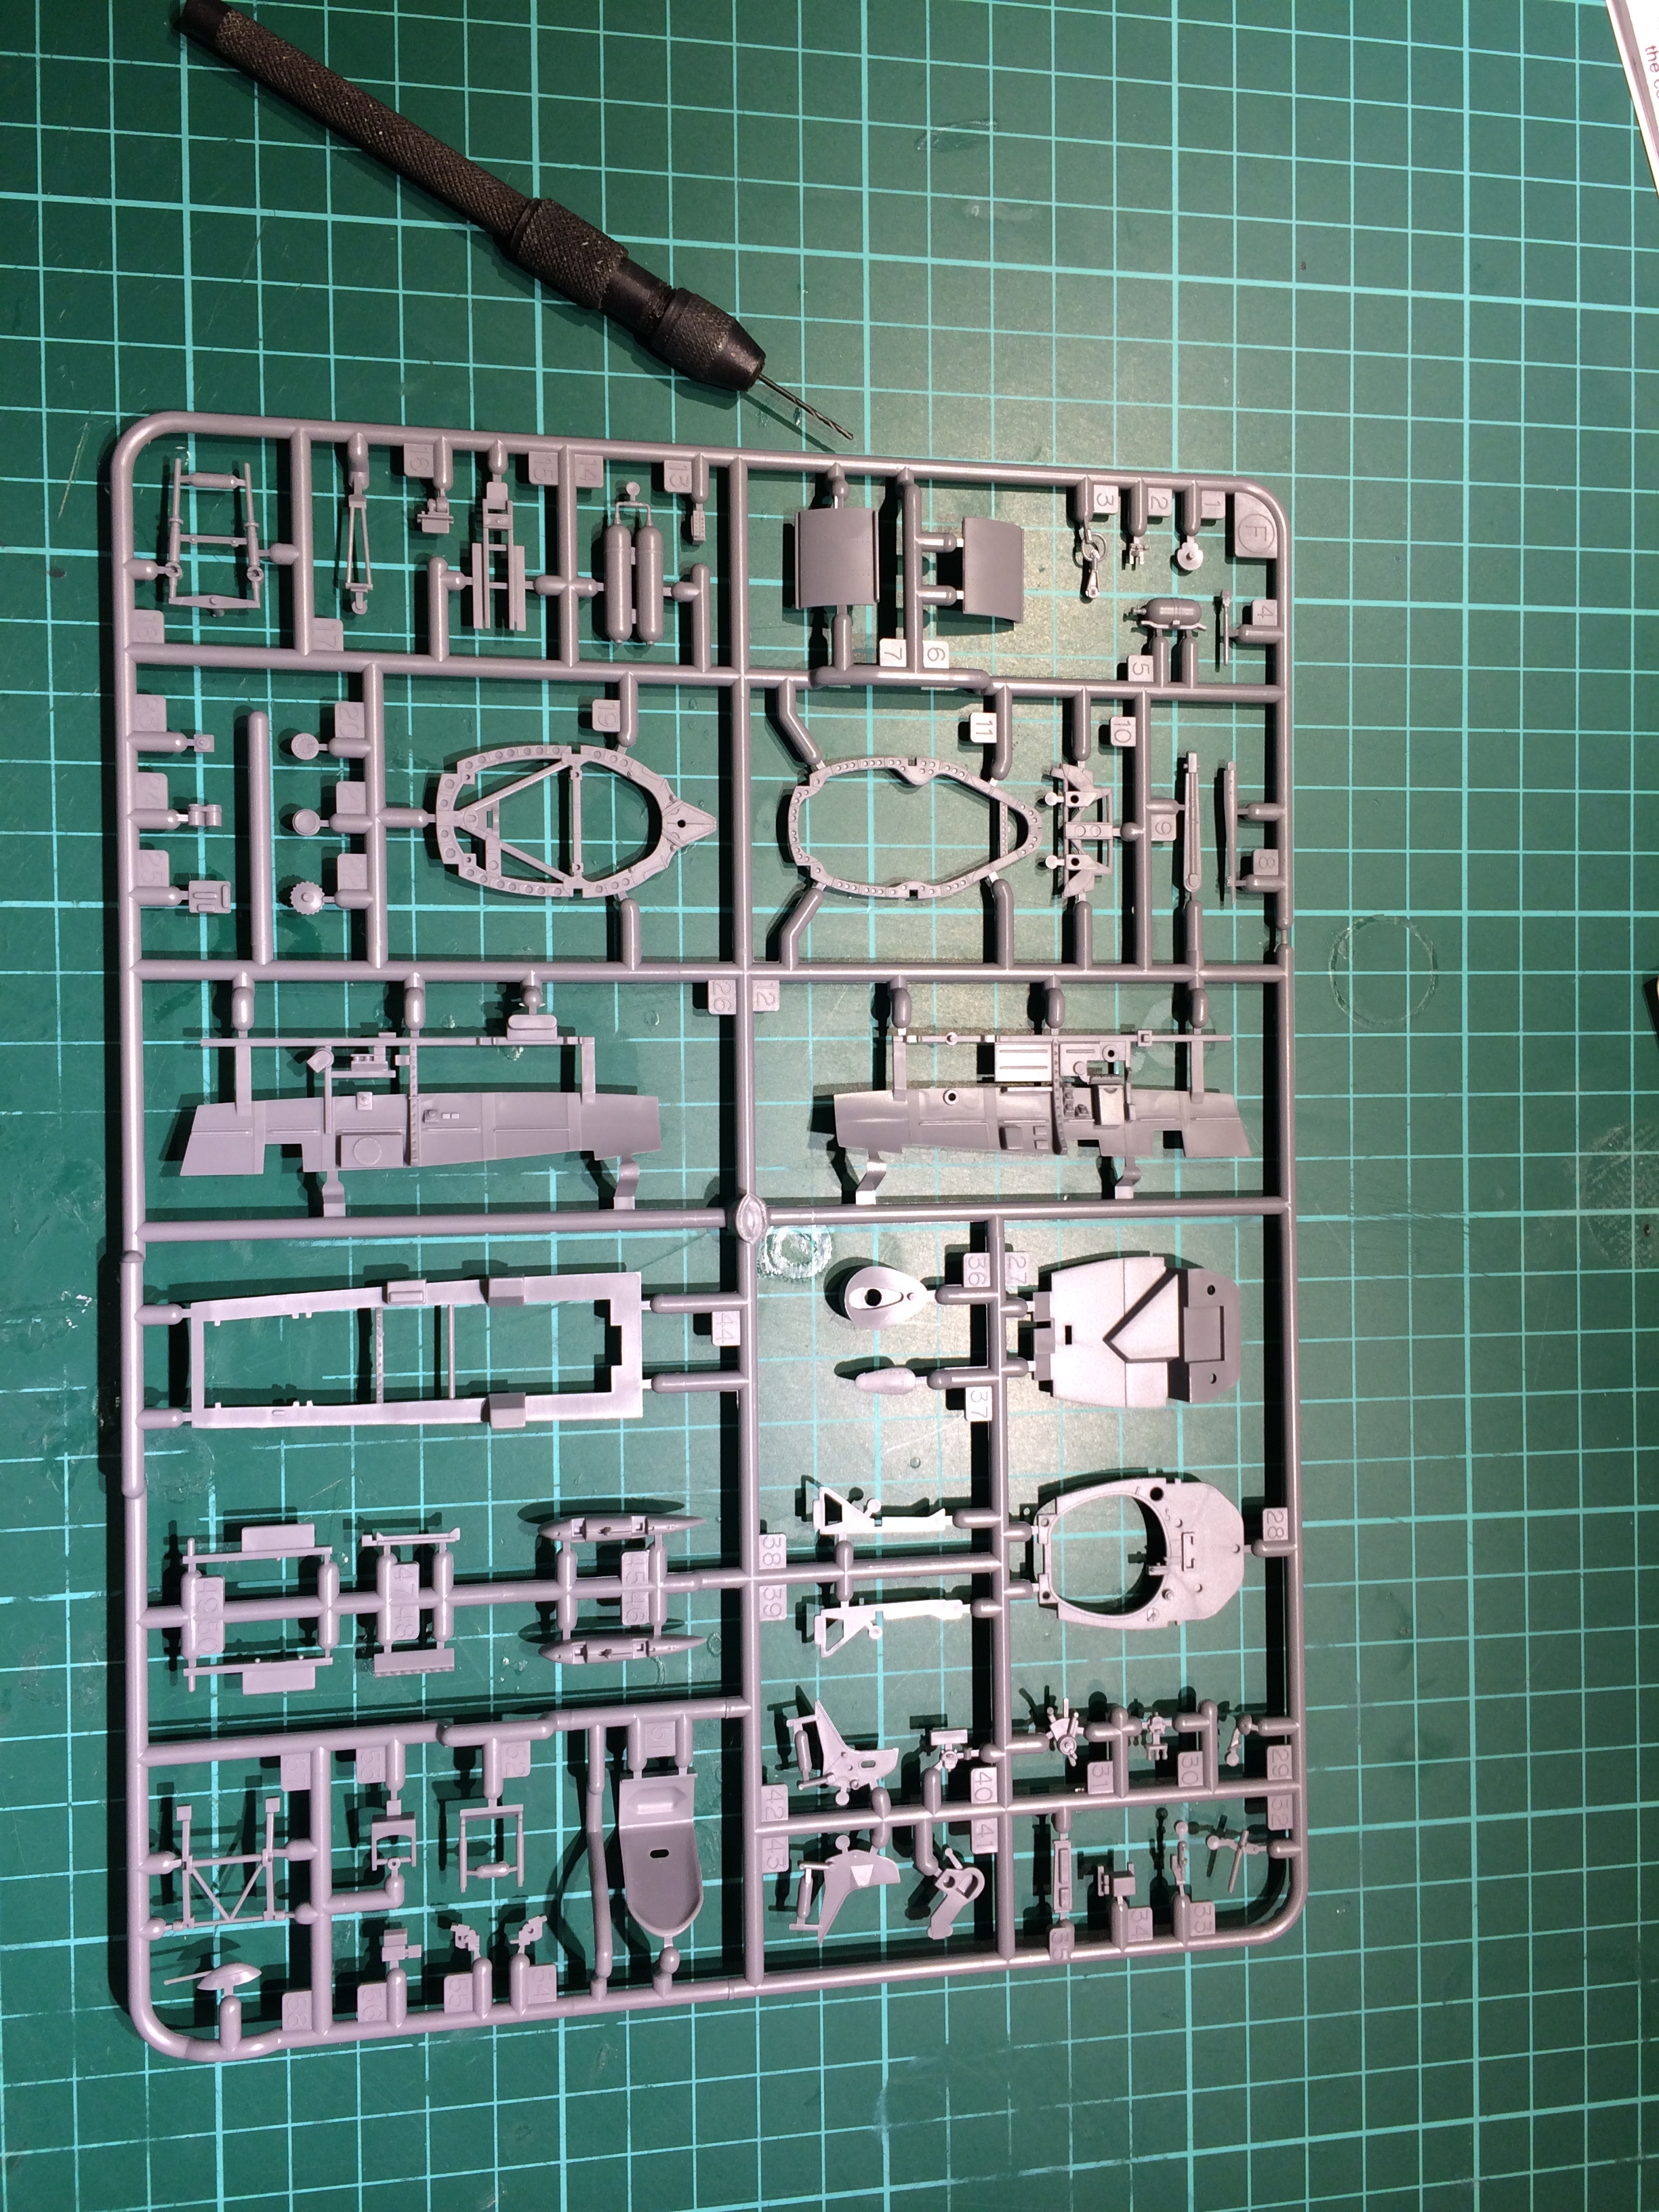
I decided to drill out the bulk head holes, as later I need to pass wires through the bulk head.
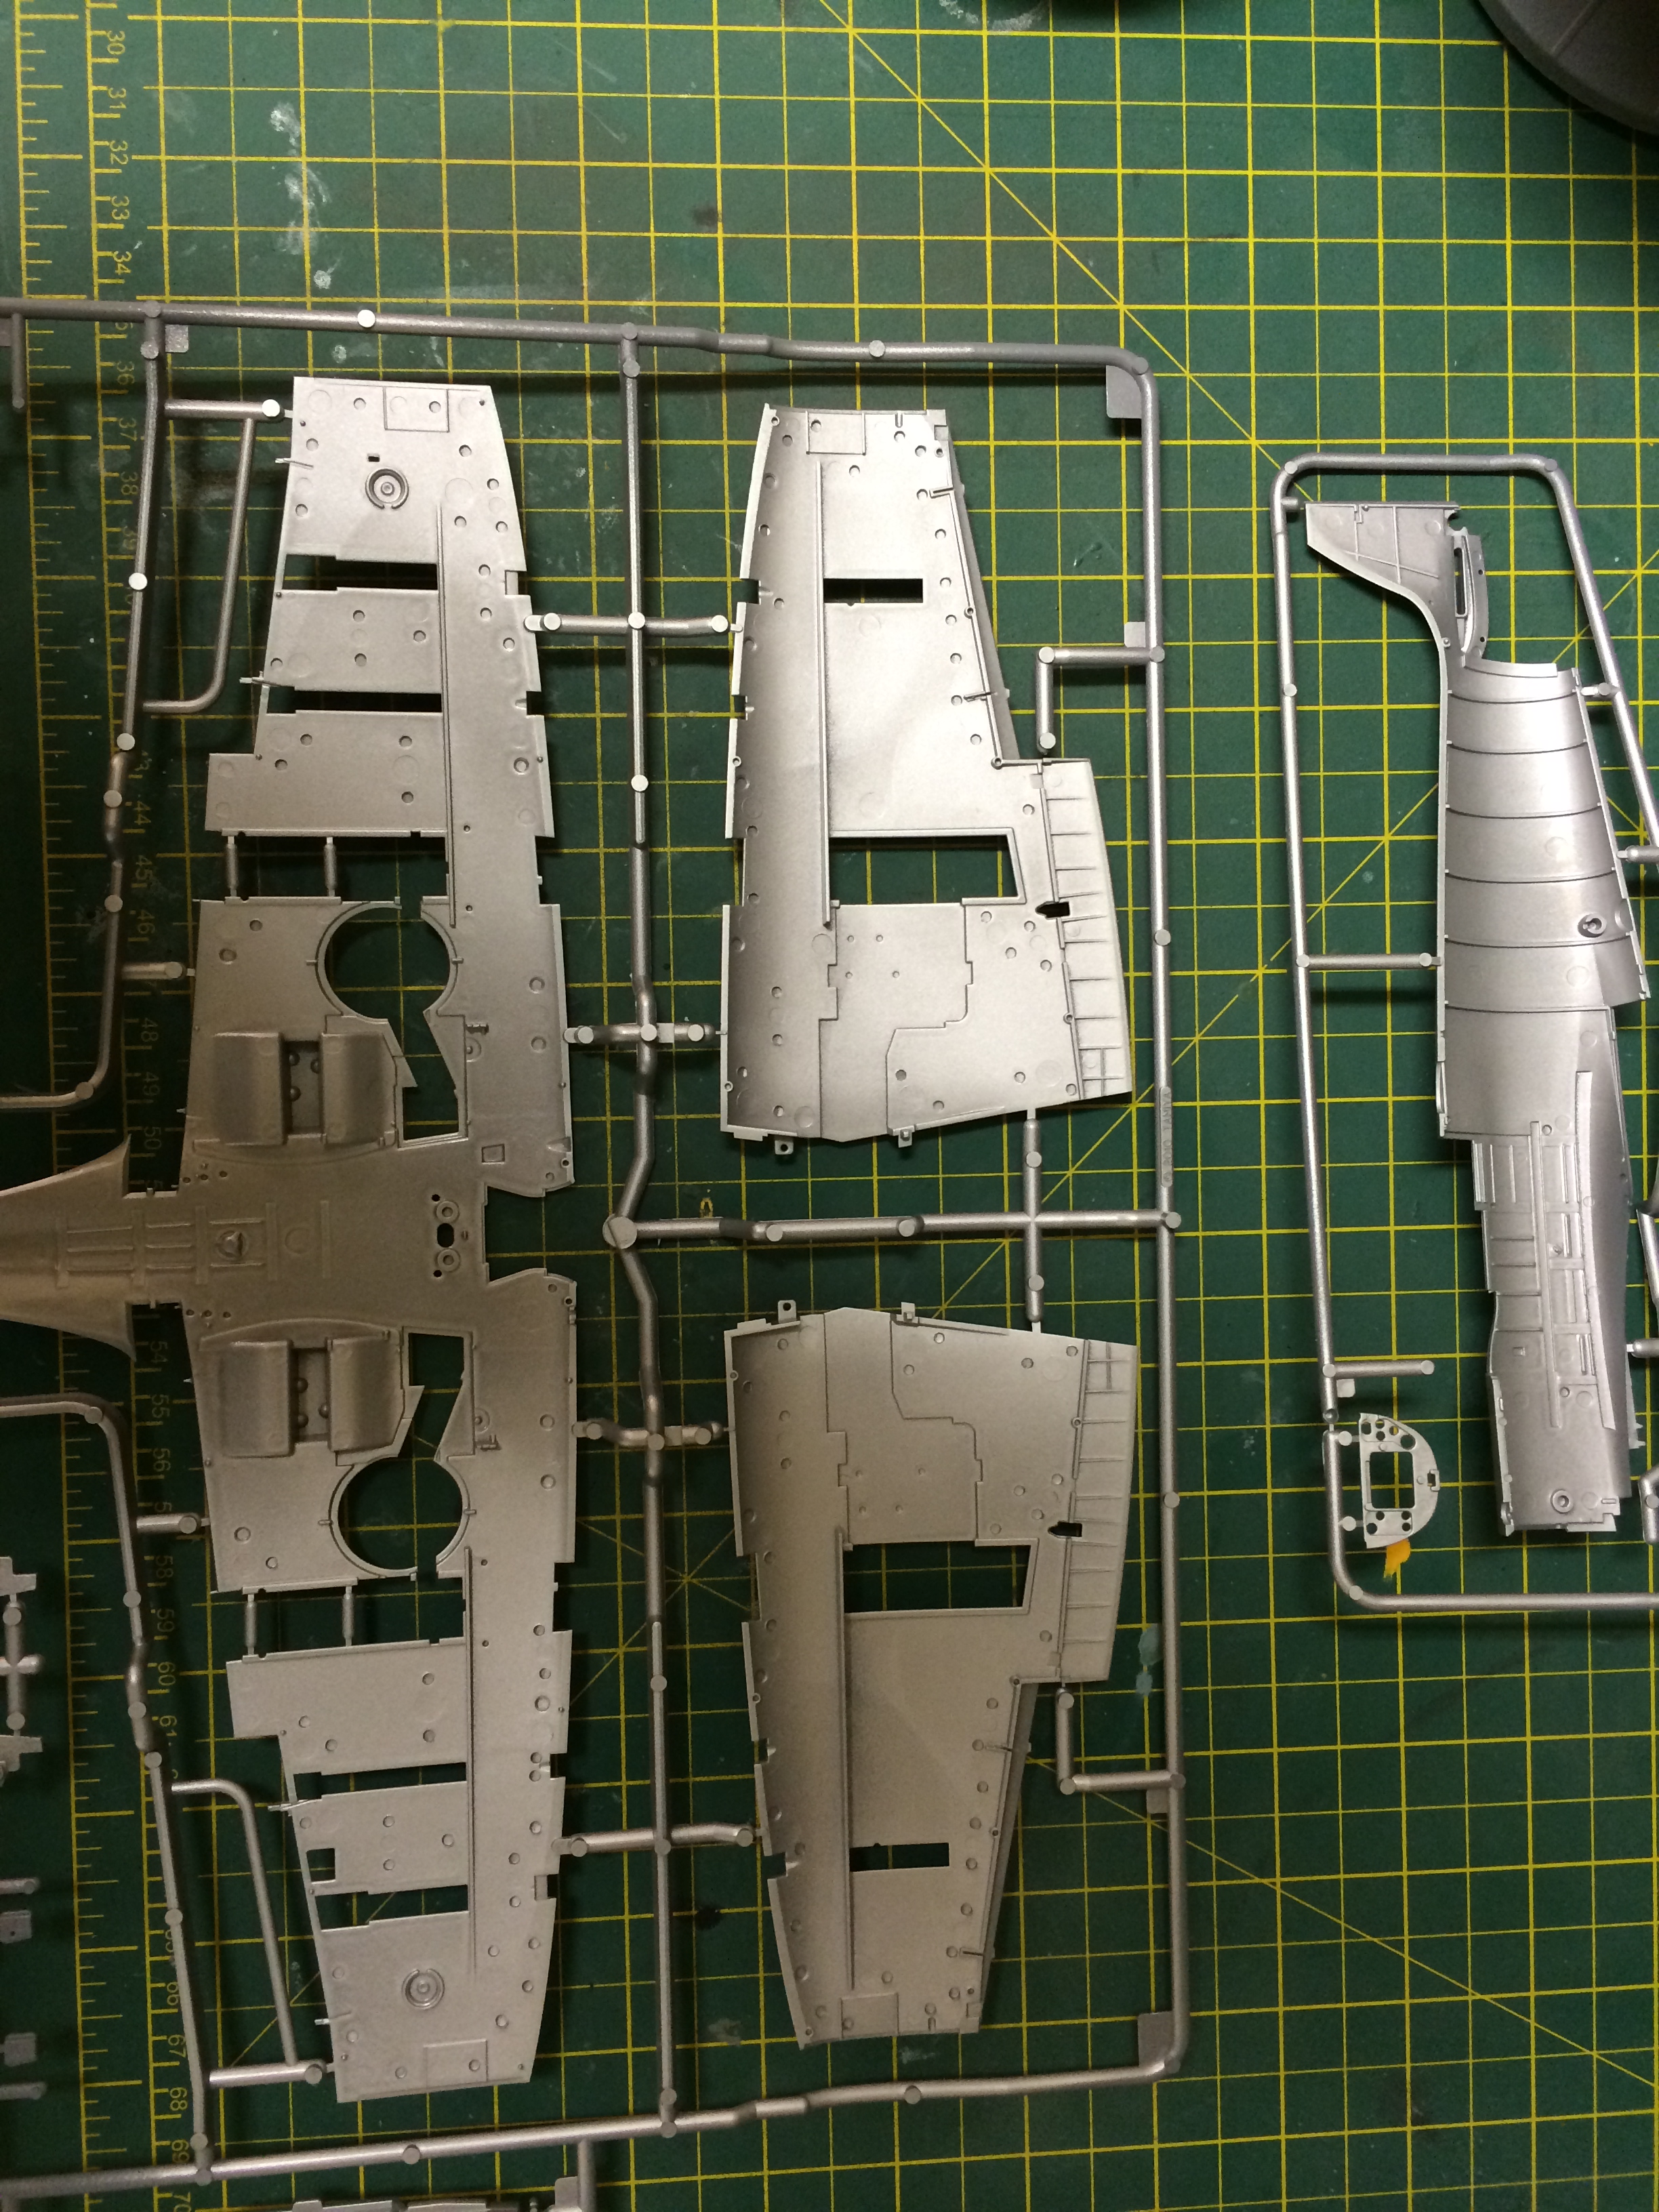
I undercoated a lot of the parts with Tamiya bear metal straight from the can.
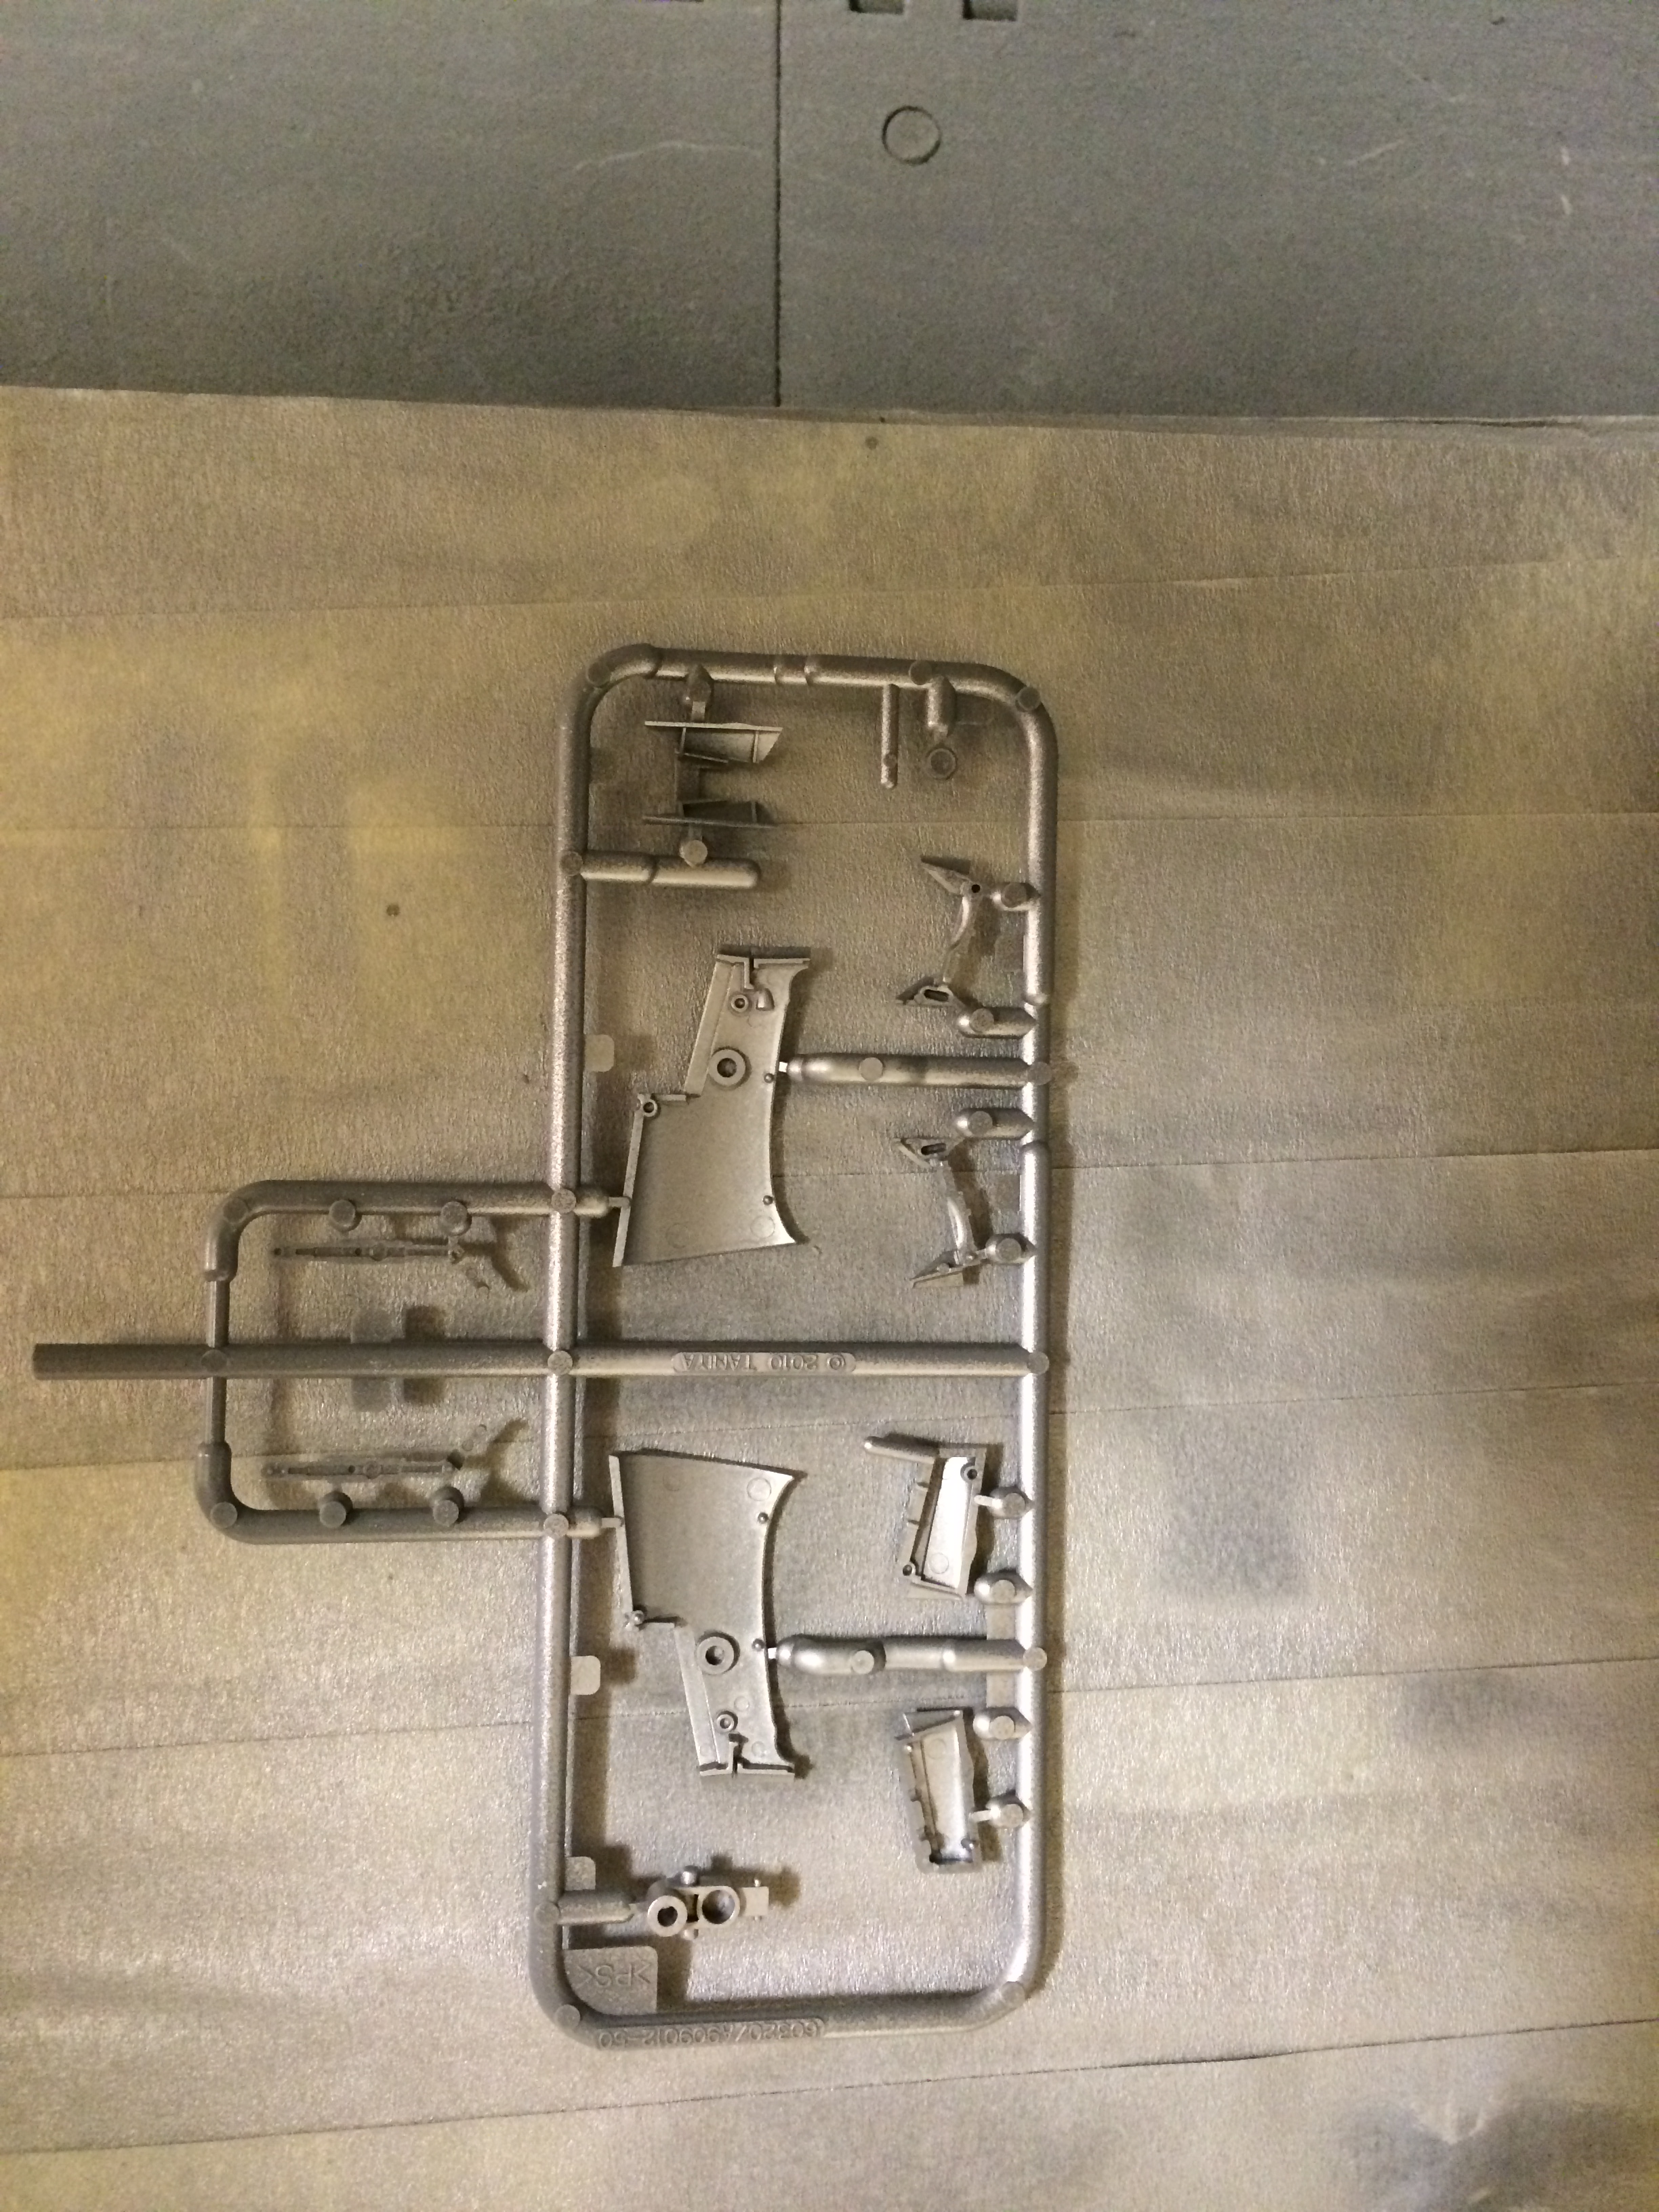
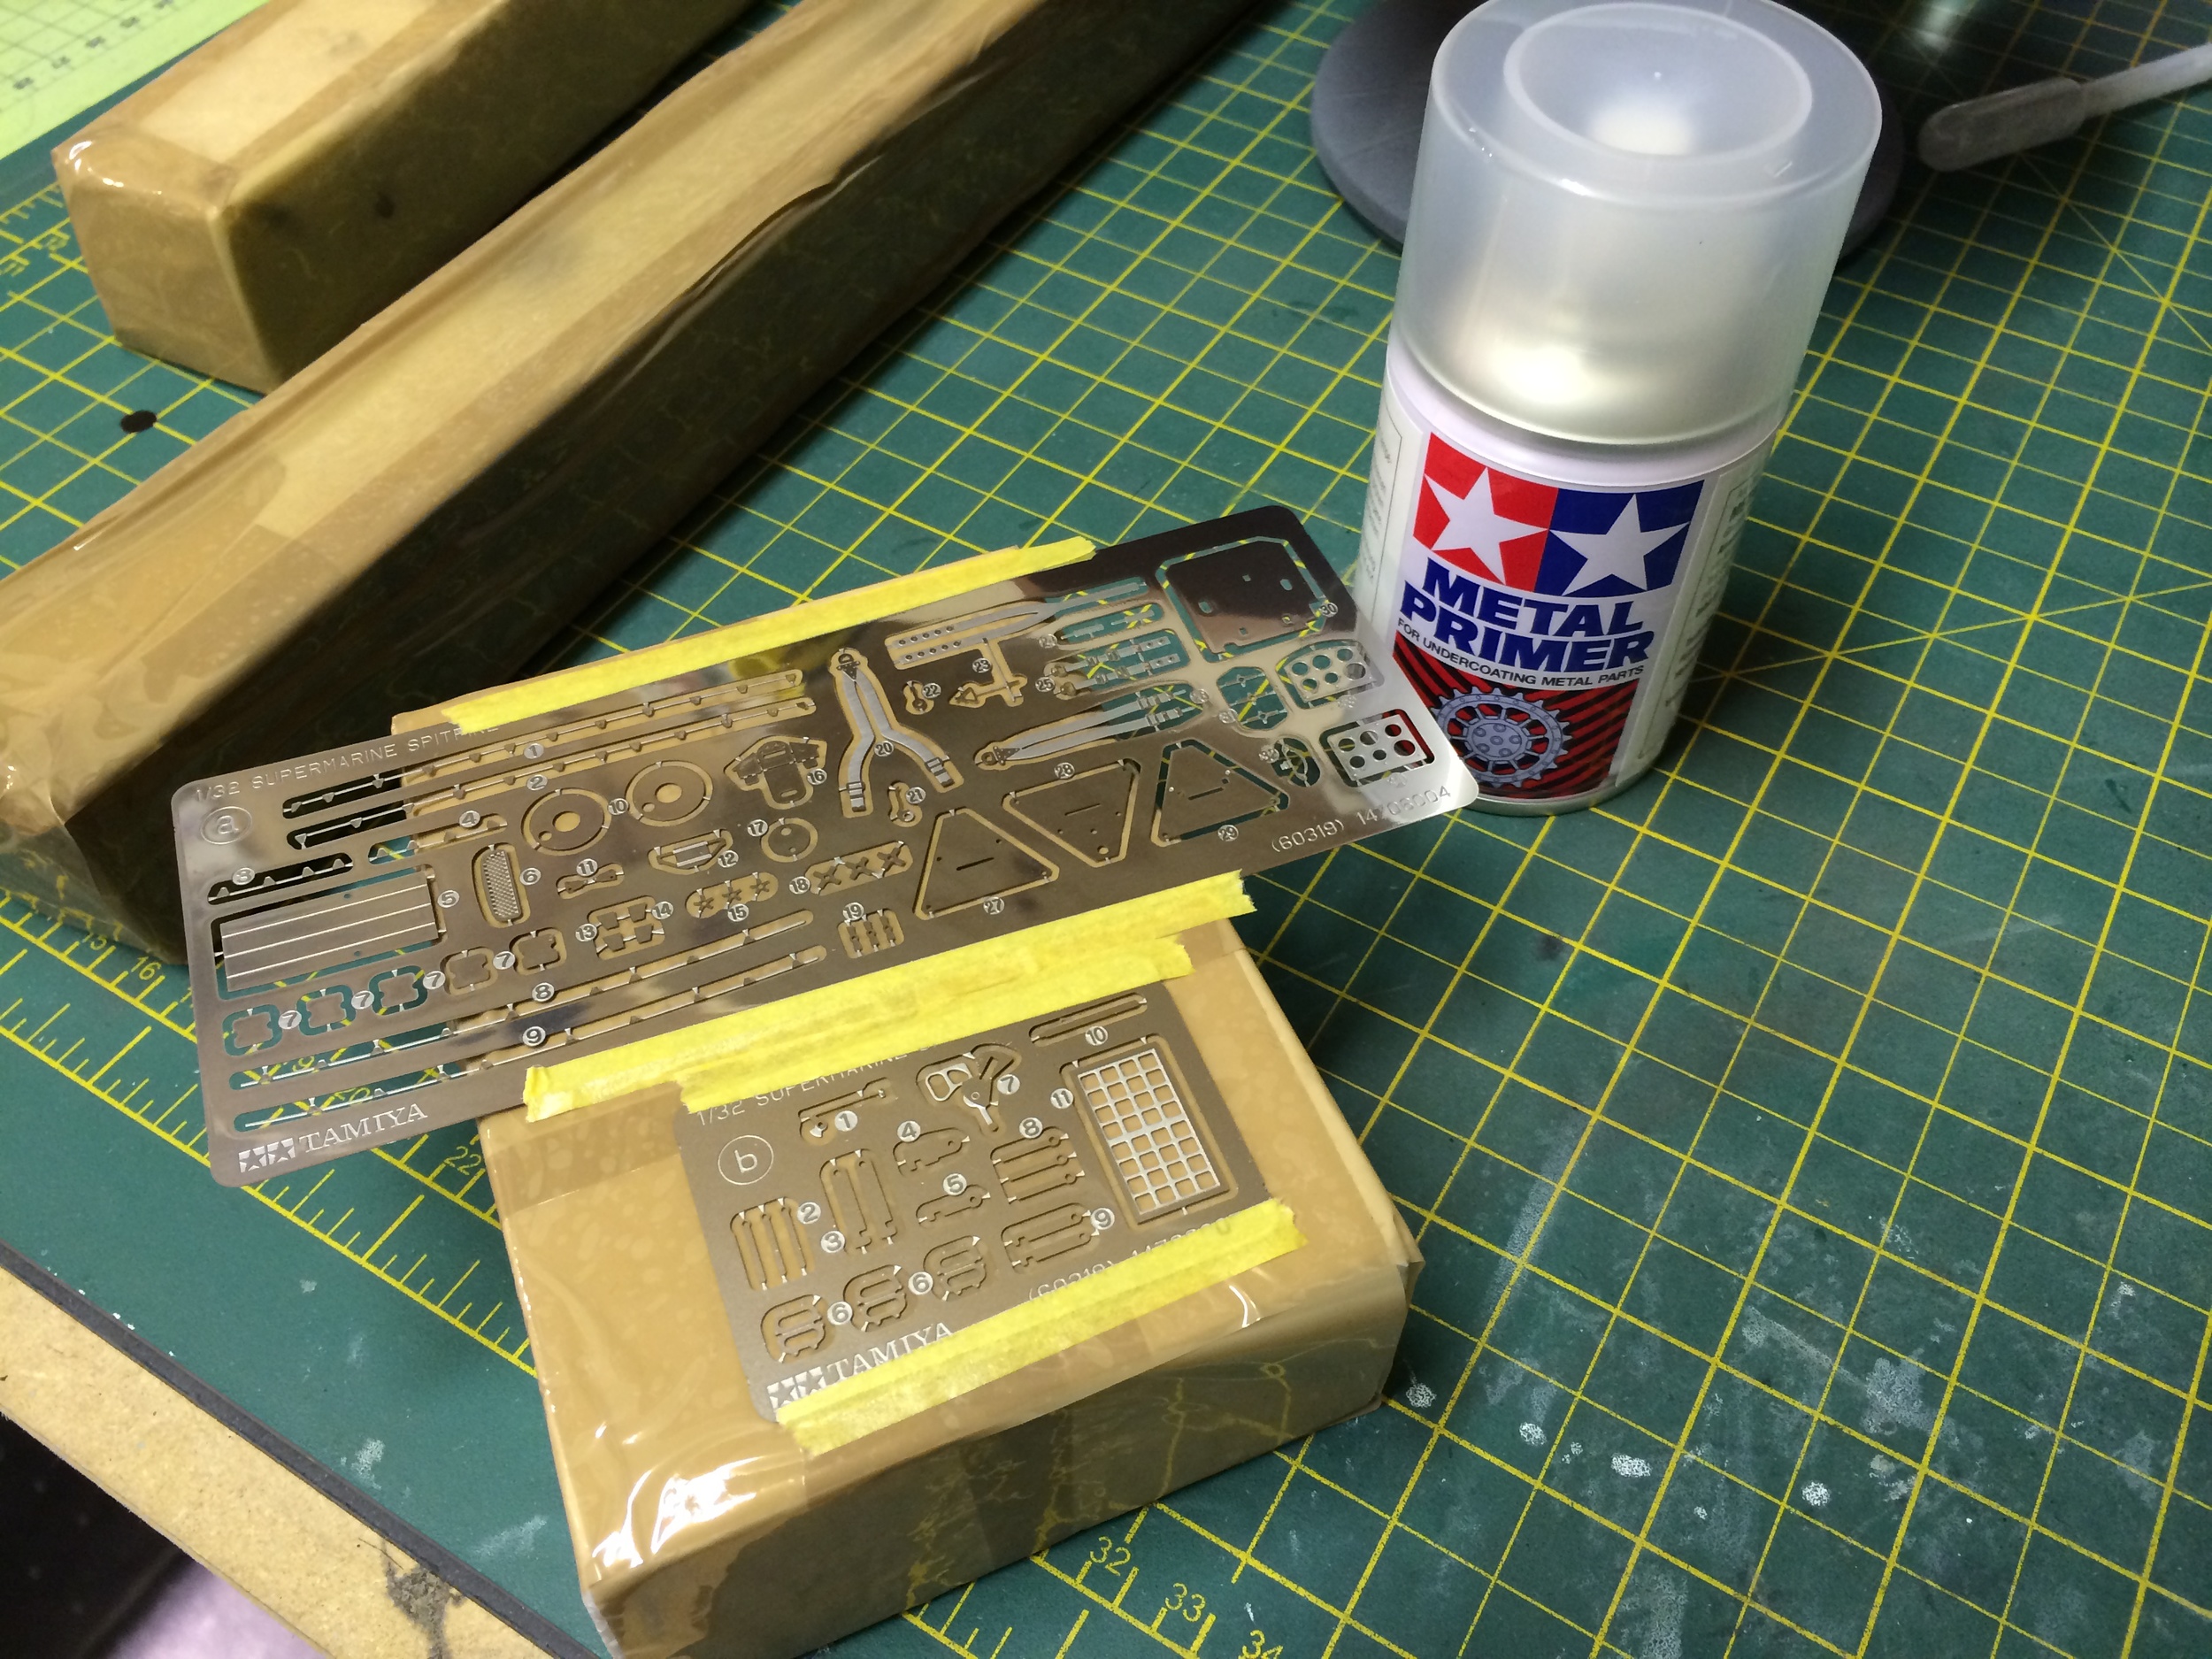
All the bear metal parts were treated 1st with Tamyia metal primer
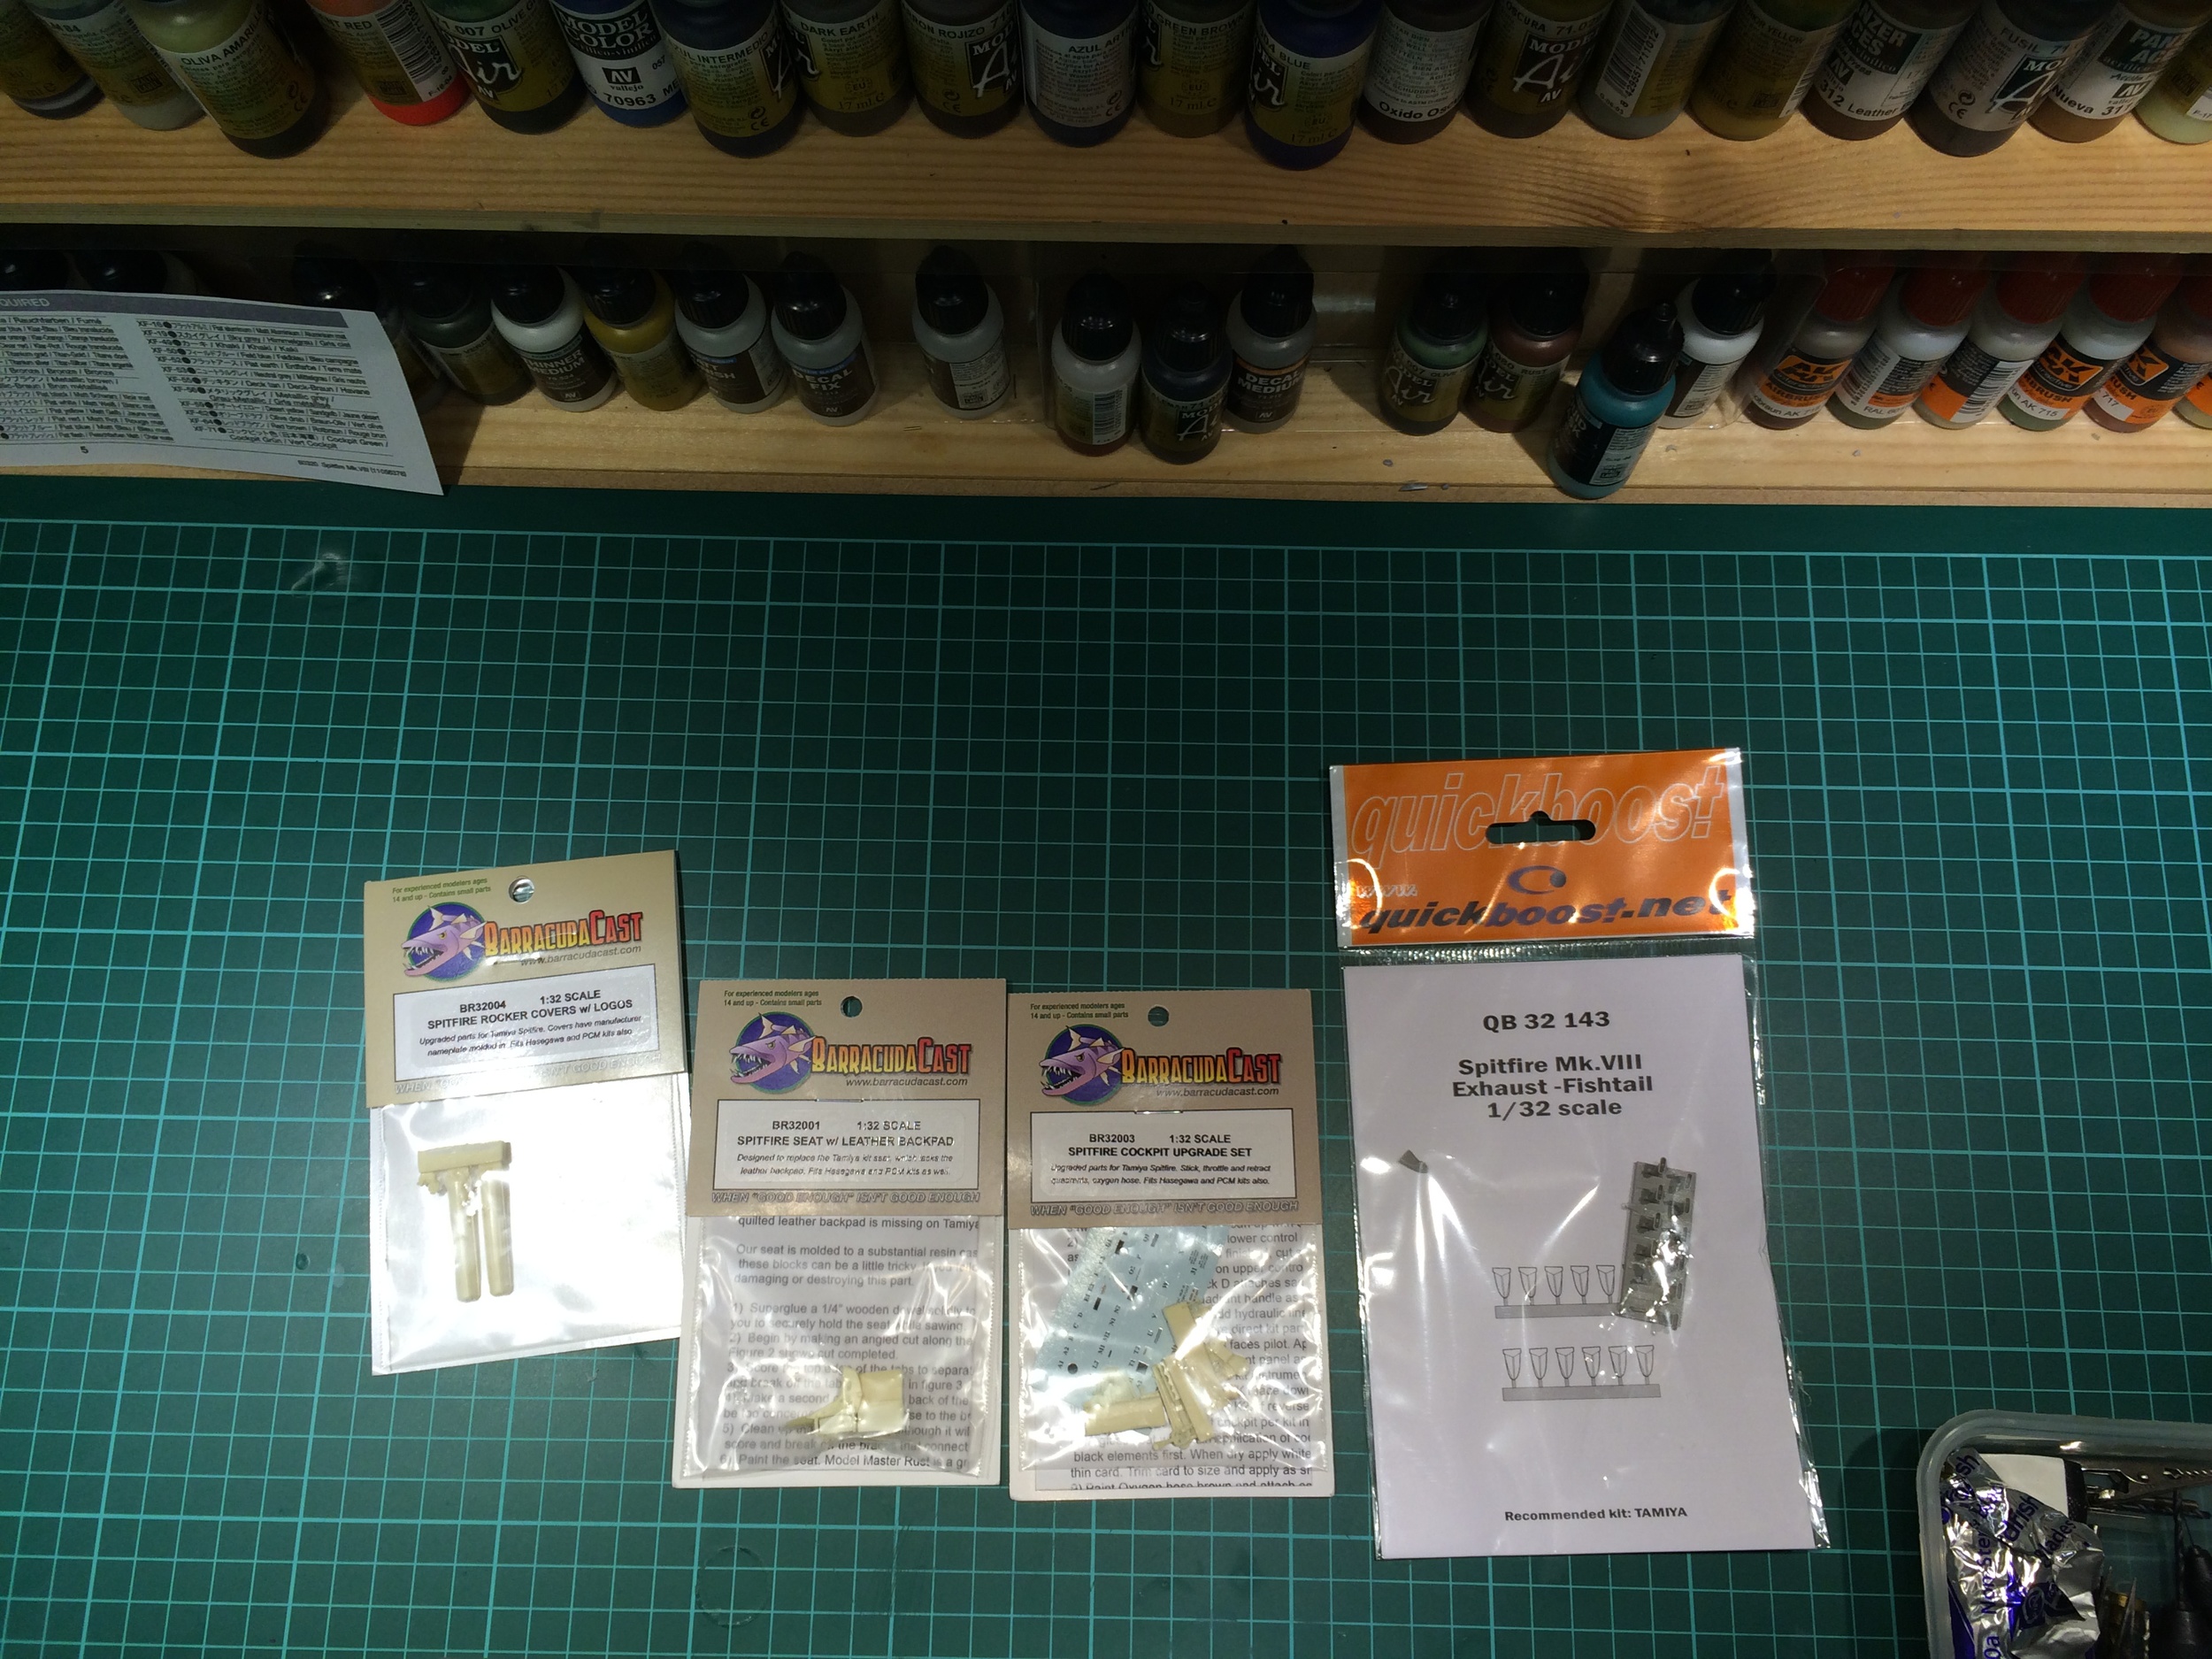
Extra detail from Barracuda and quick boost
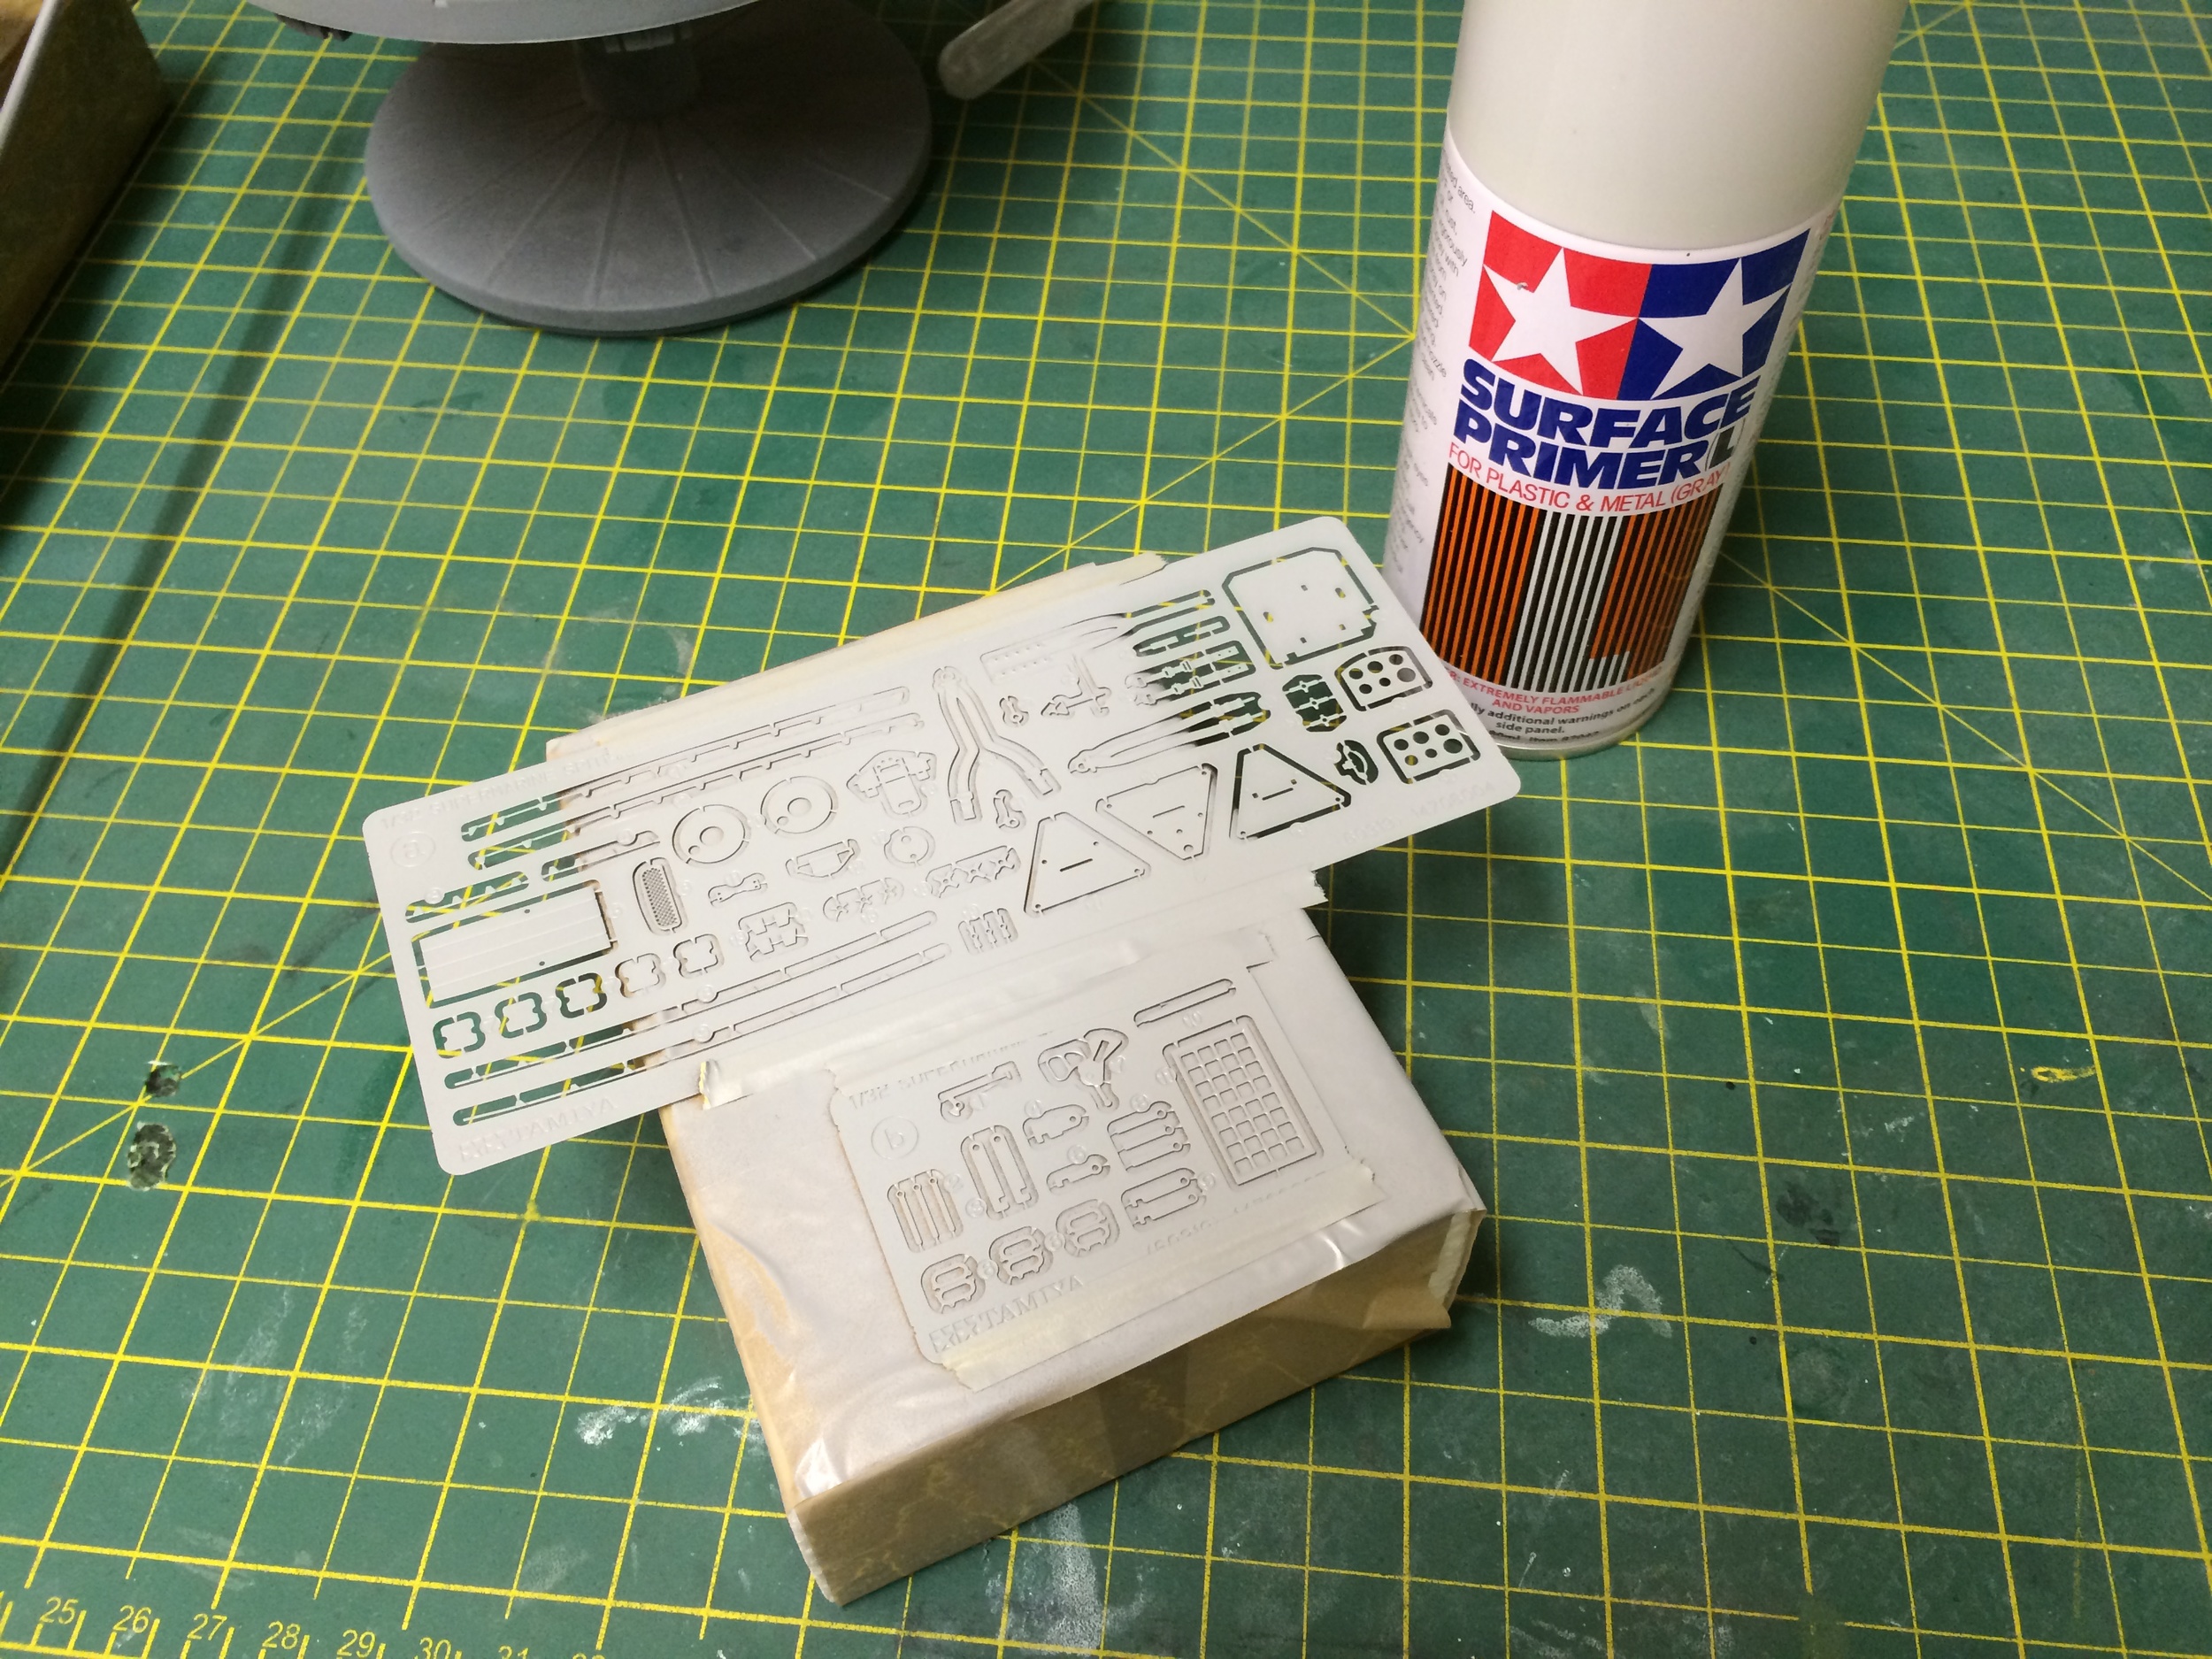
Metal parts now primed
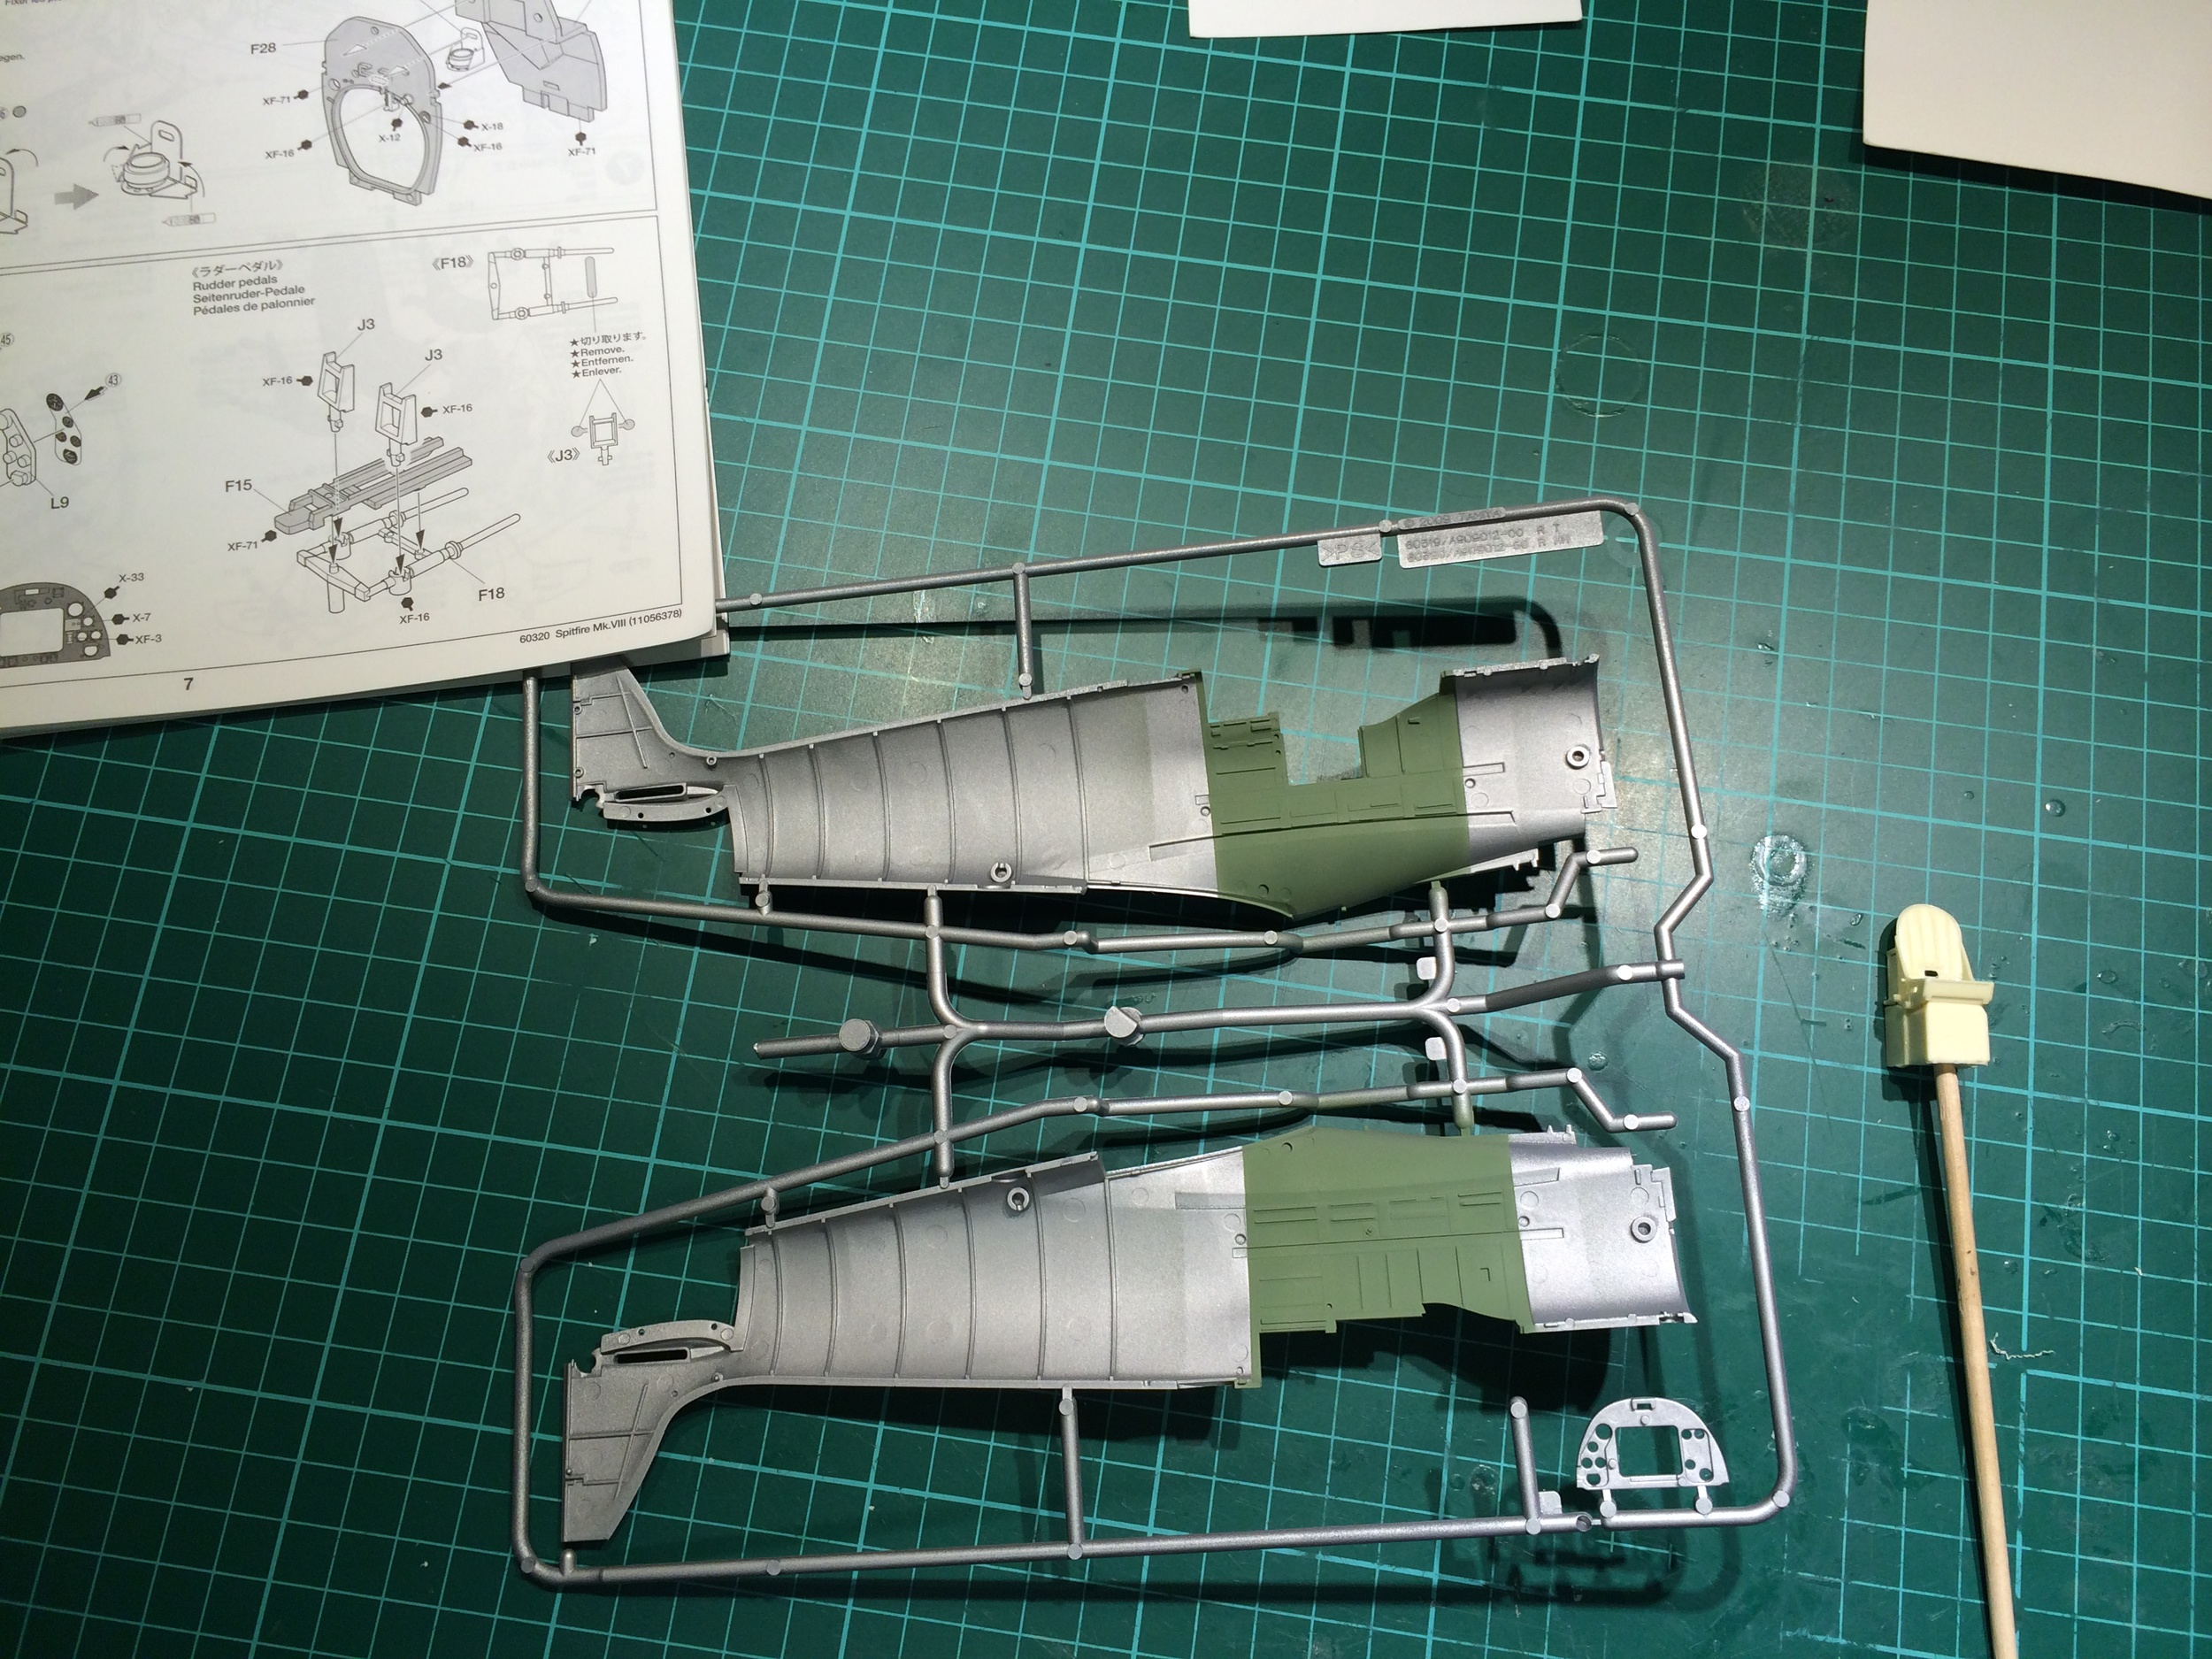
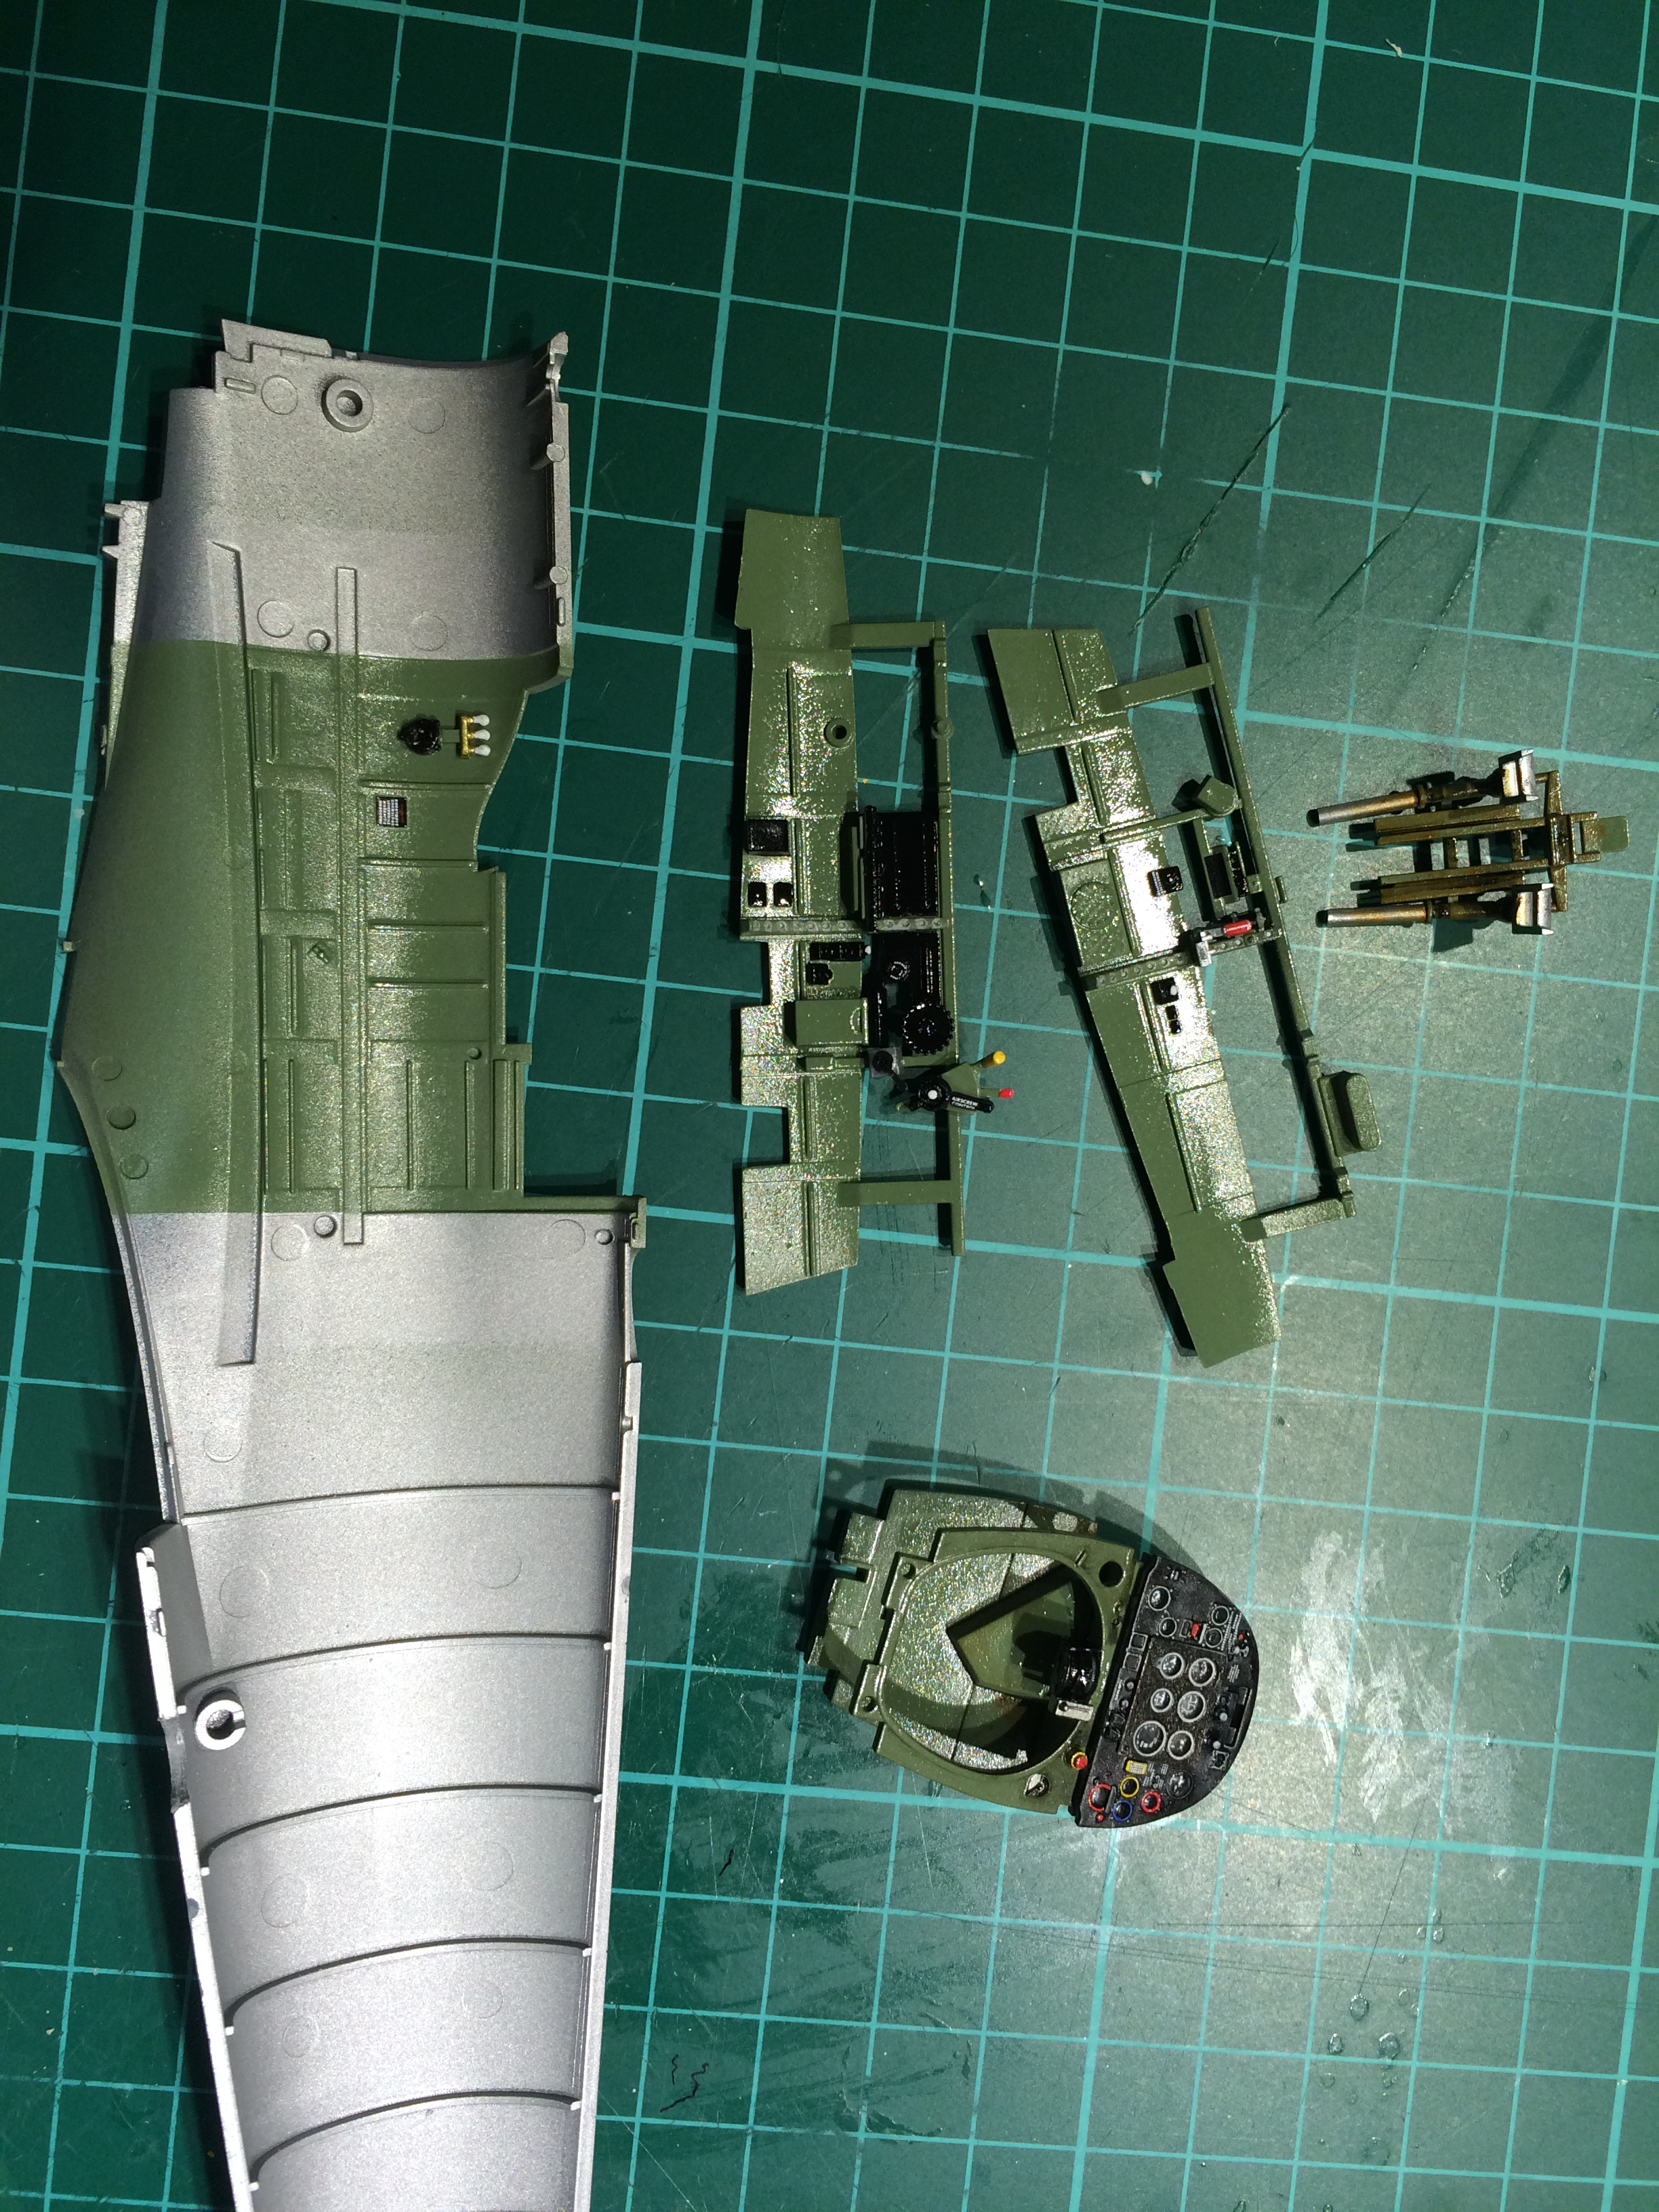
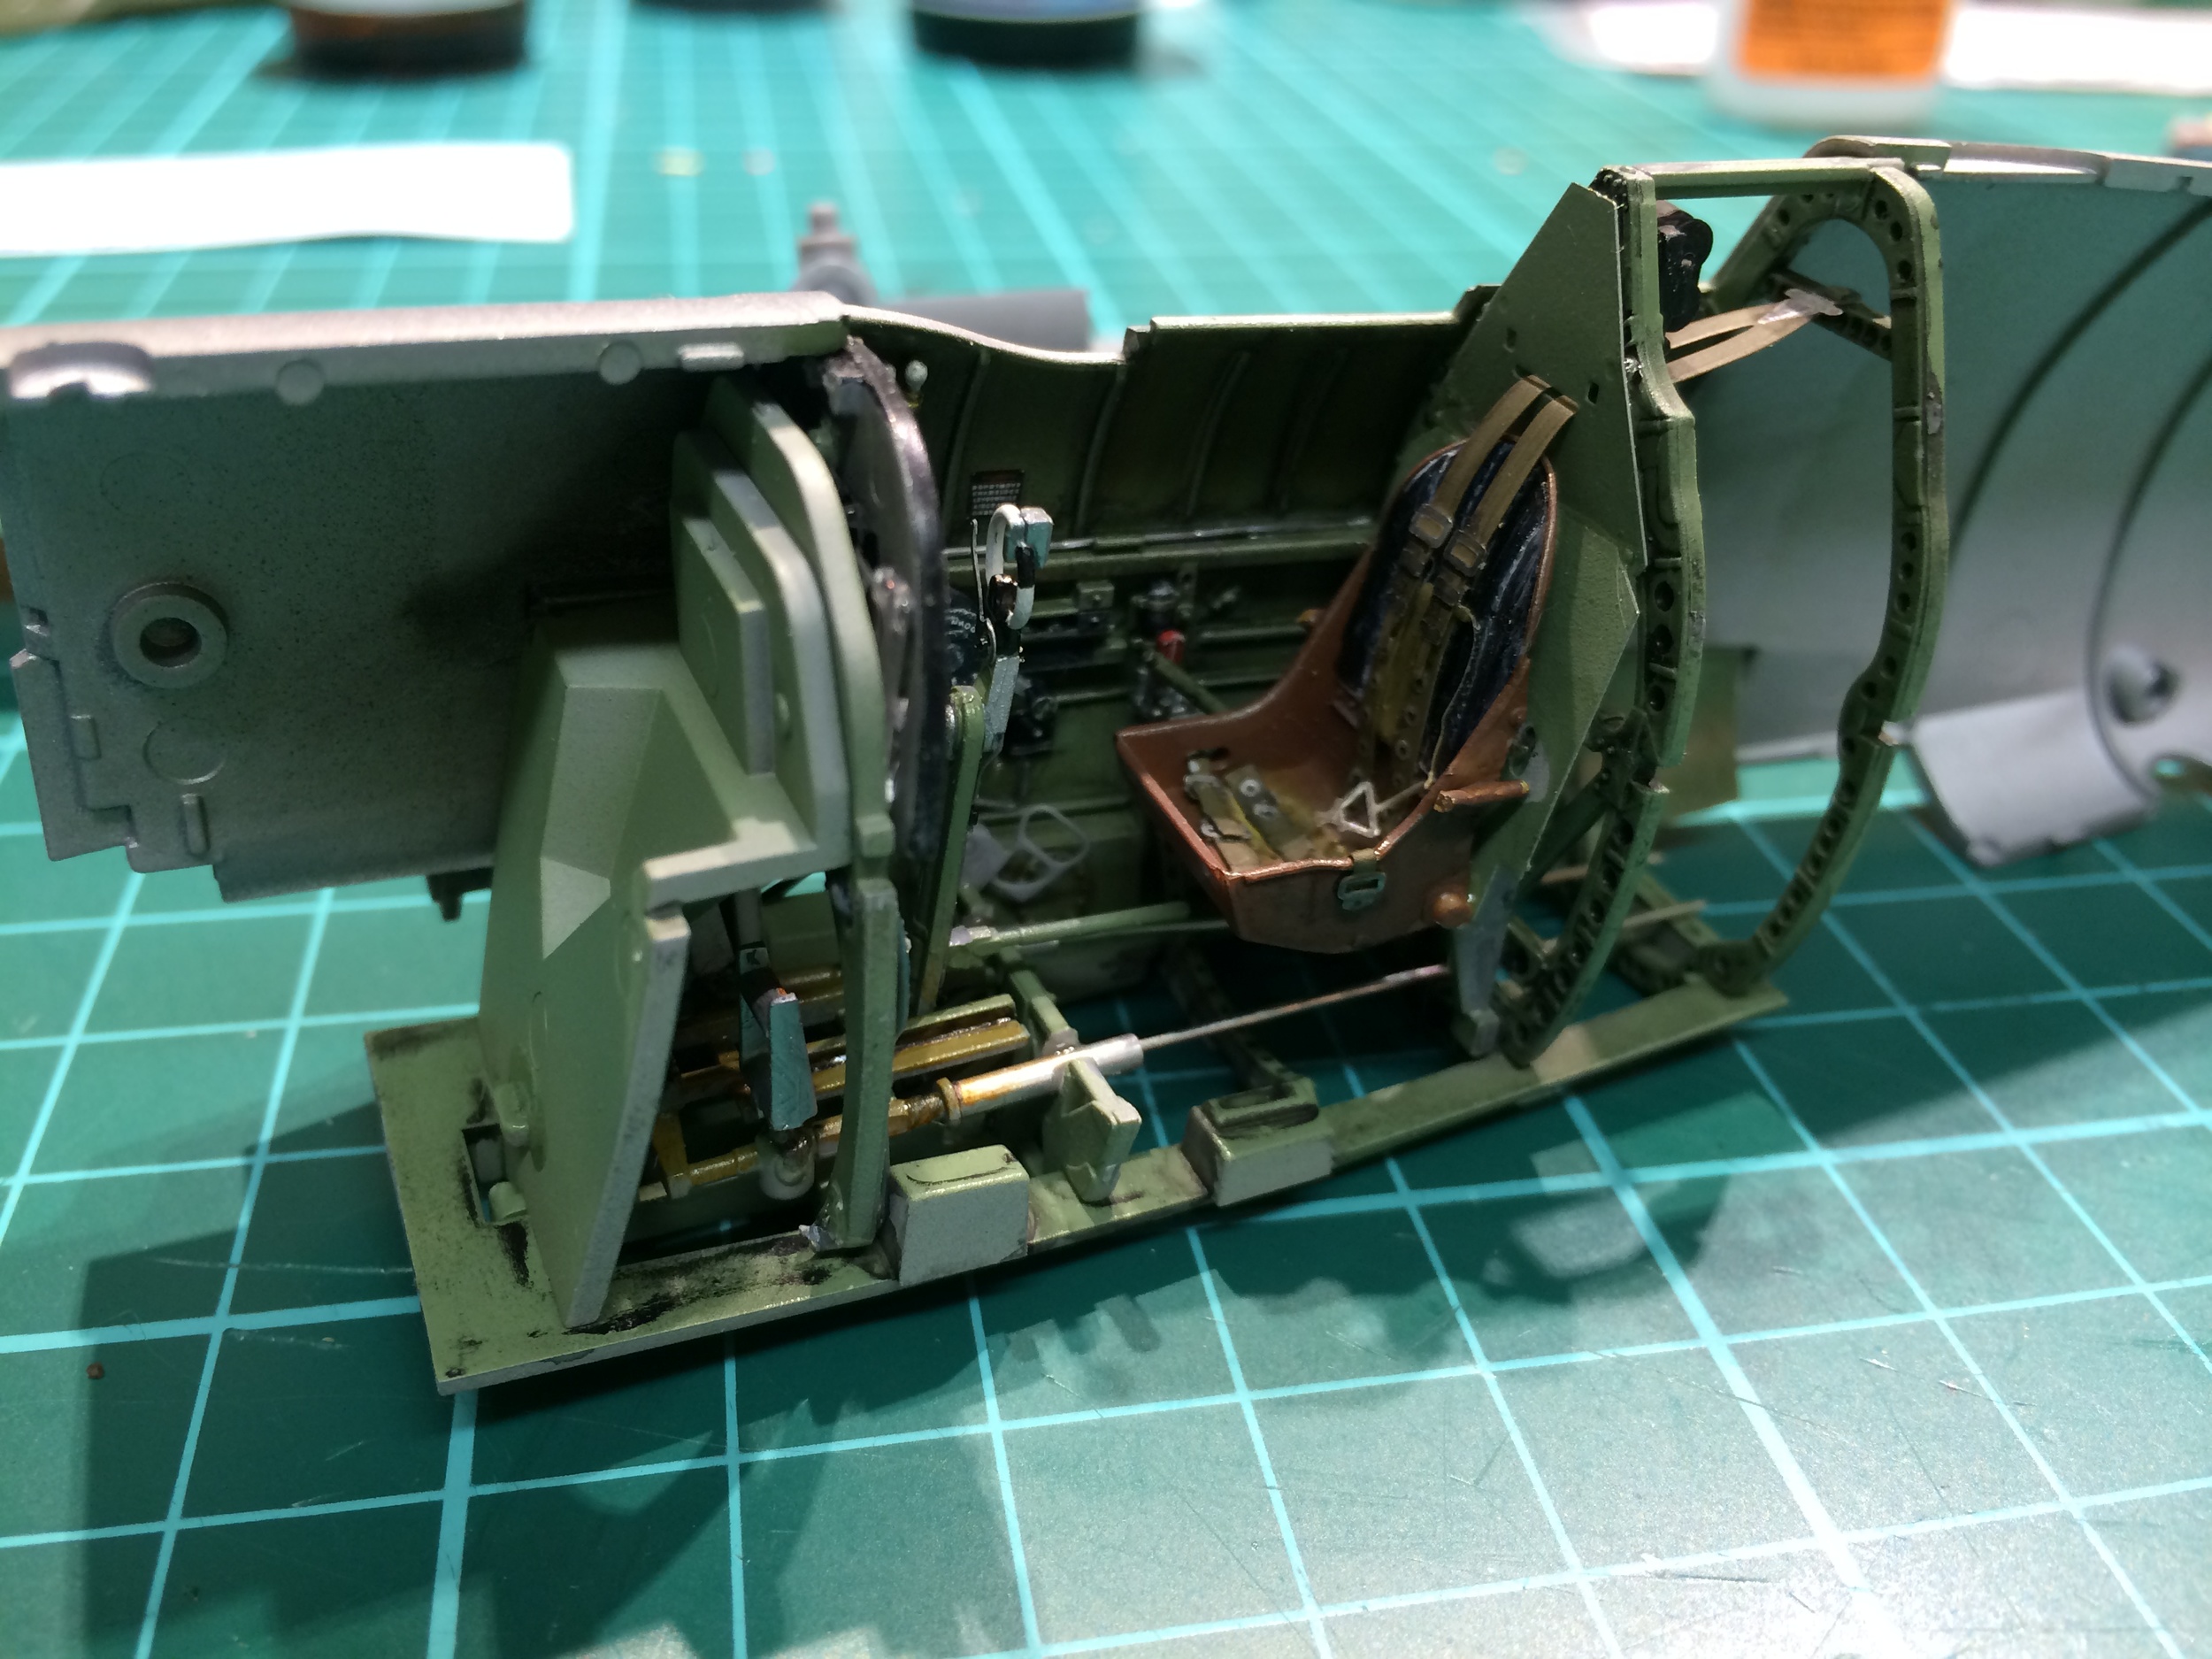
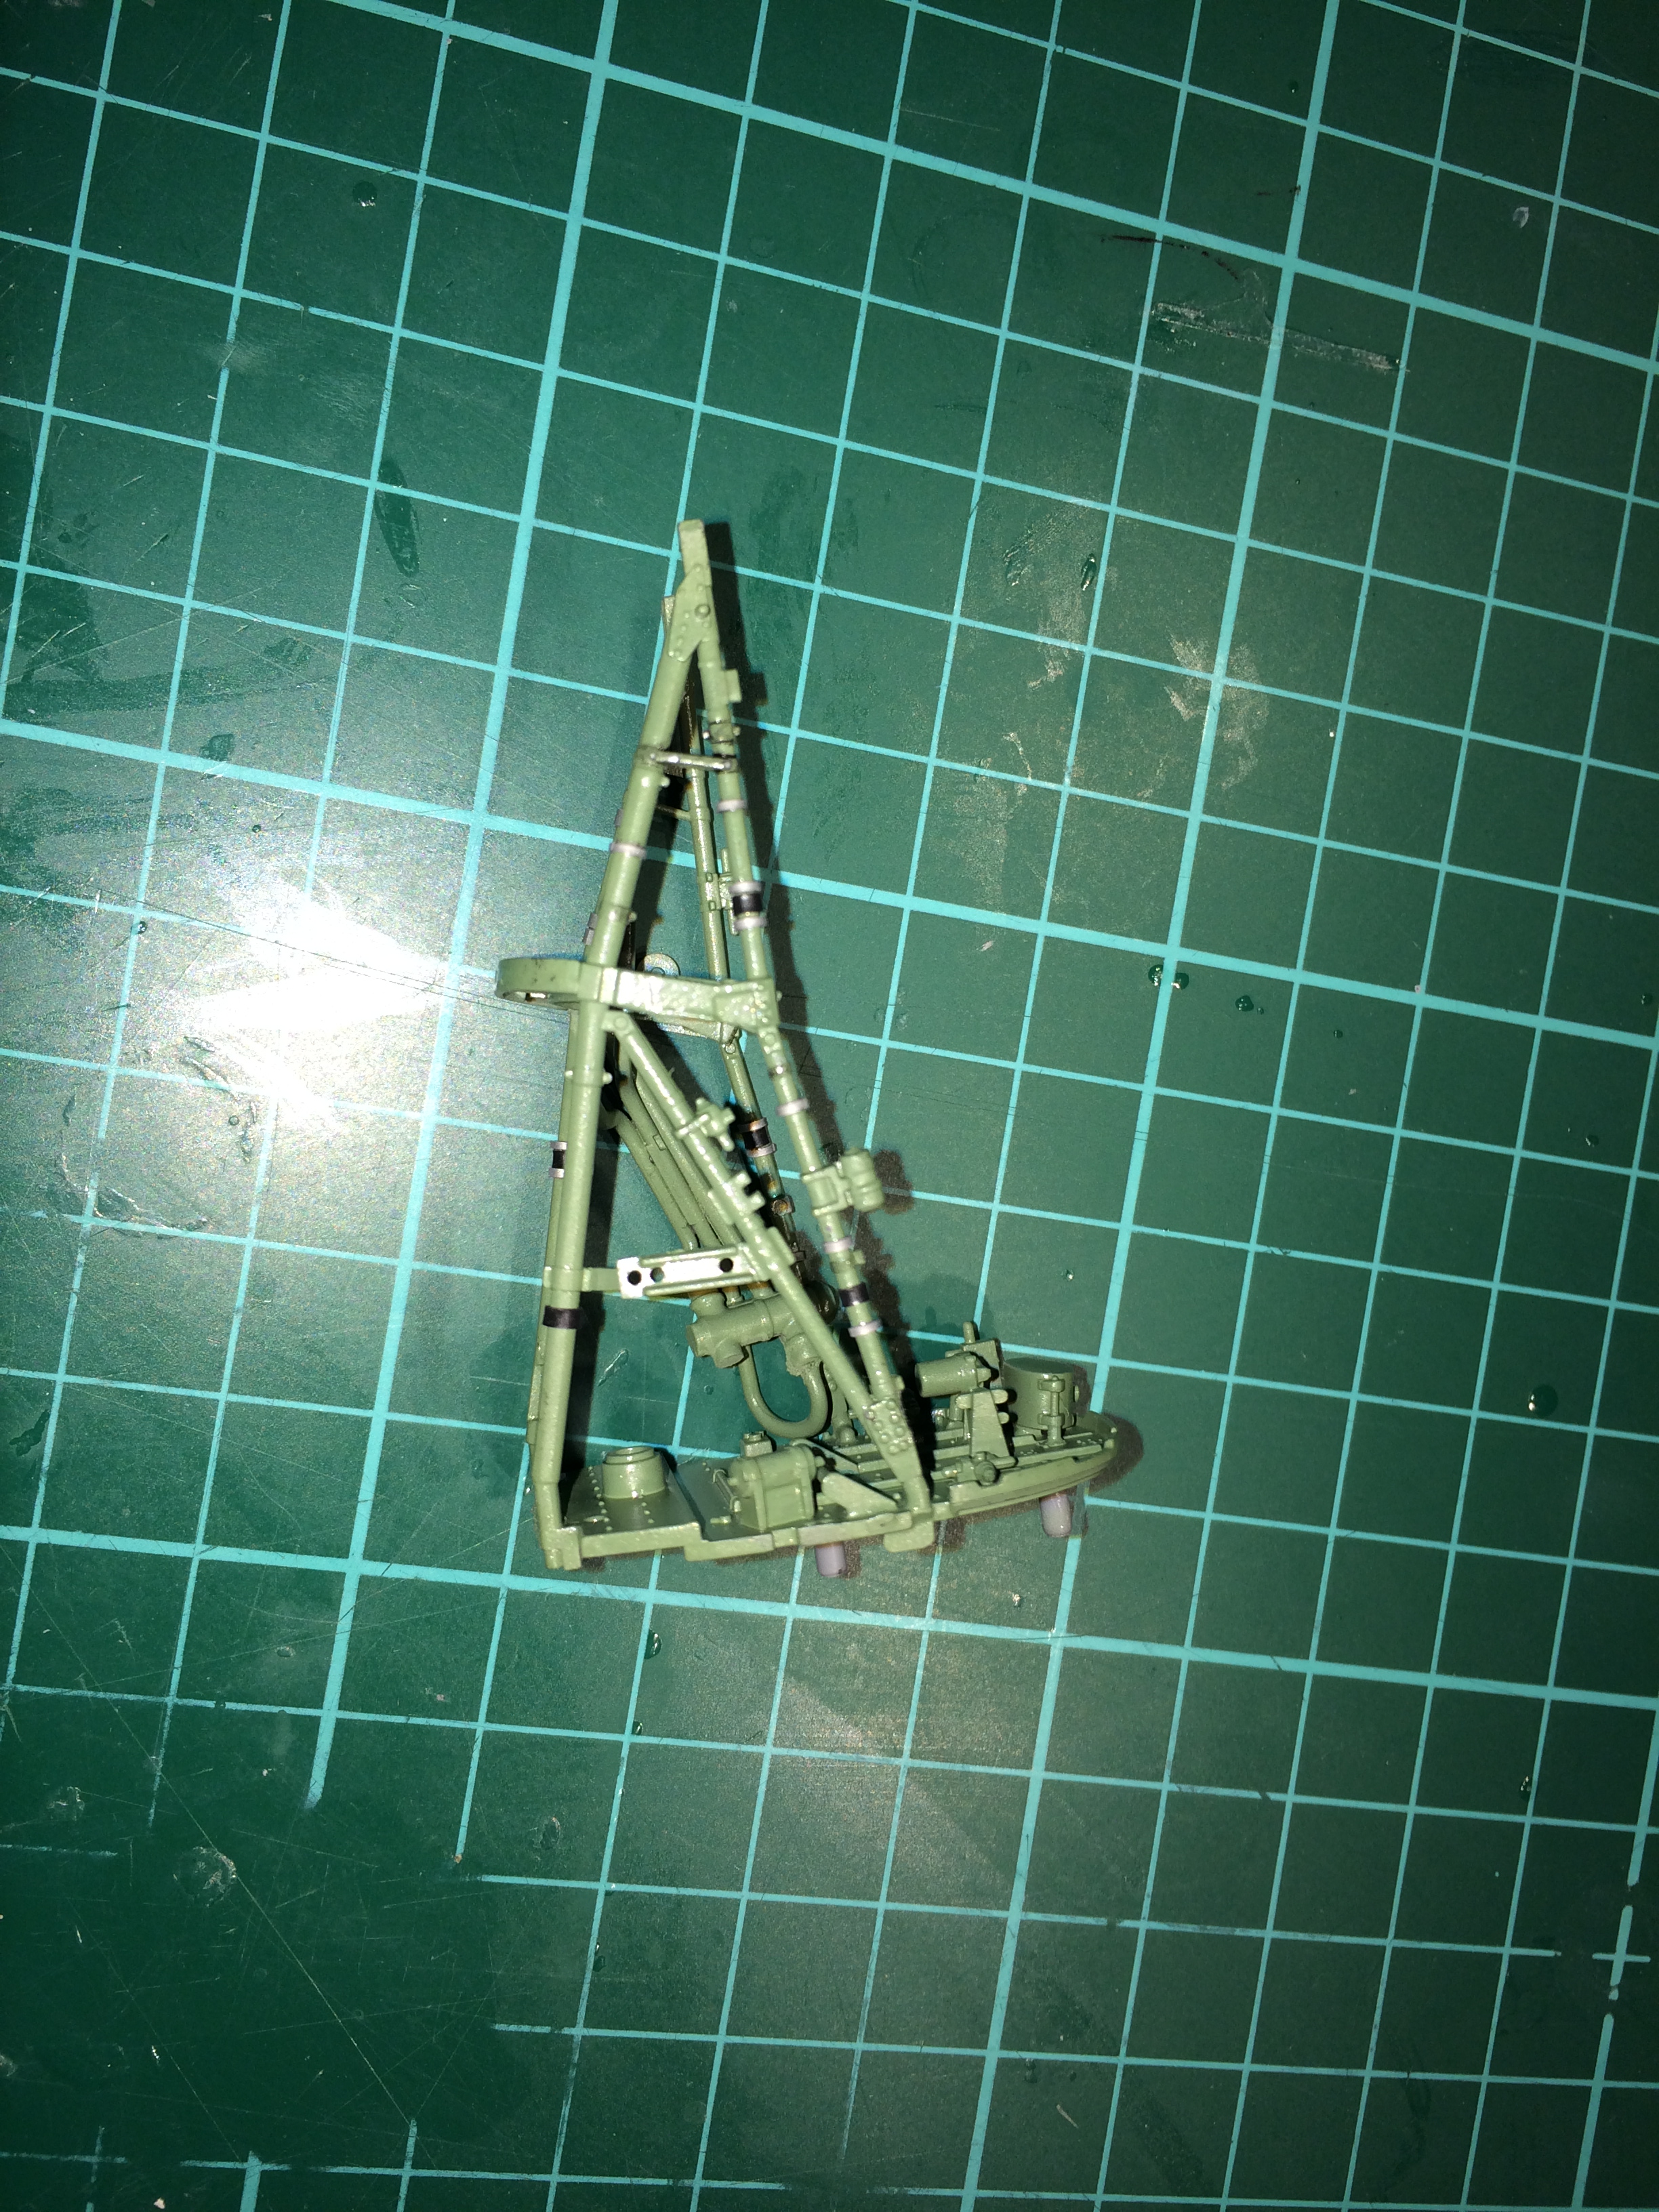
Cockpit gets its 1st coat of Tamiya interior green
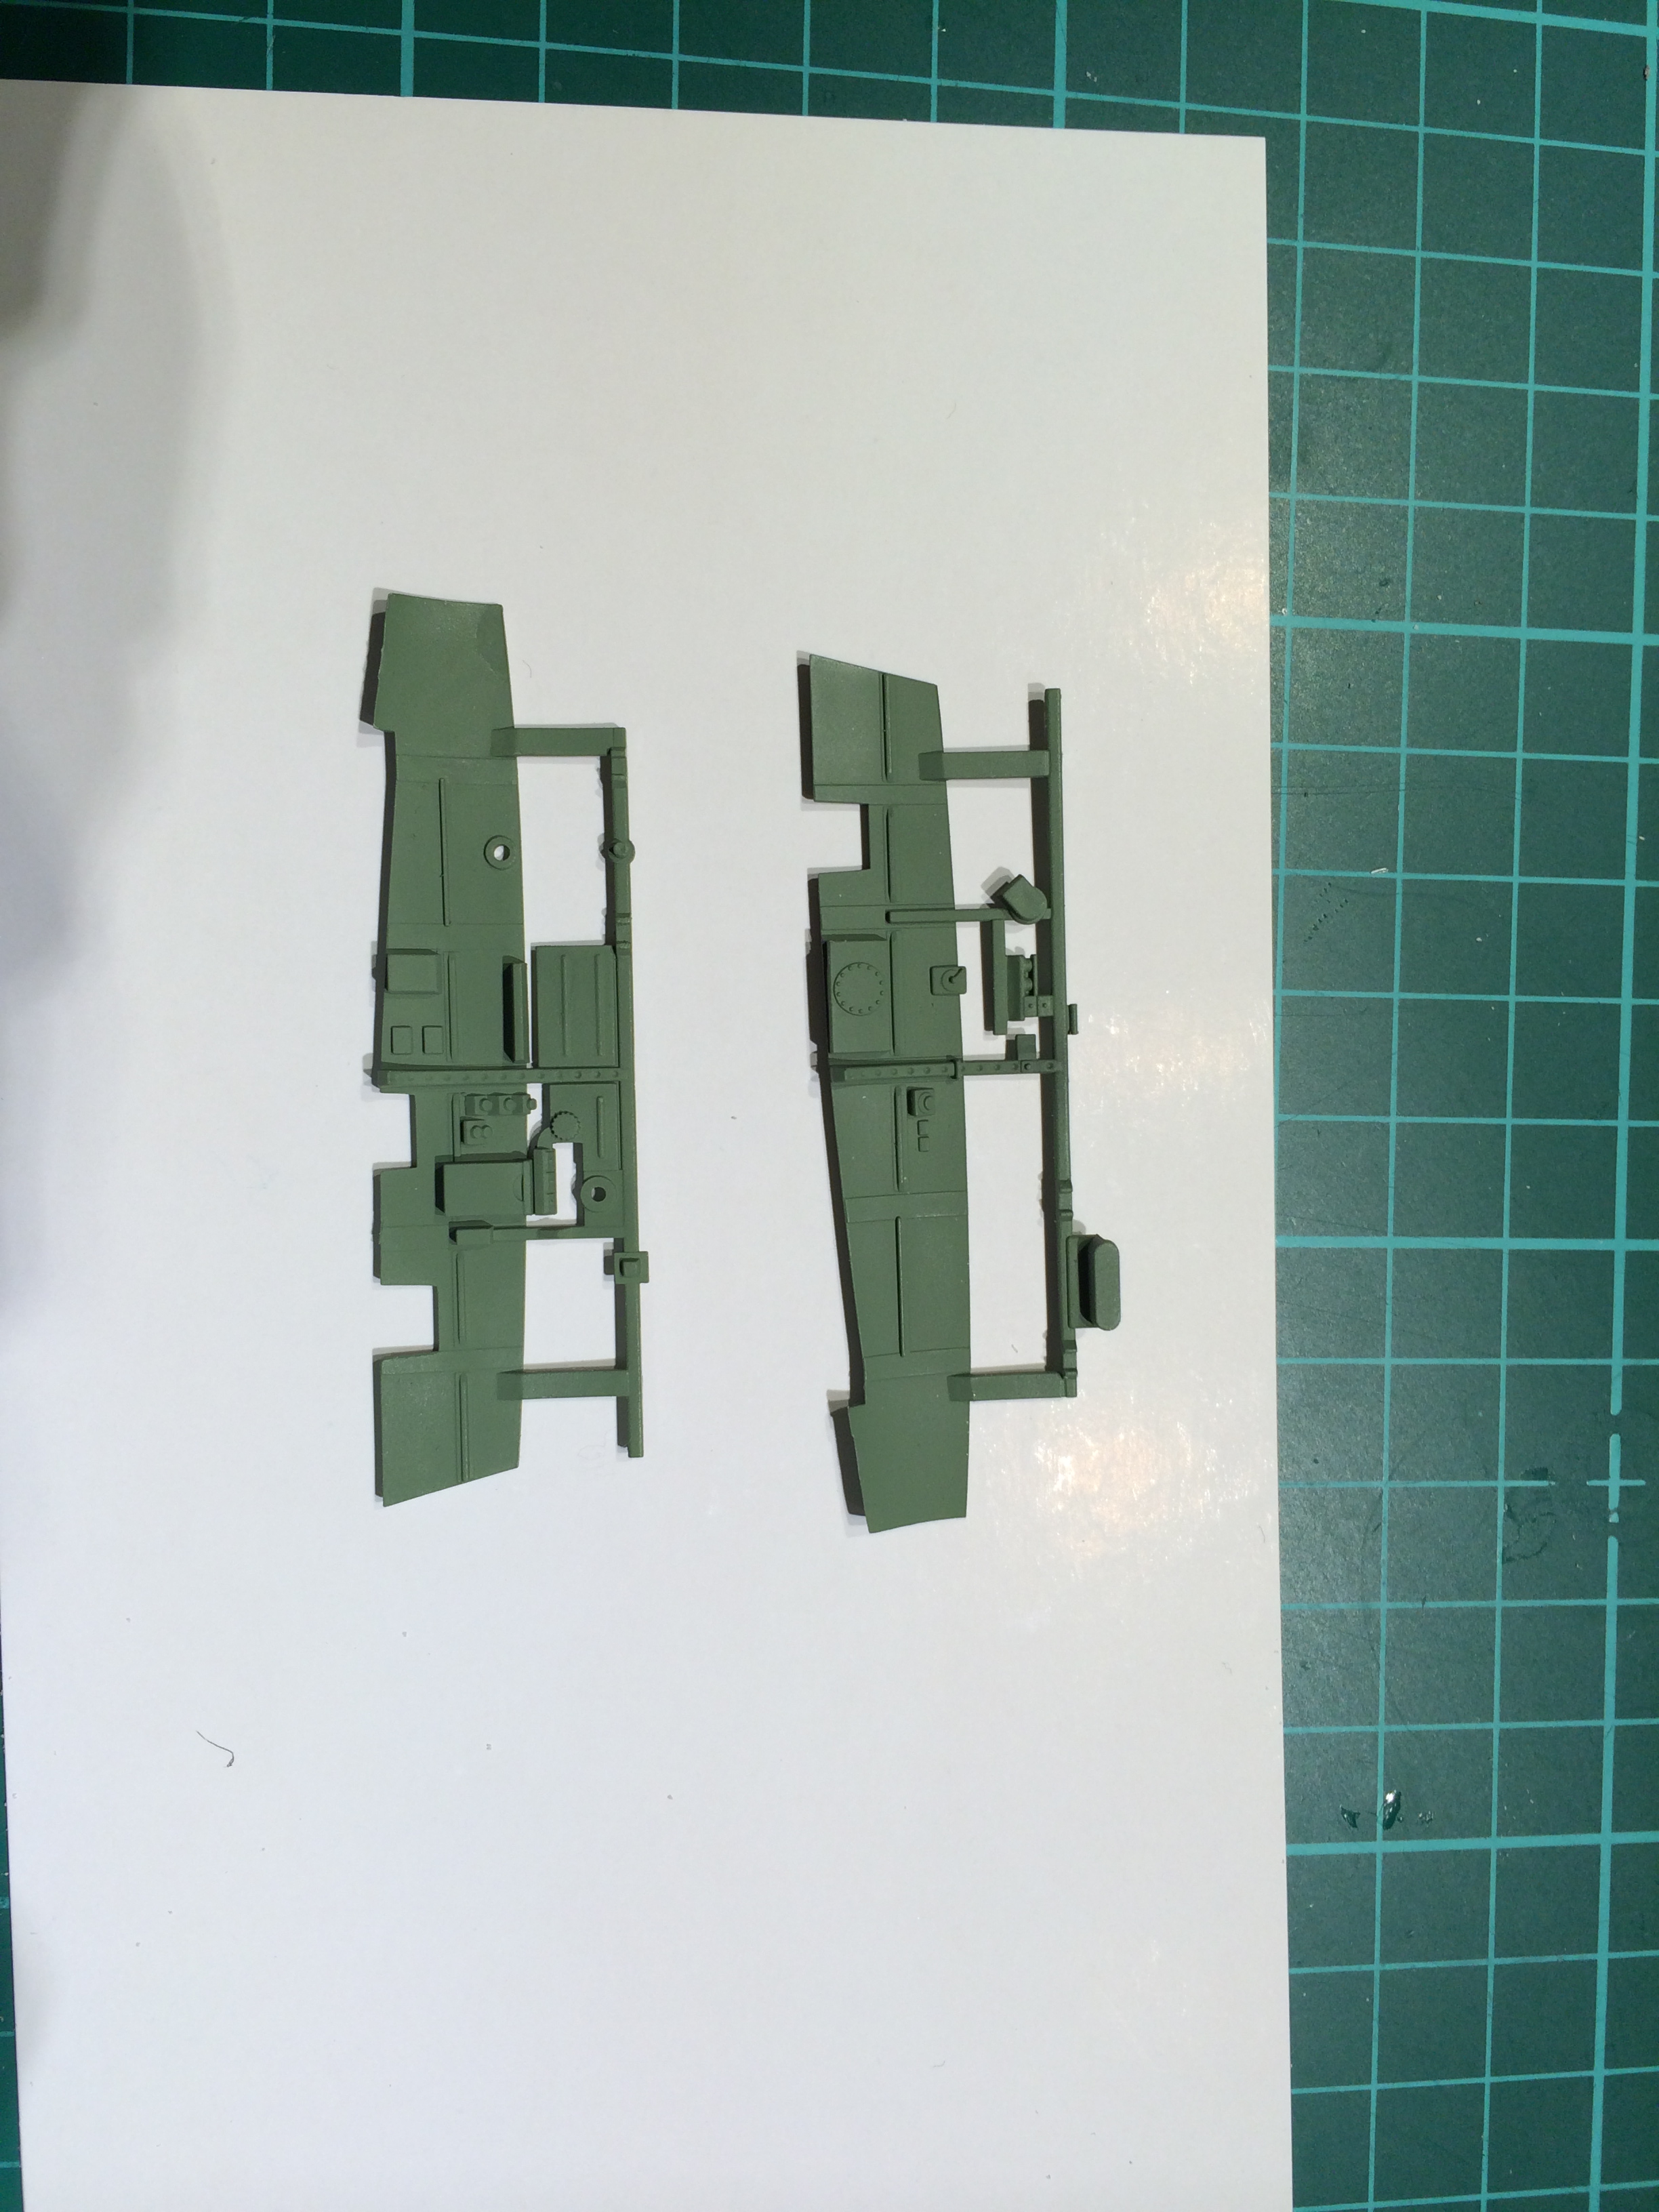
Sidewalls painted with Tamiya interior green
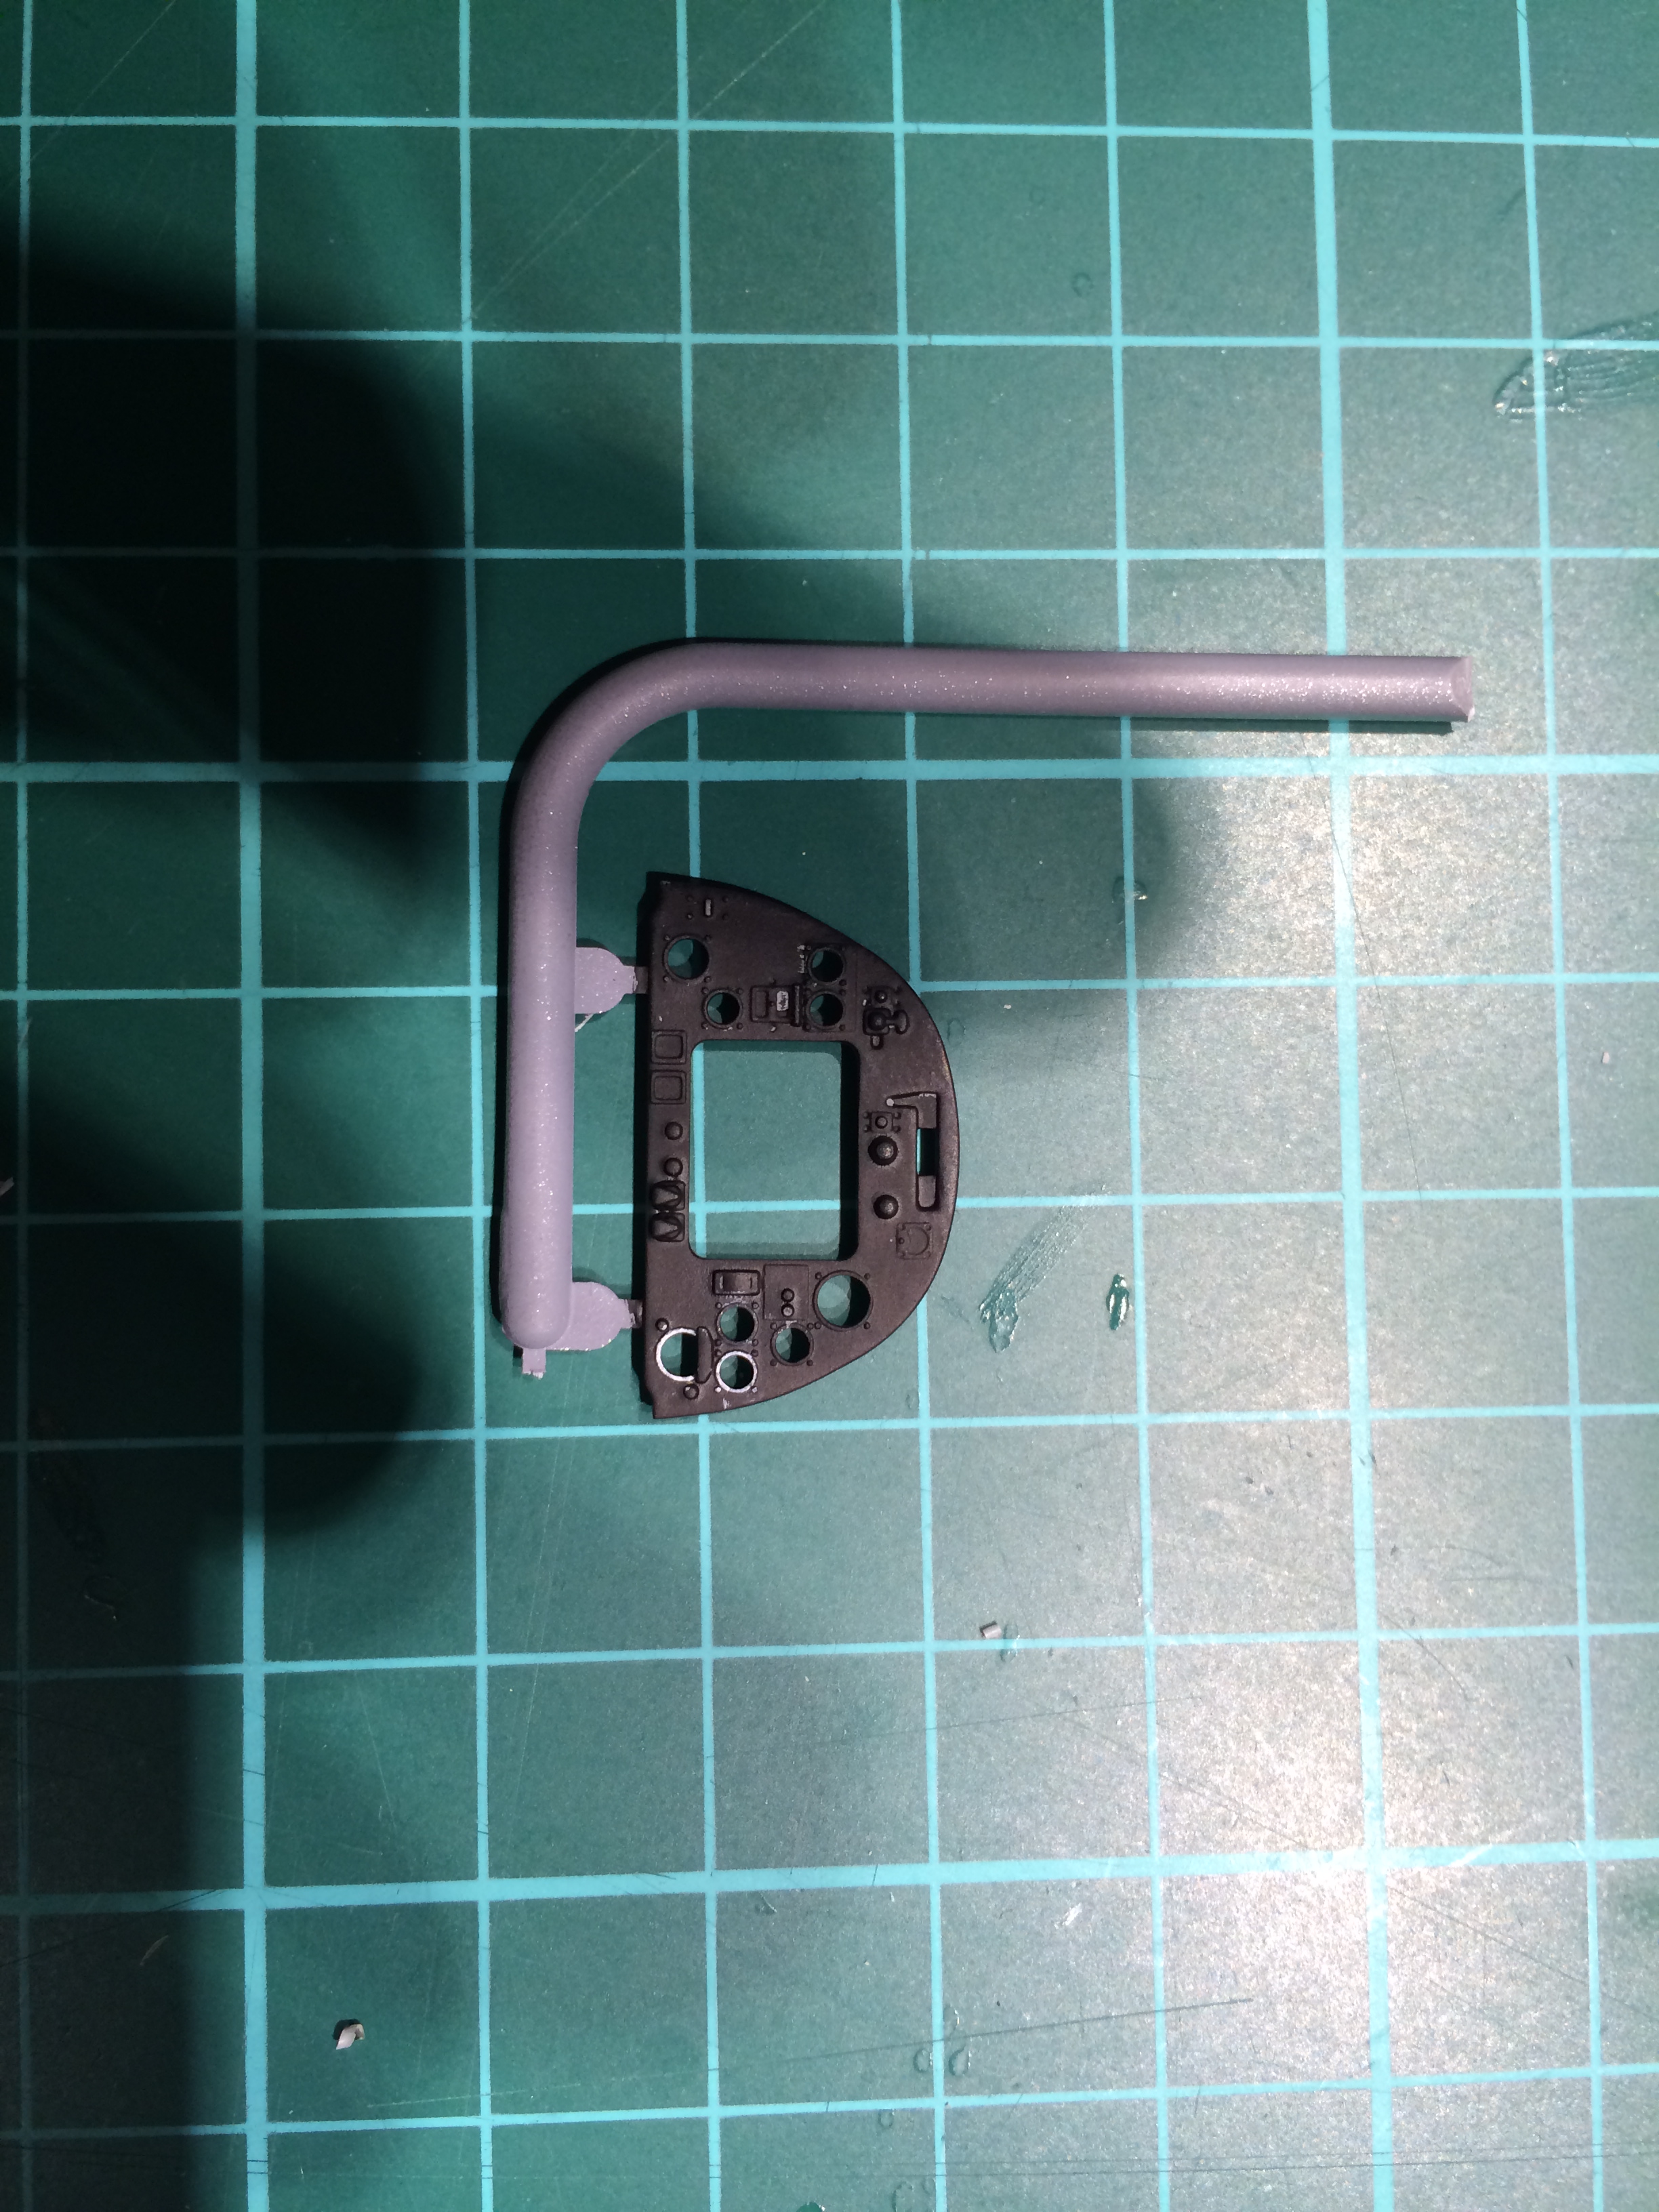
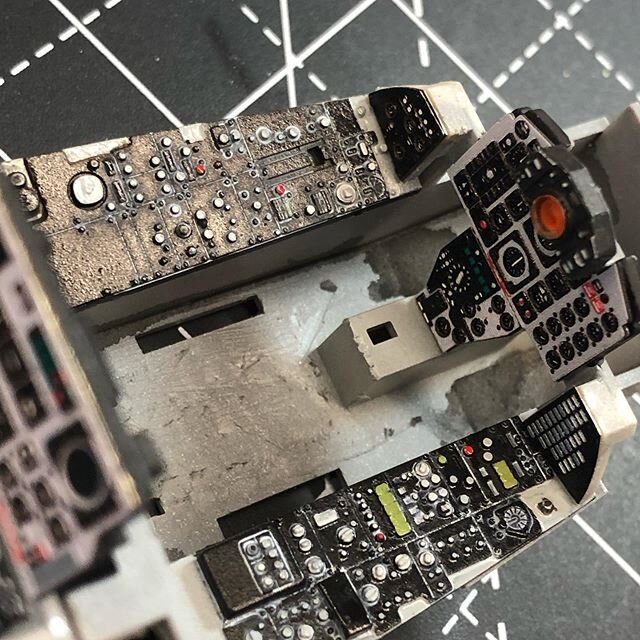
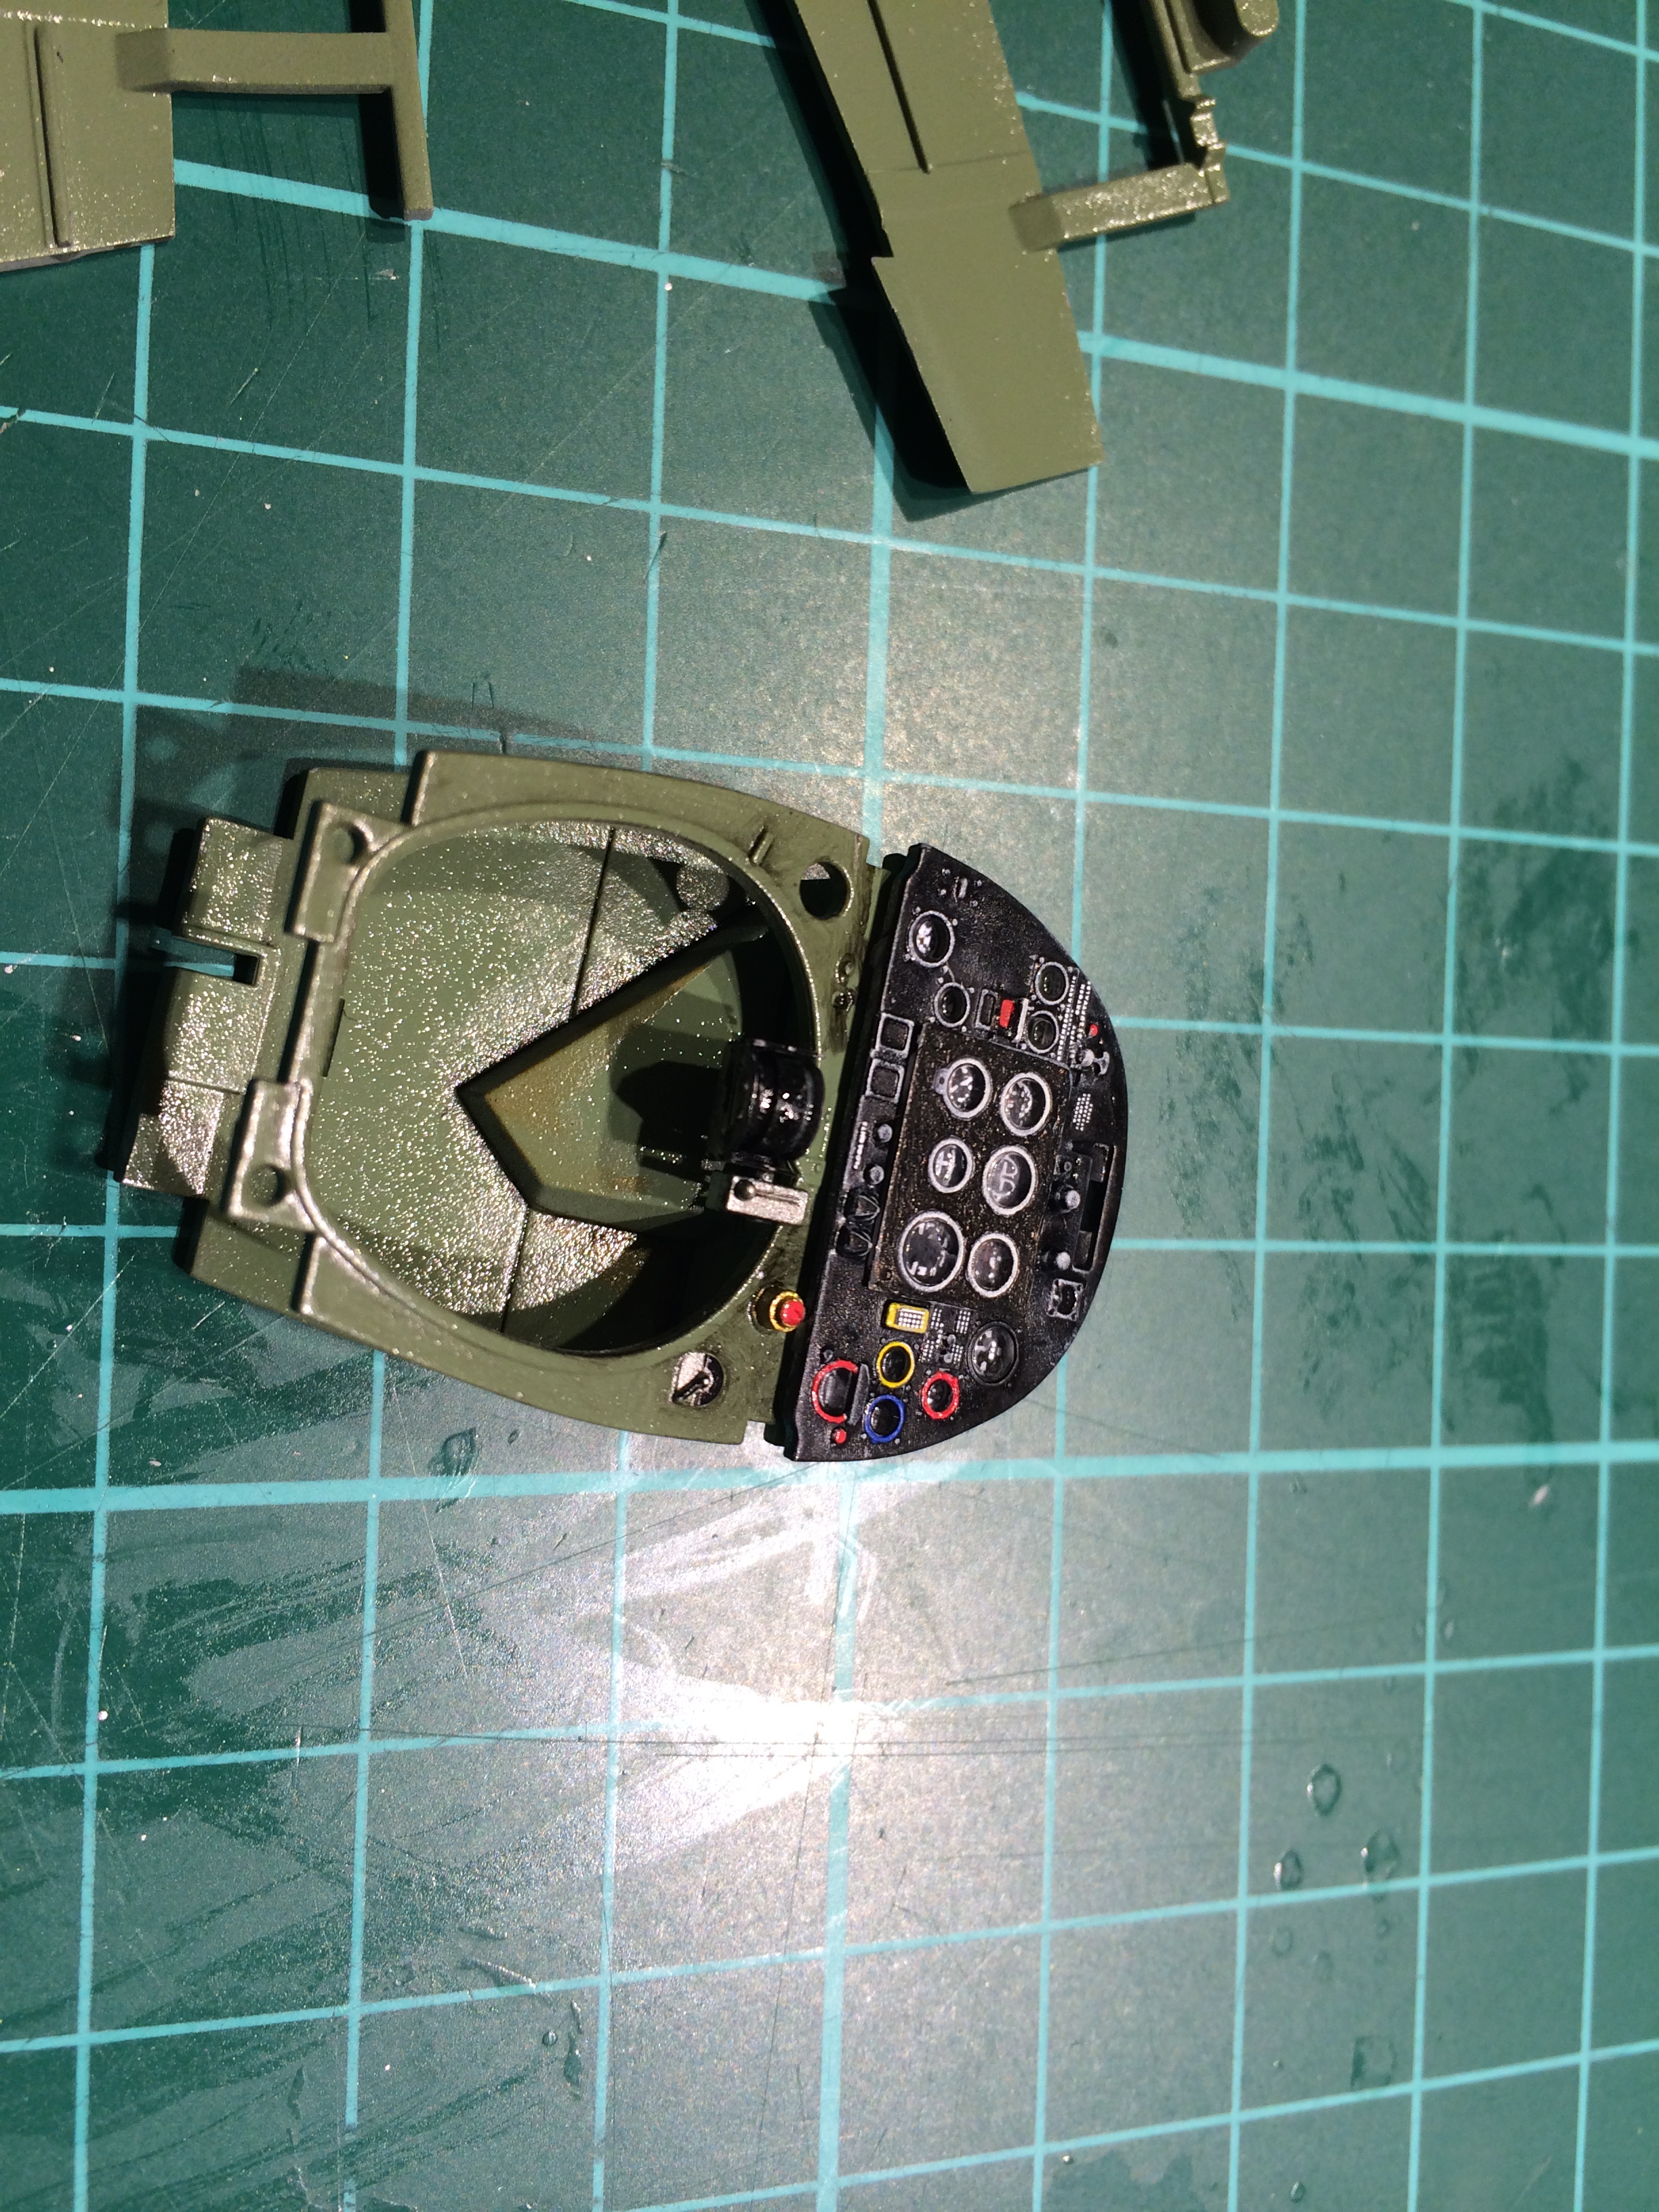
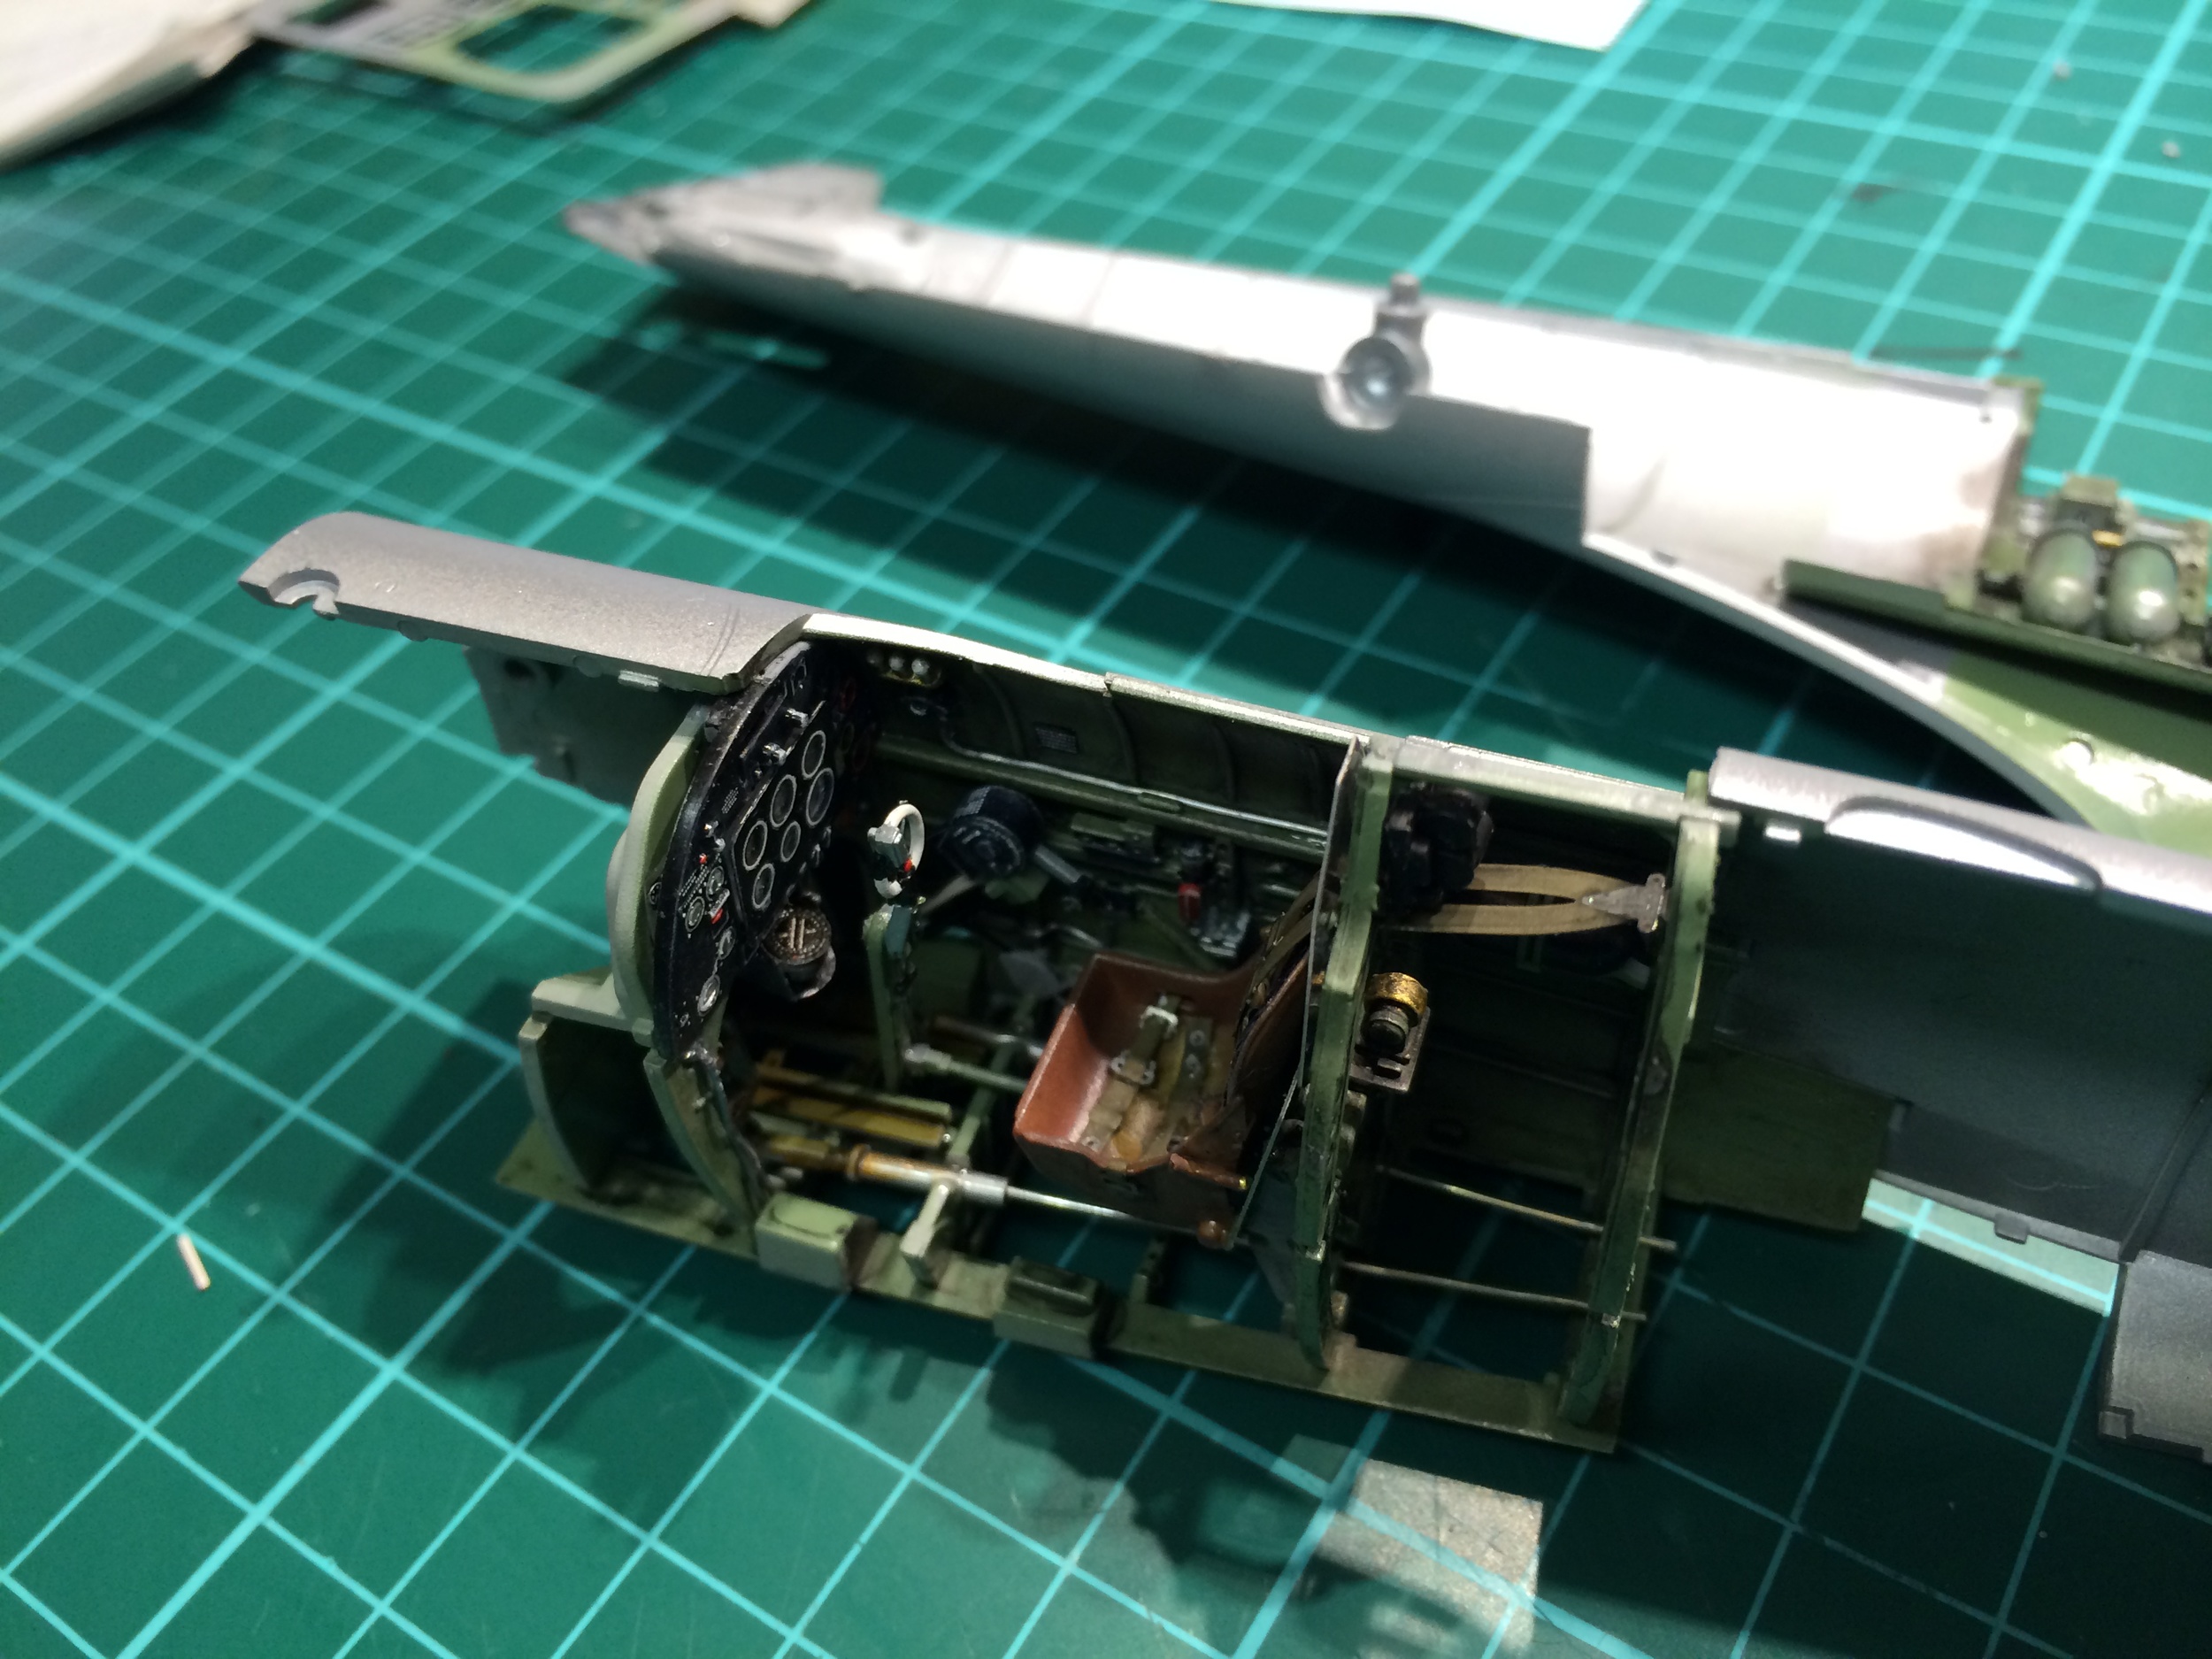
Started work on the front office, I looked at the aftermarket eduard face plate, but it just didn’t hit the mark, so I decided to hand paint the face plates
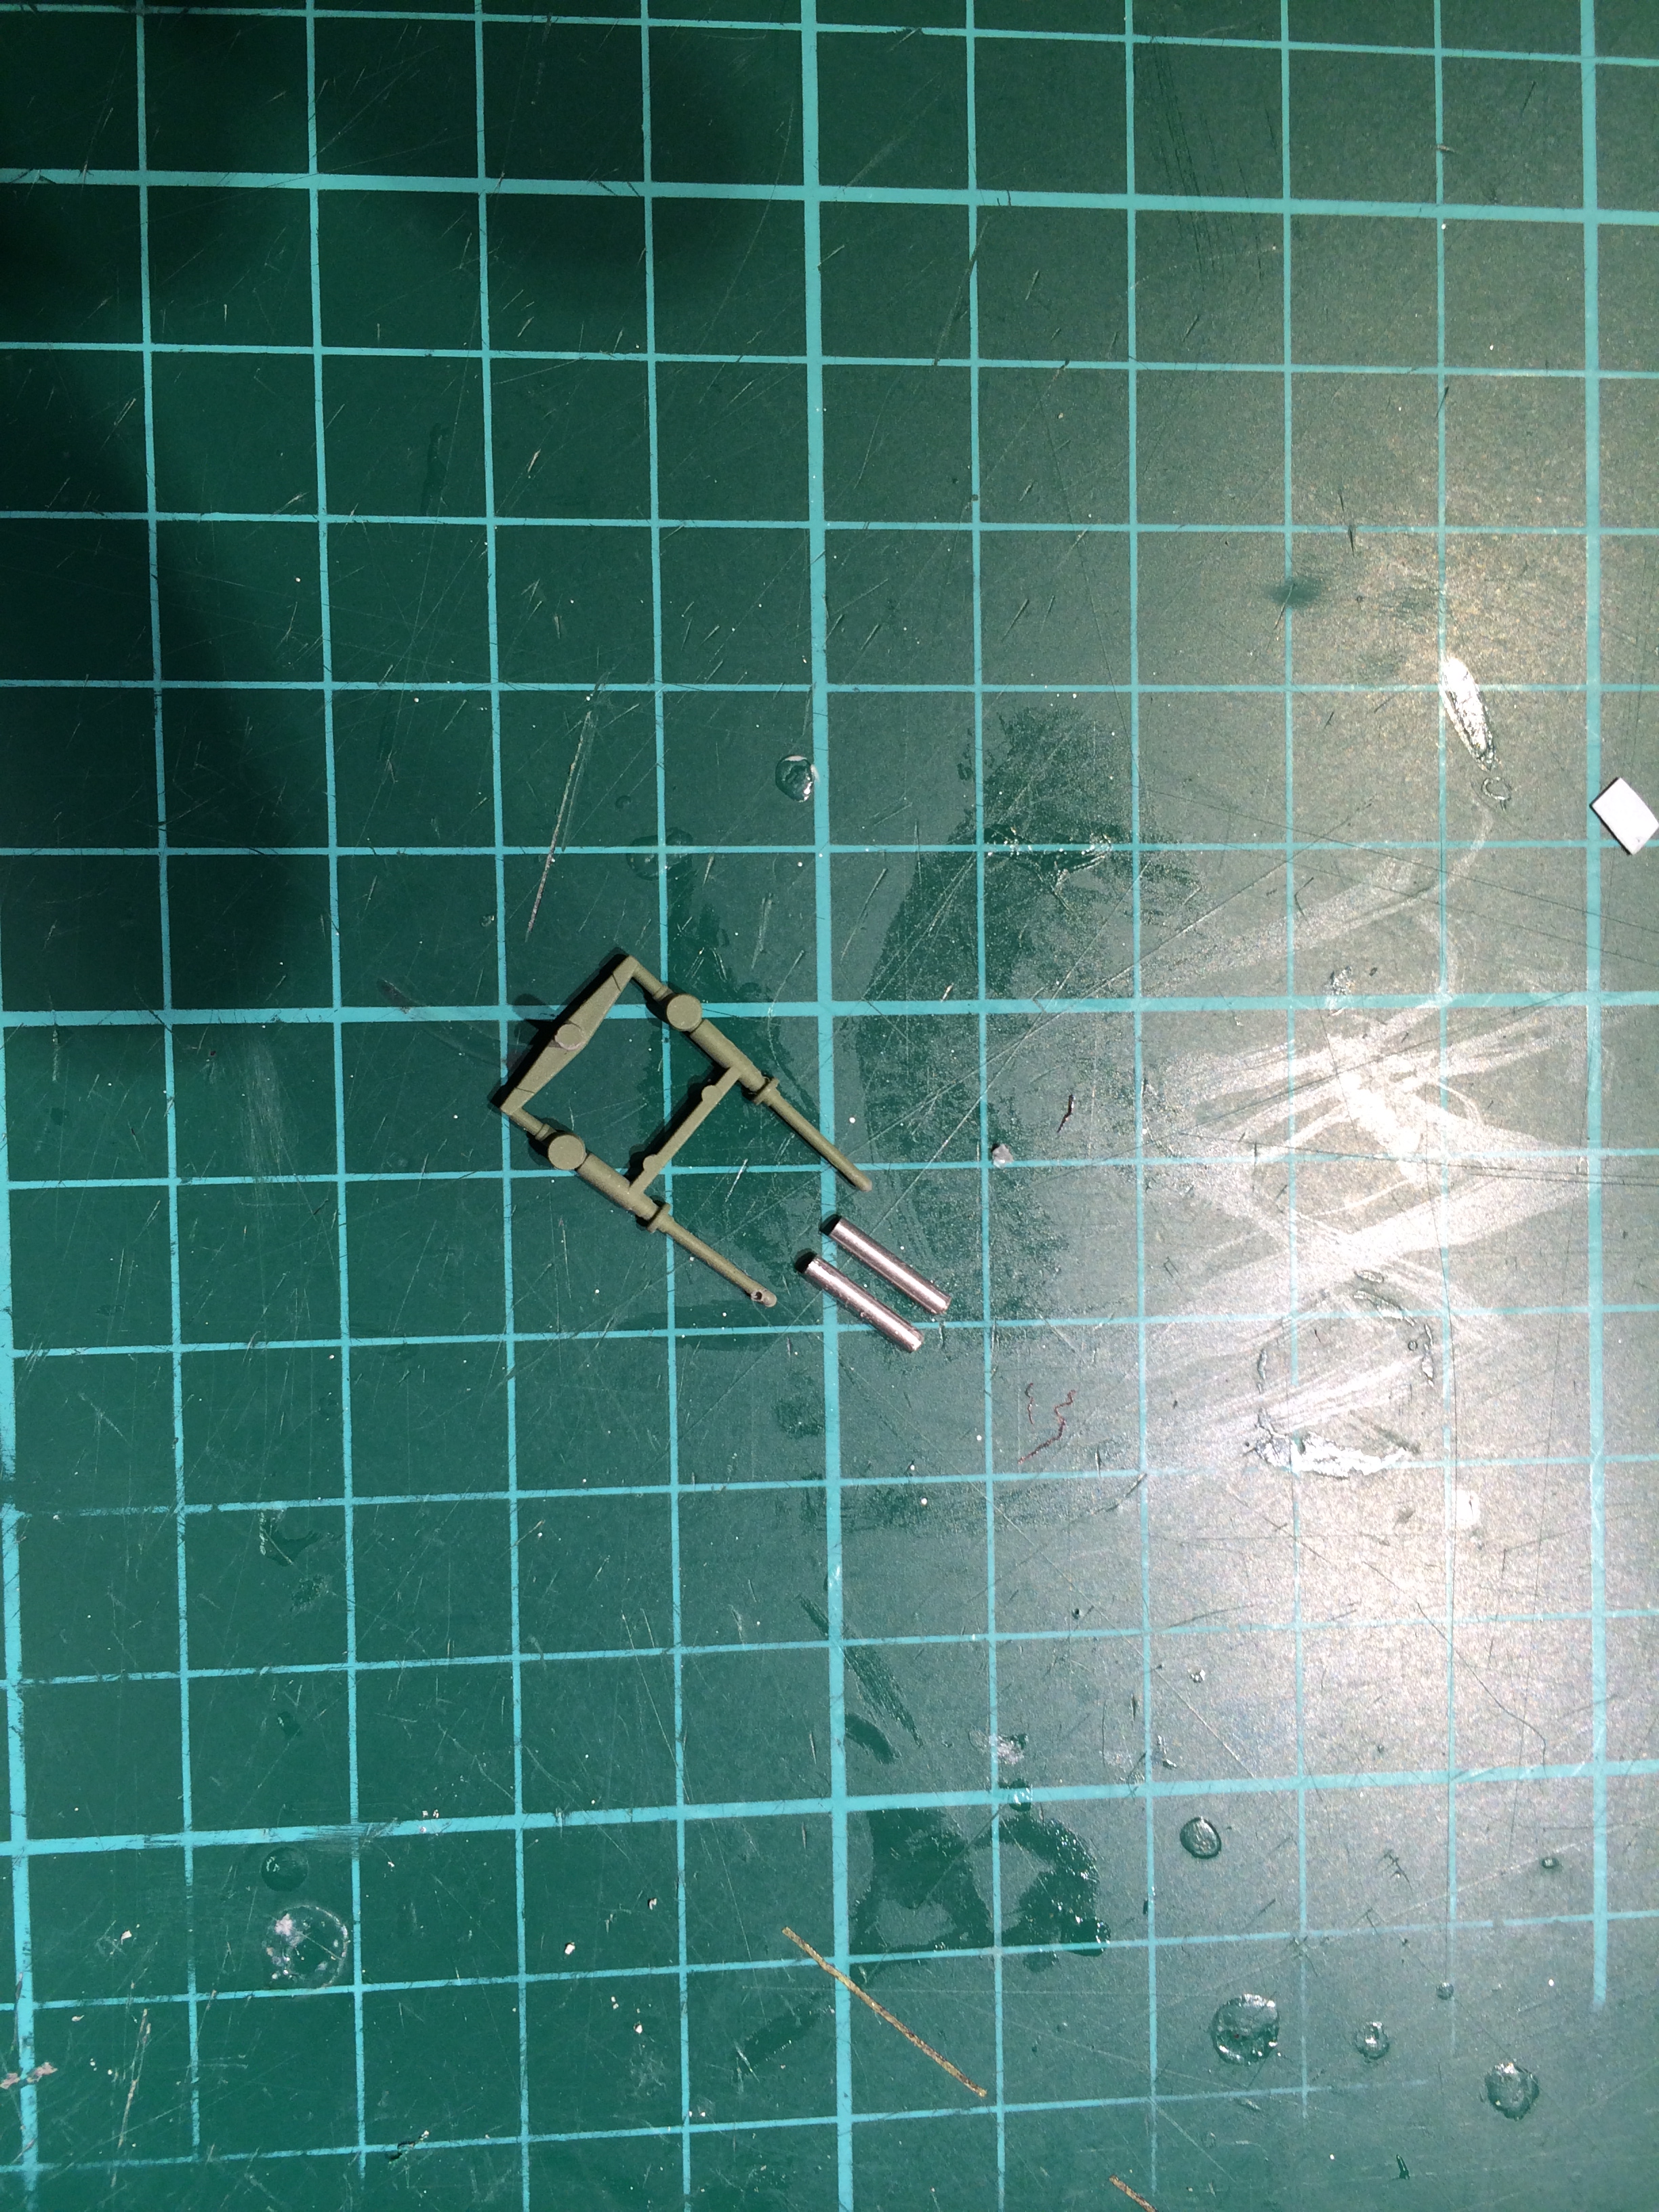
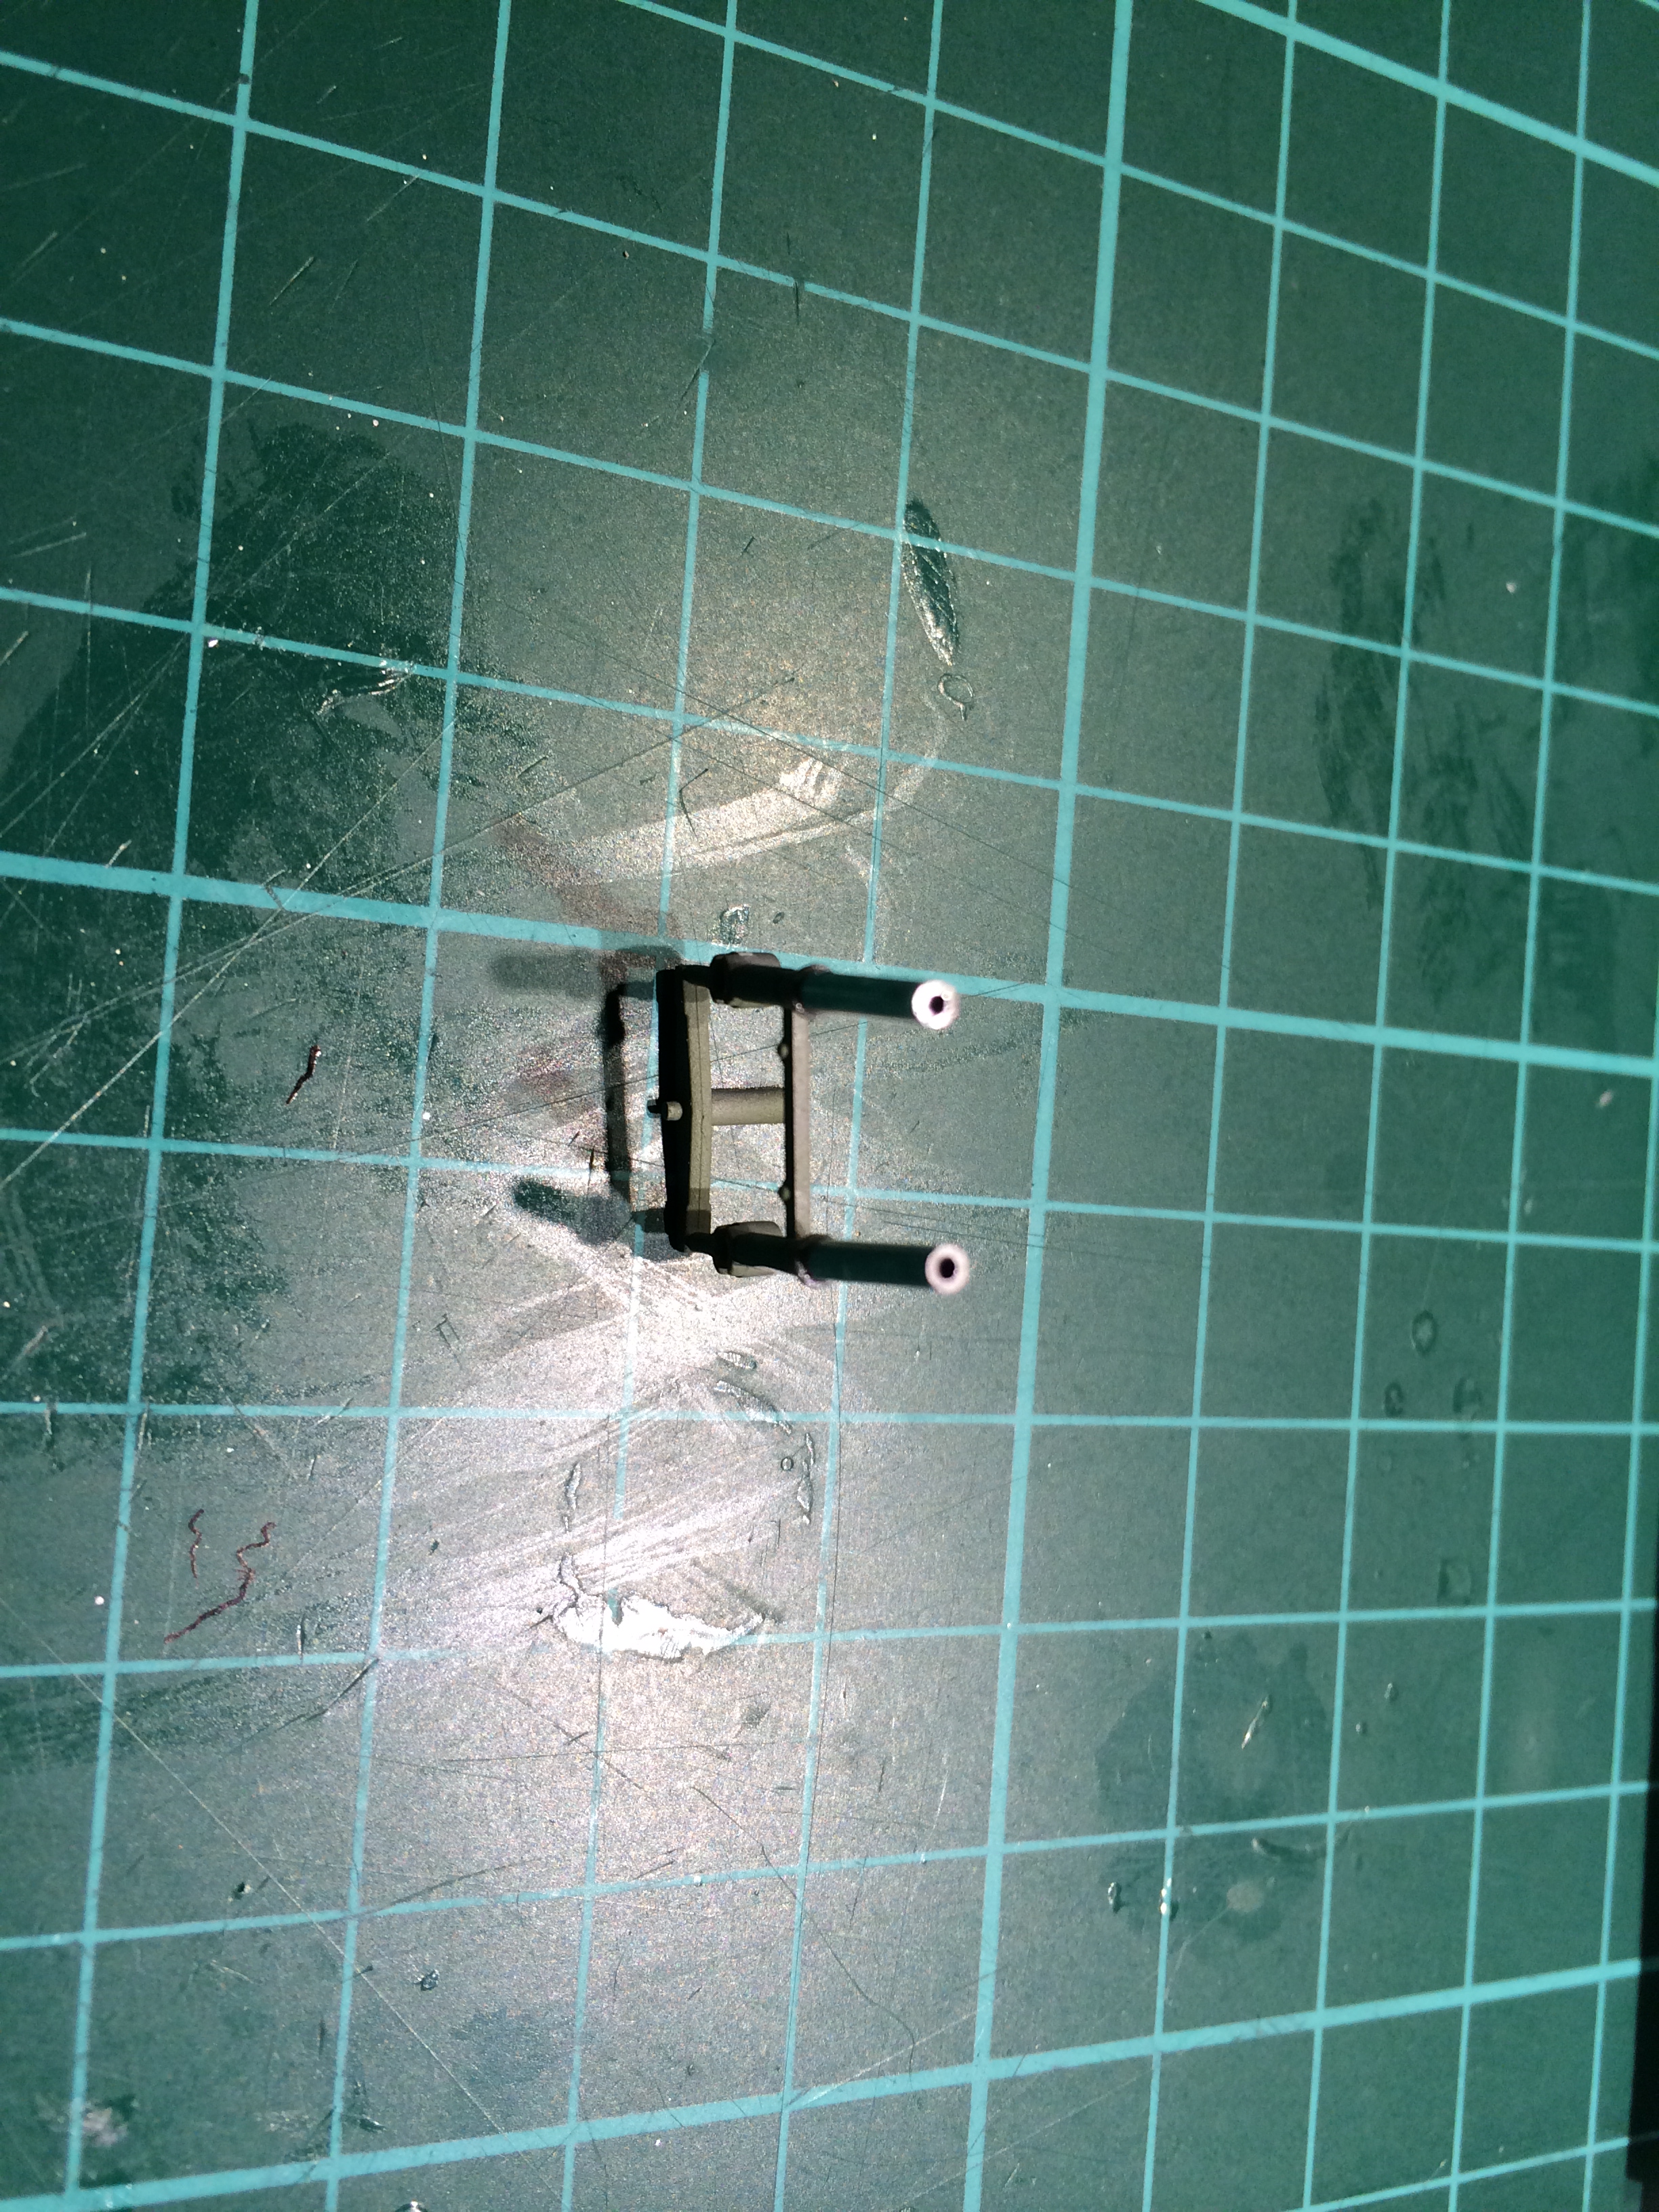
I took off part of this and replace with metal tubes, this allowed for the wires to go to the back for re flap controls
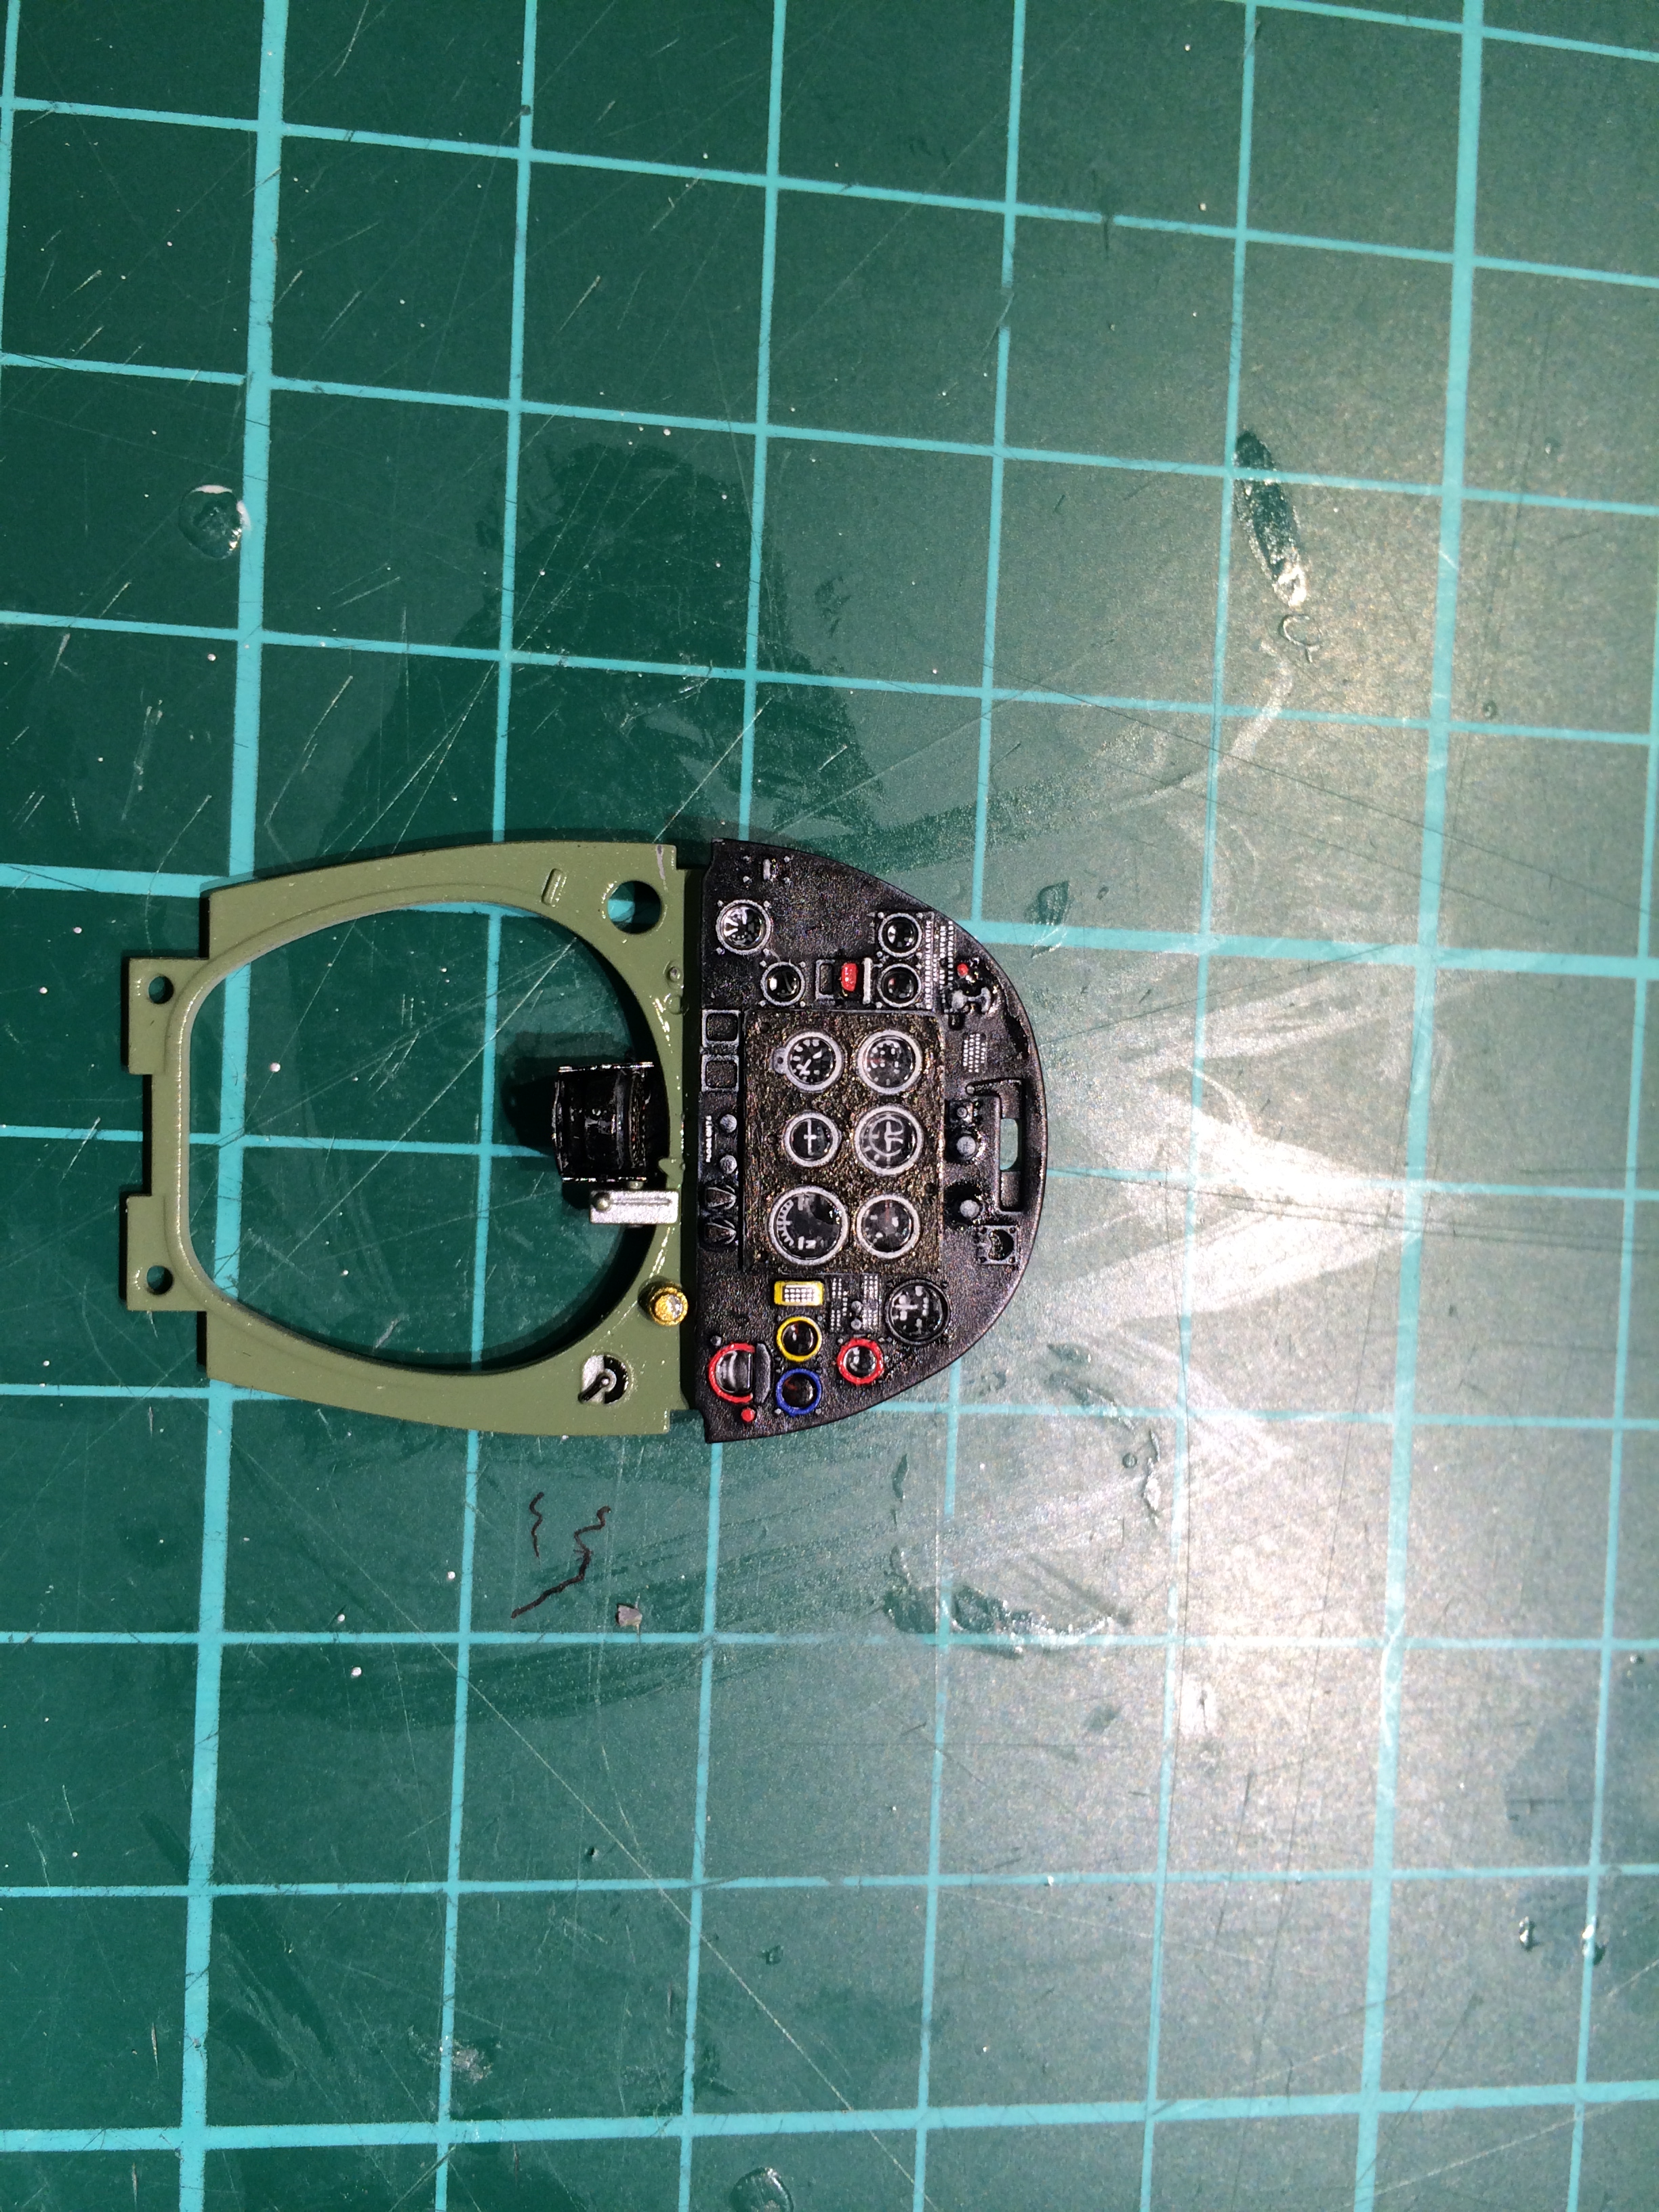
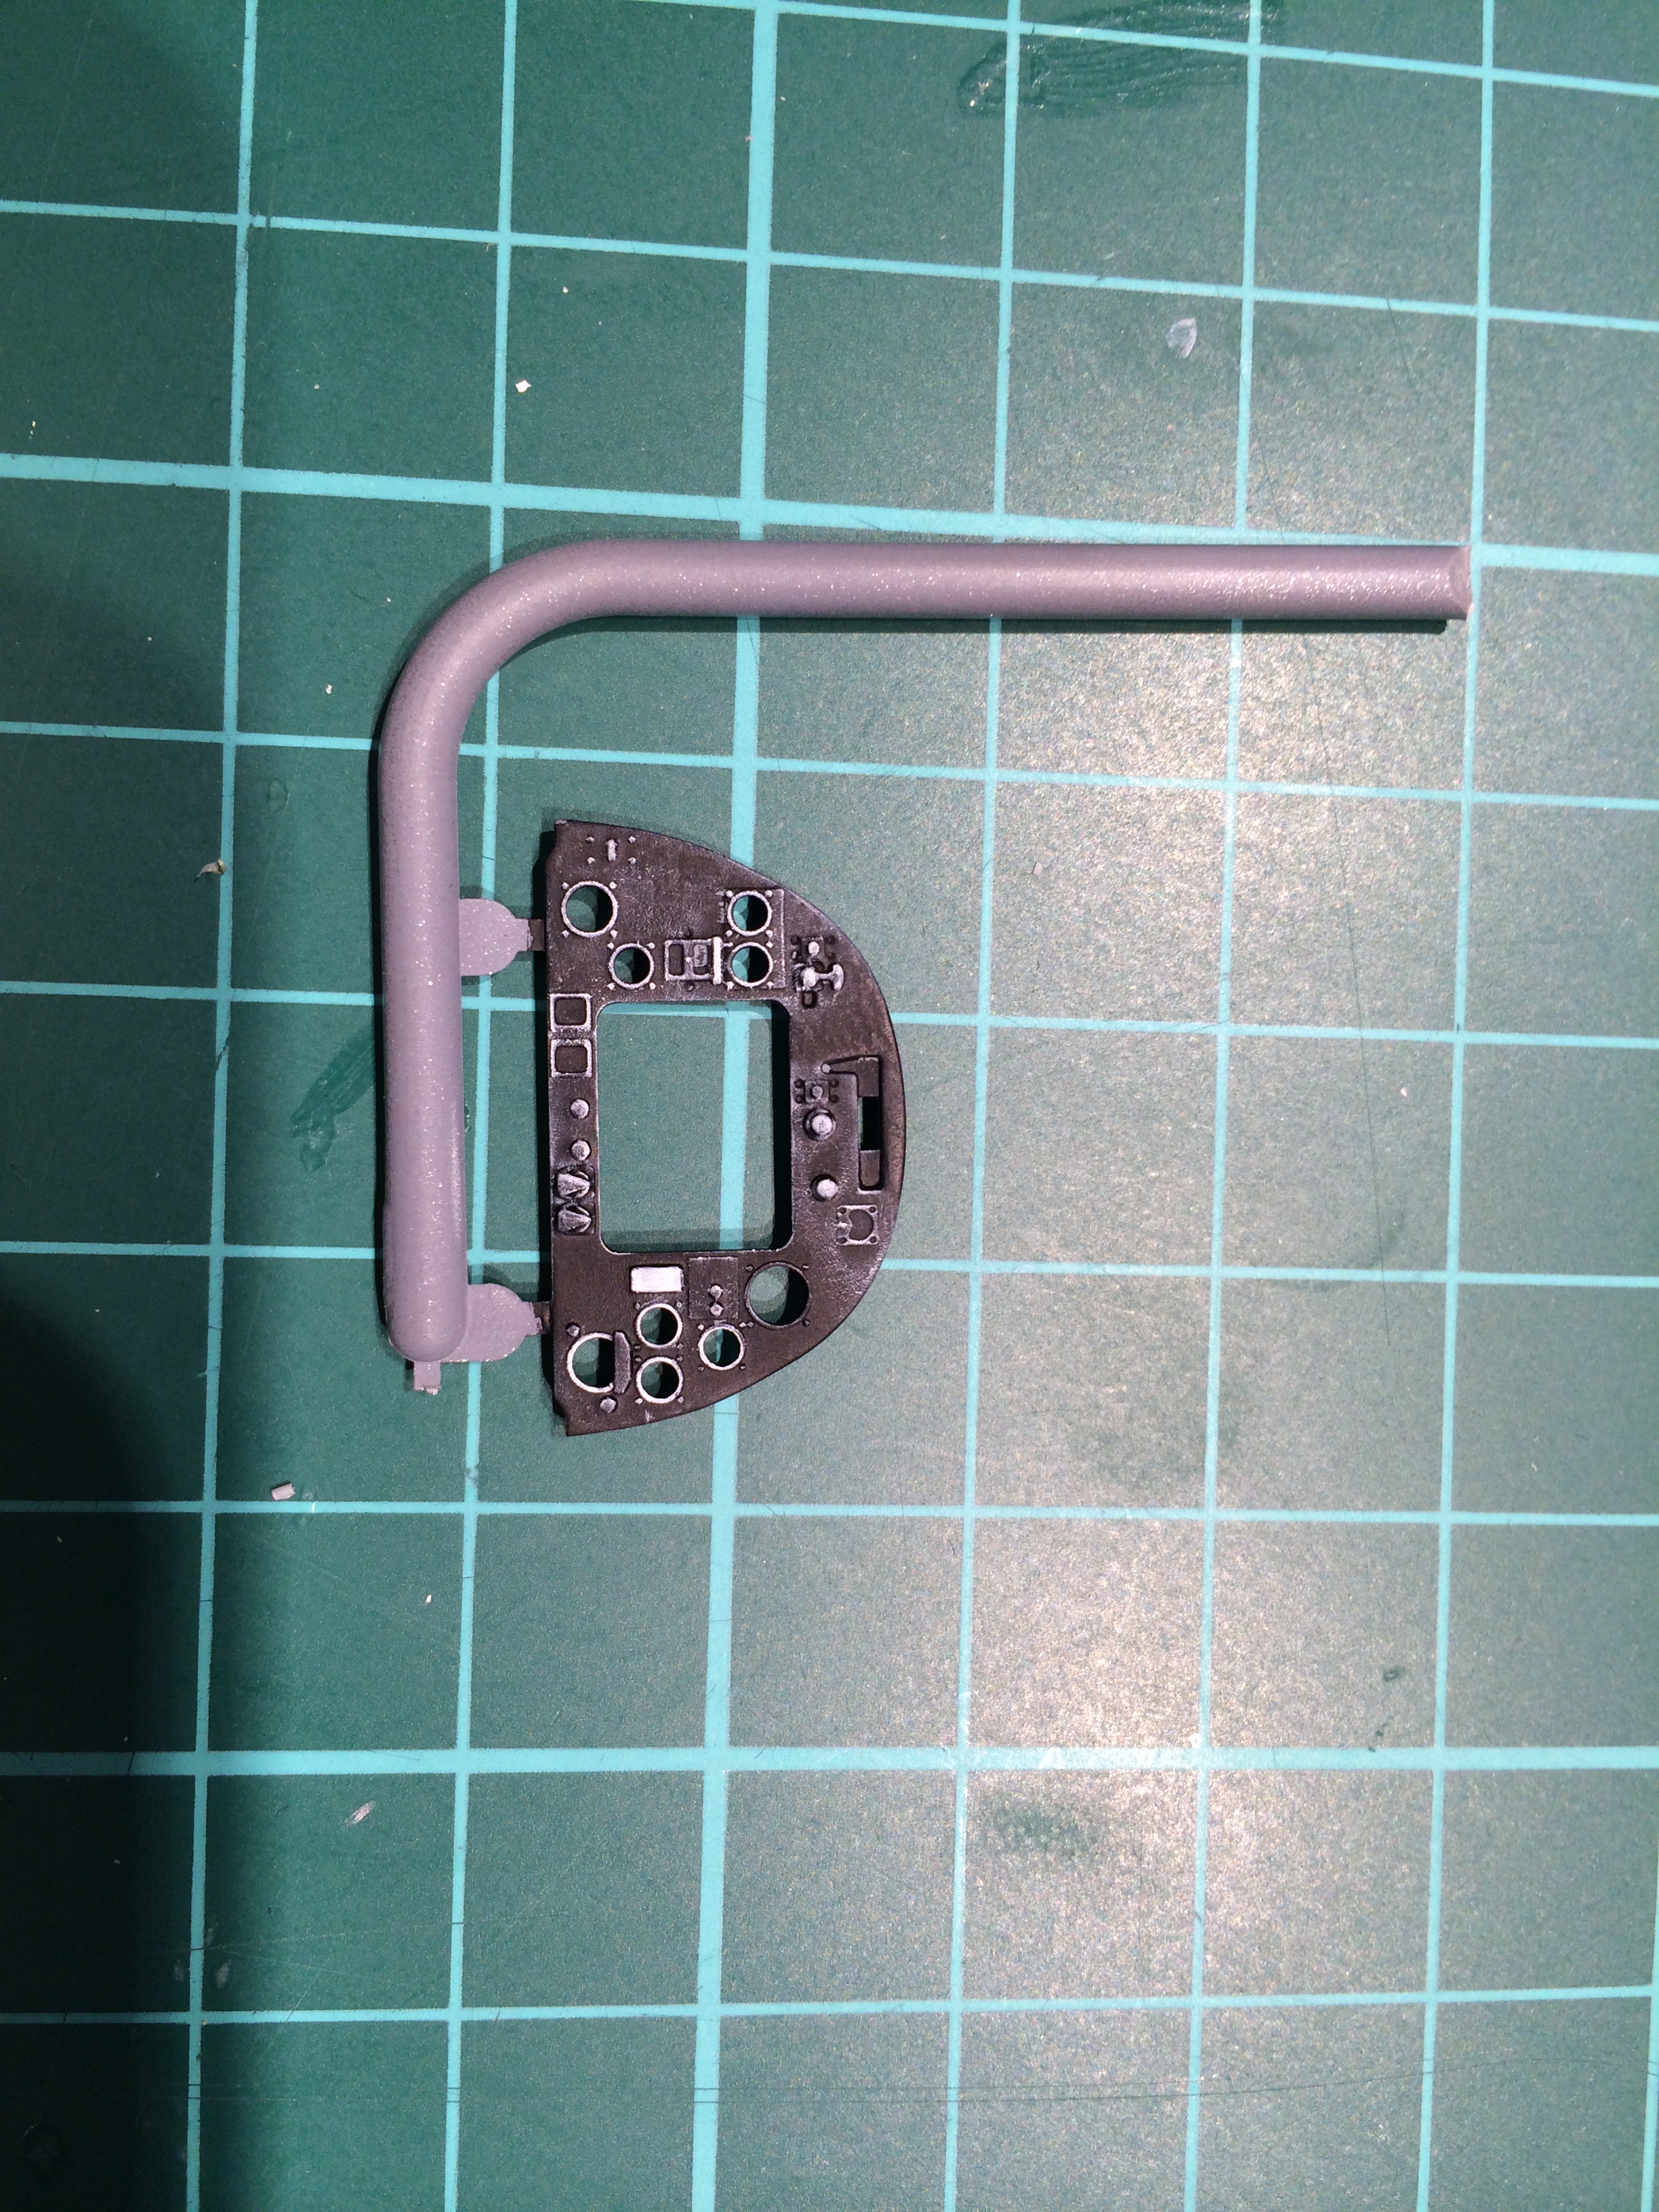
Here is the fascia all painted, I used the kit parts, as they are very good
It’s also had a coat of future
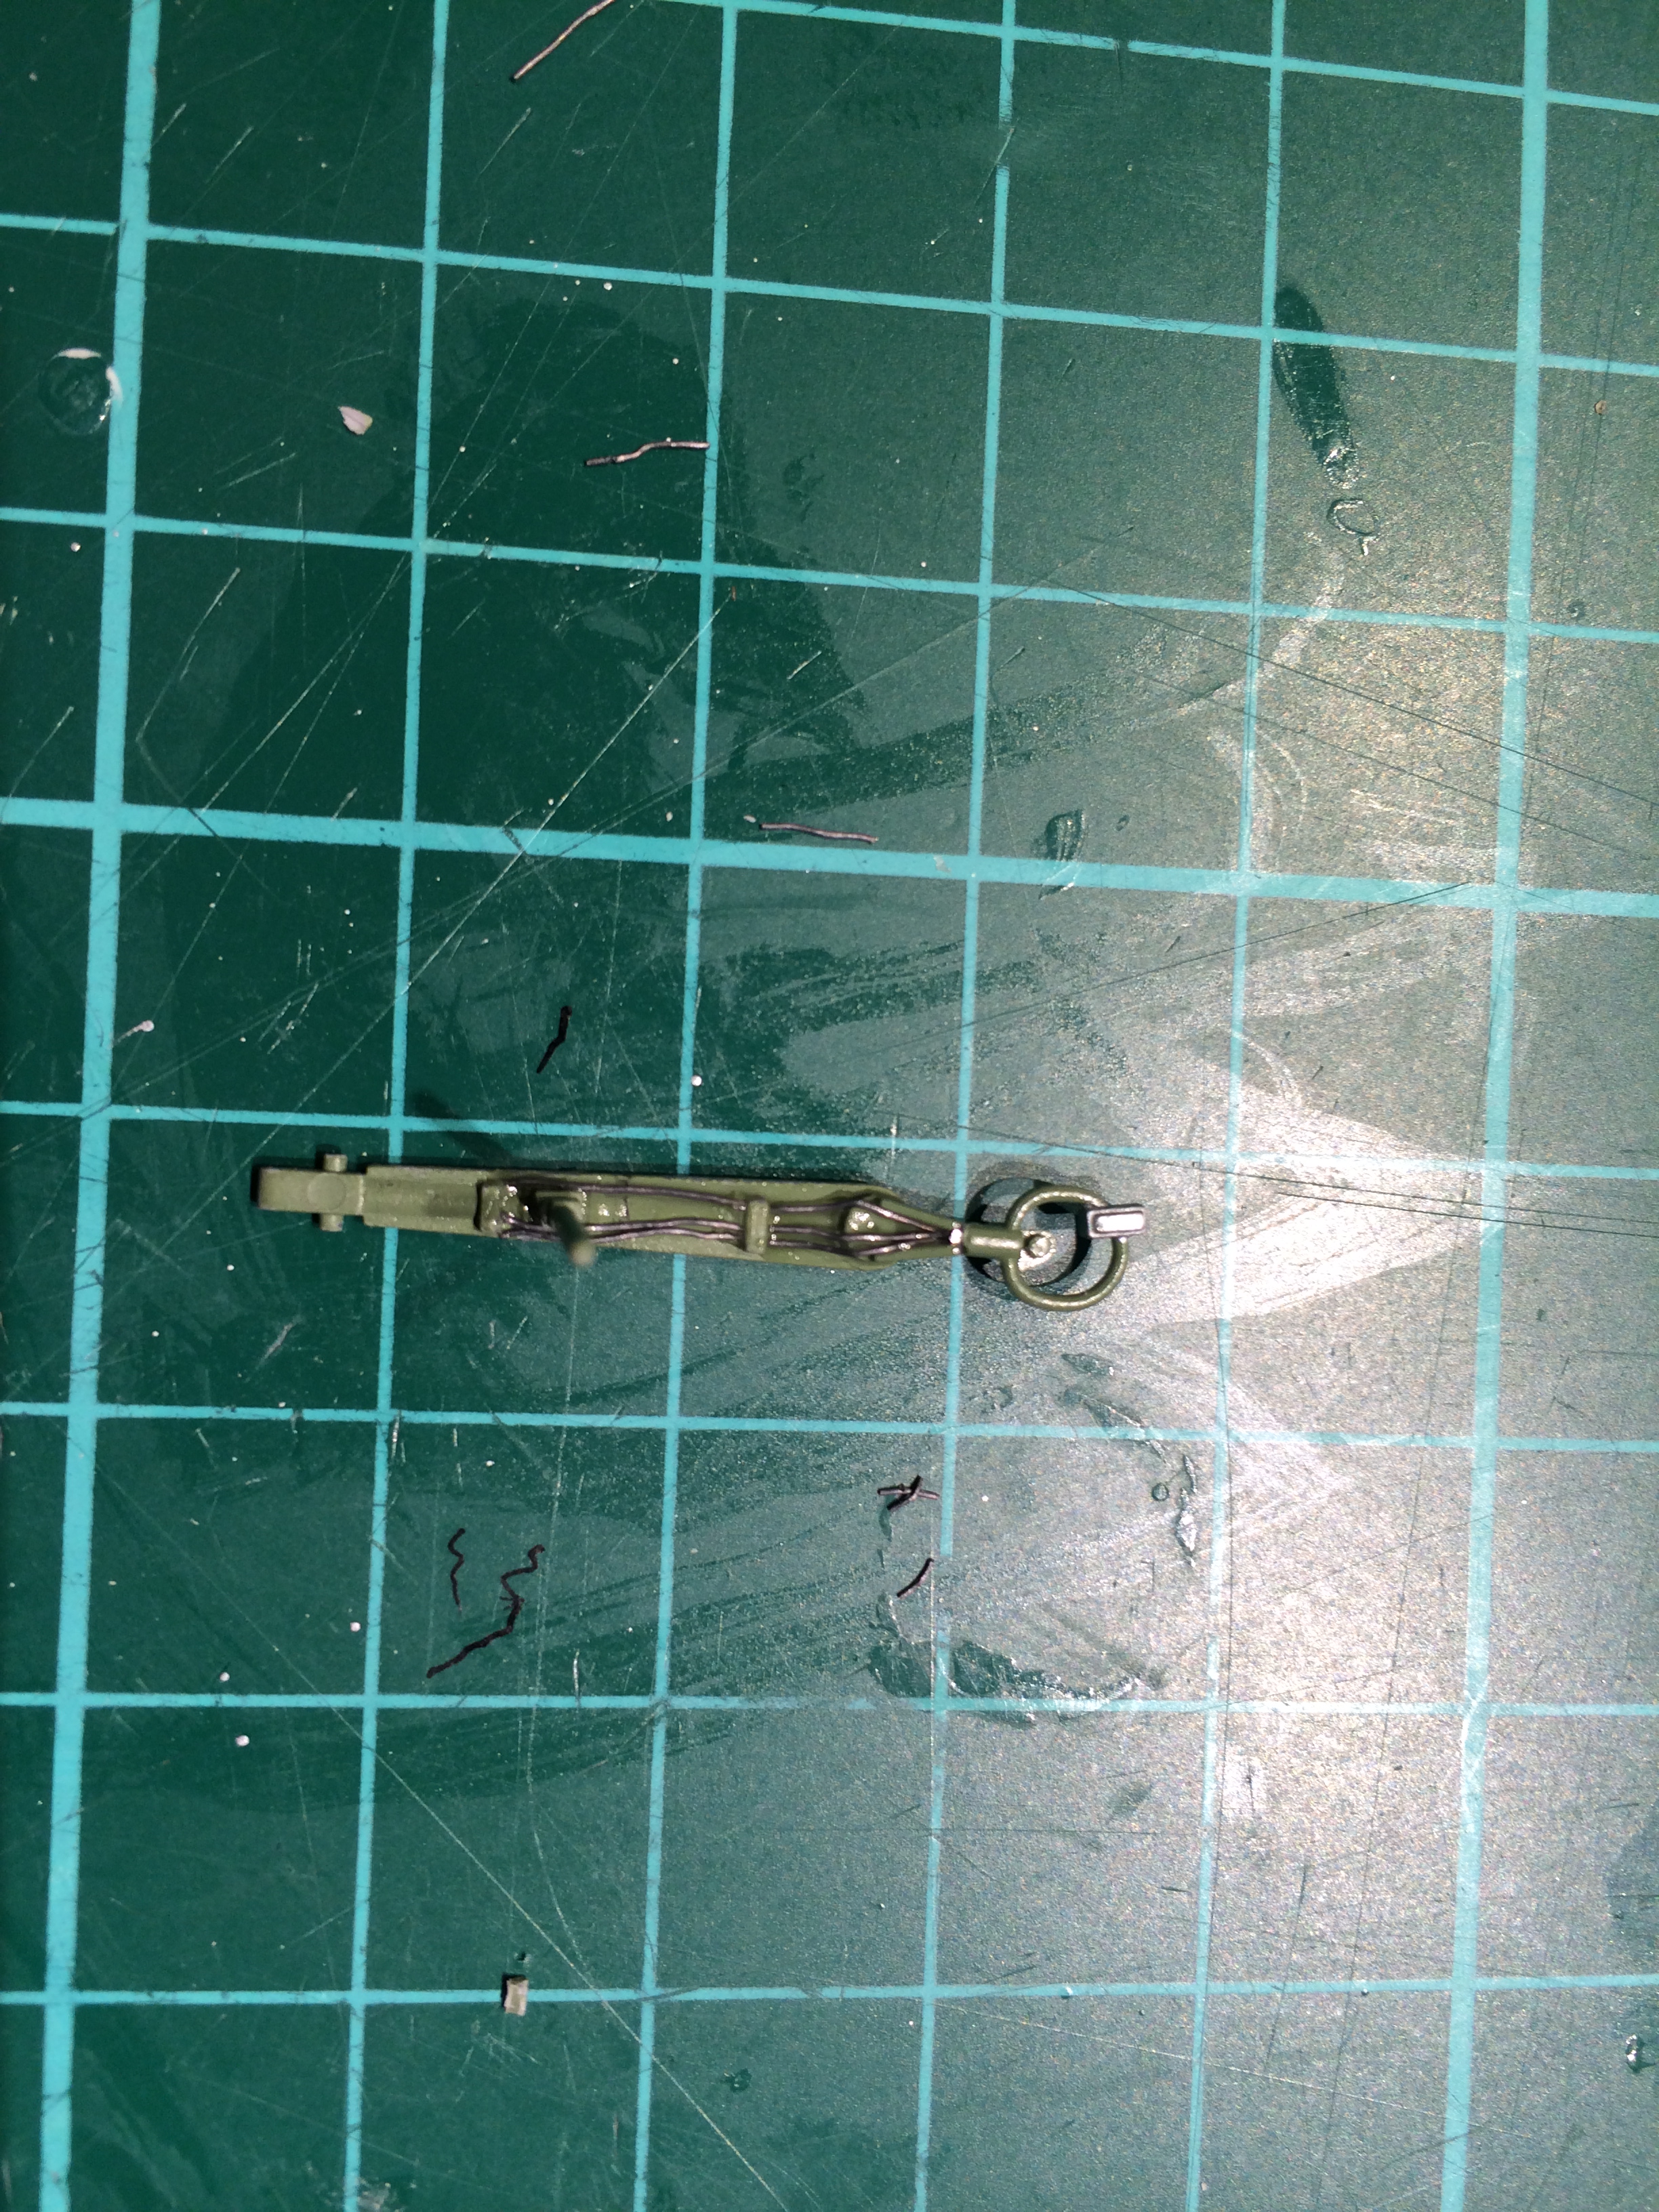
I added some wire to the control stick, looks a lot better
All painted and coated with future

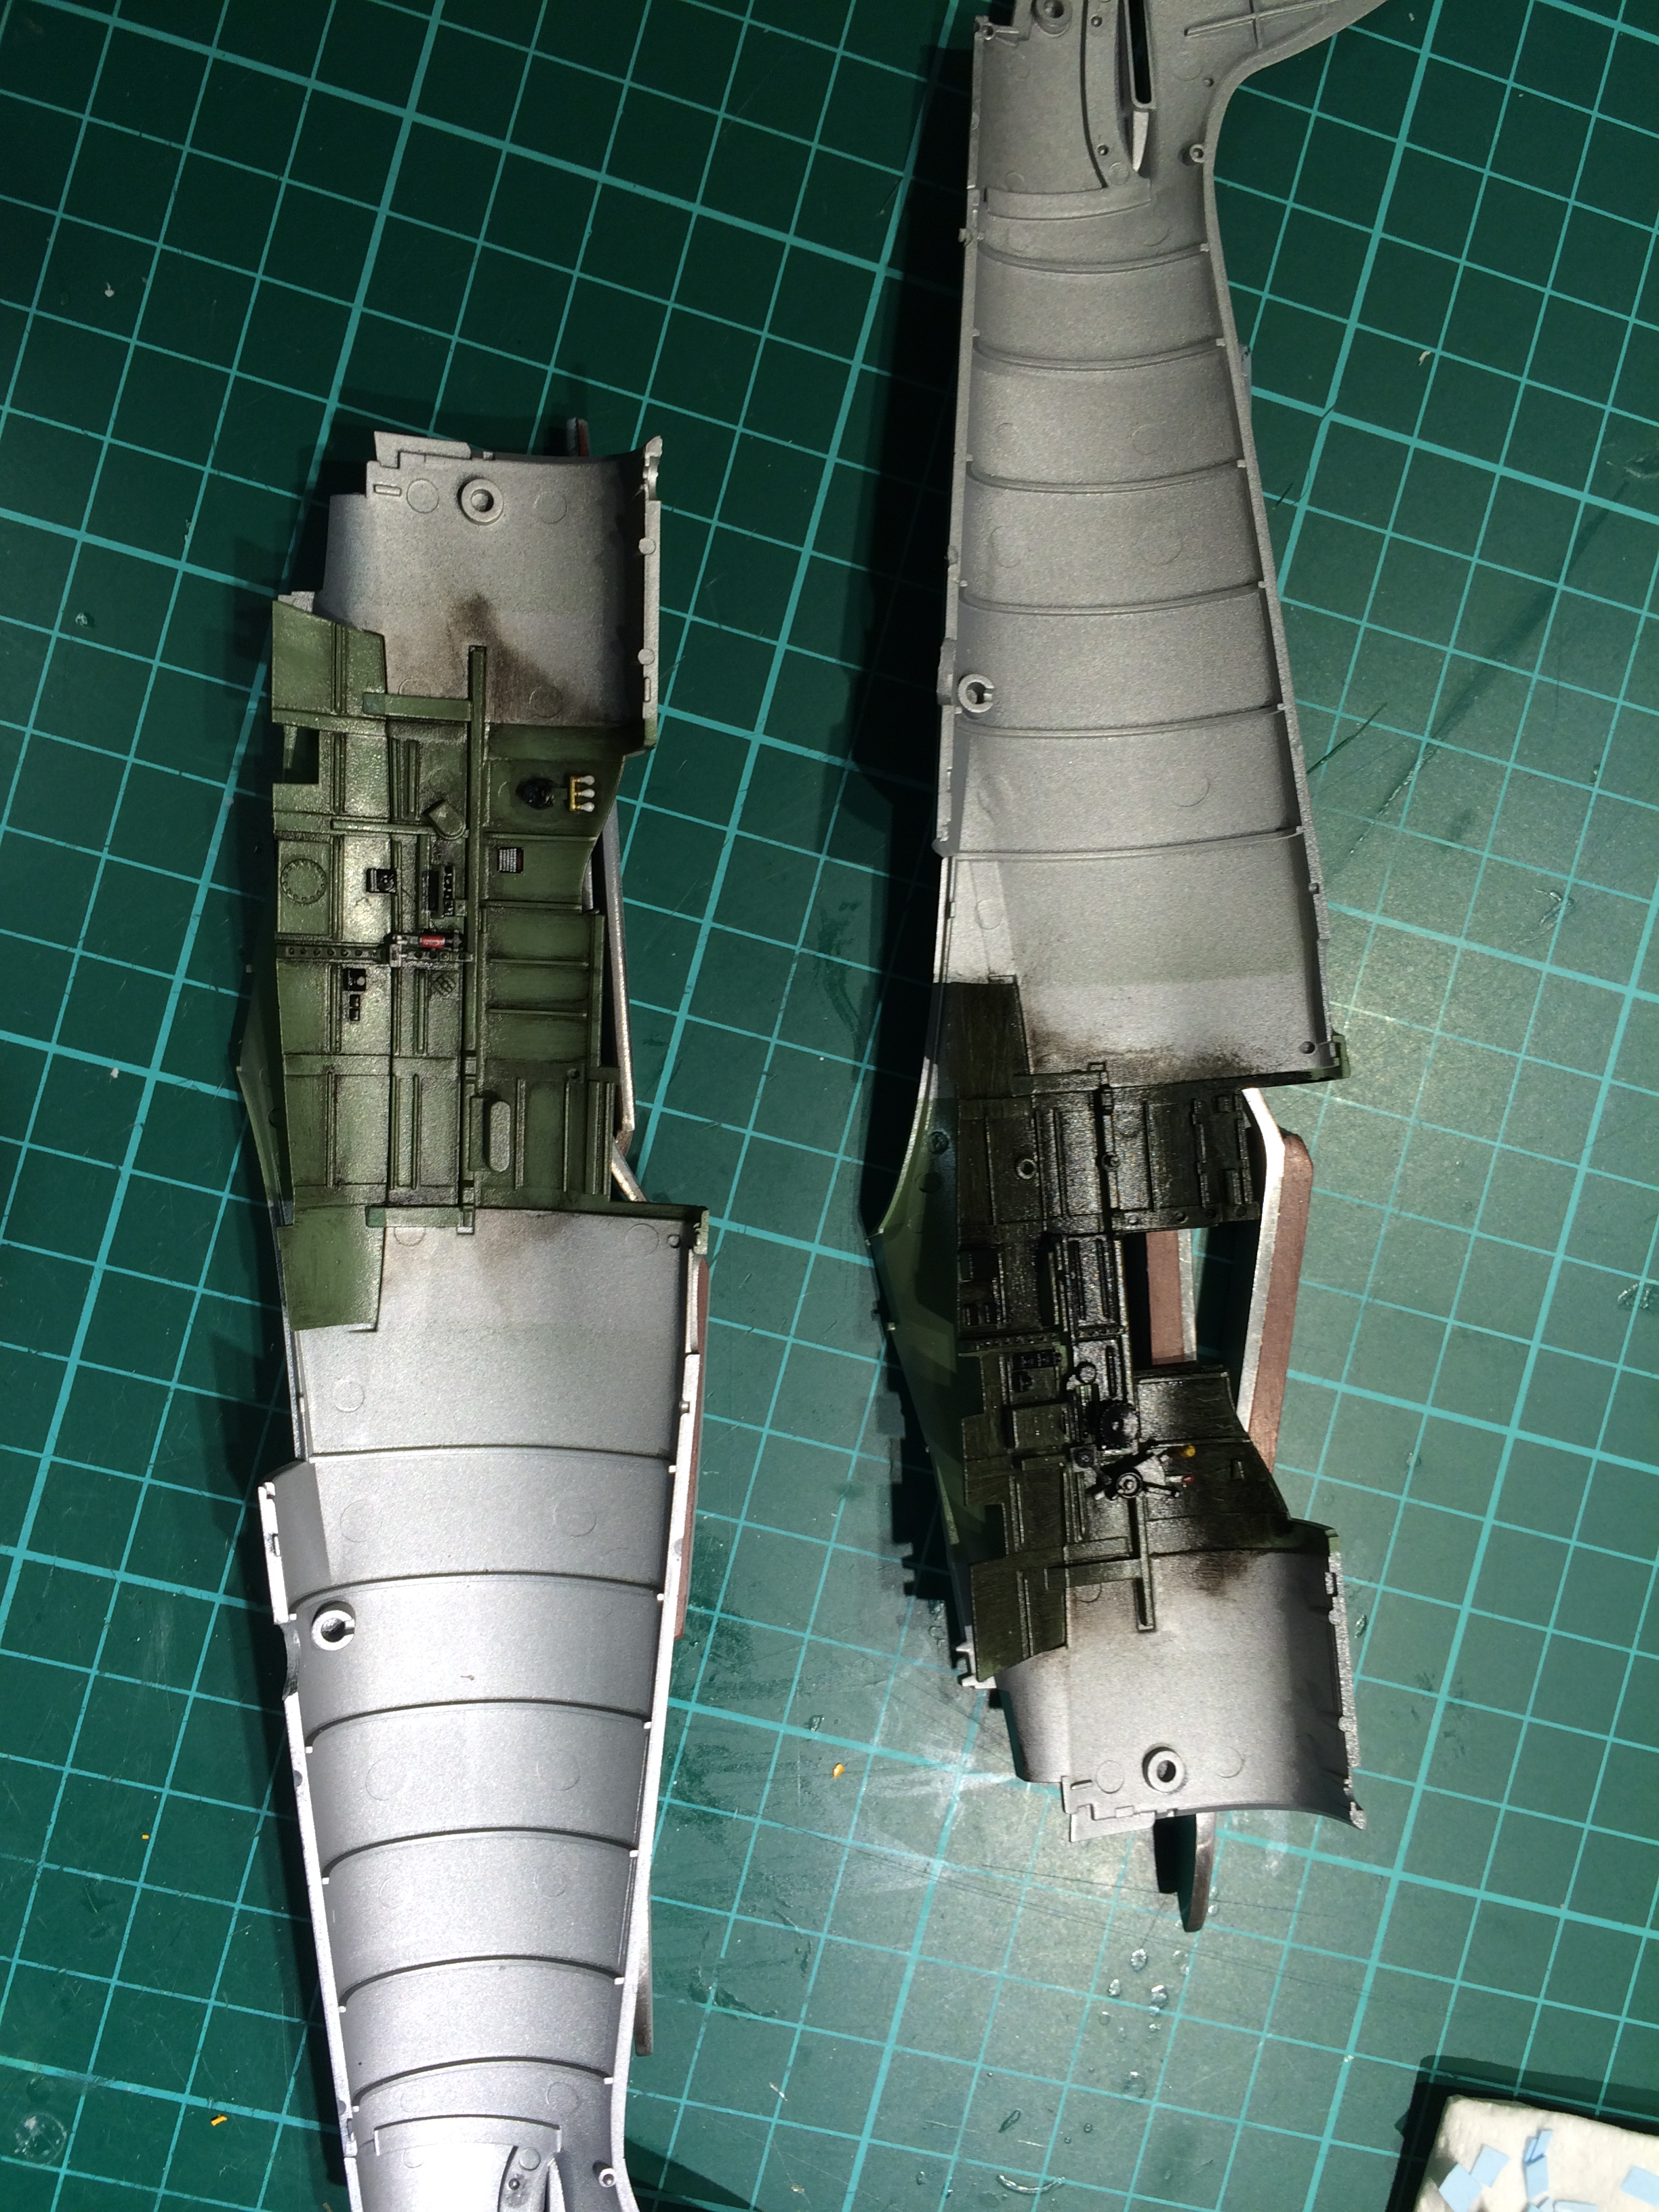
Here a coat of Flory models dark dirt is applied
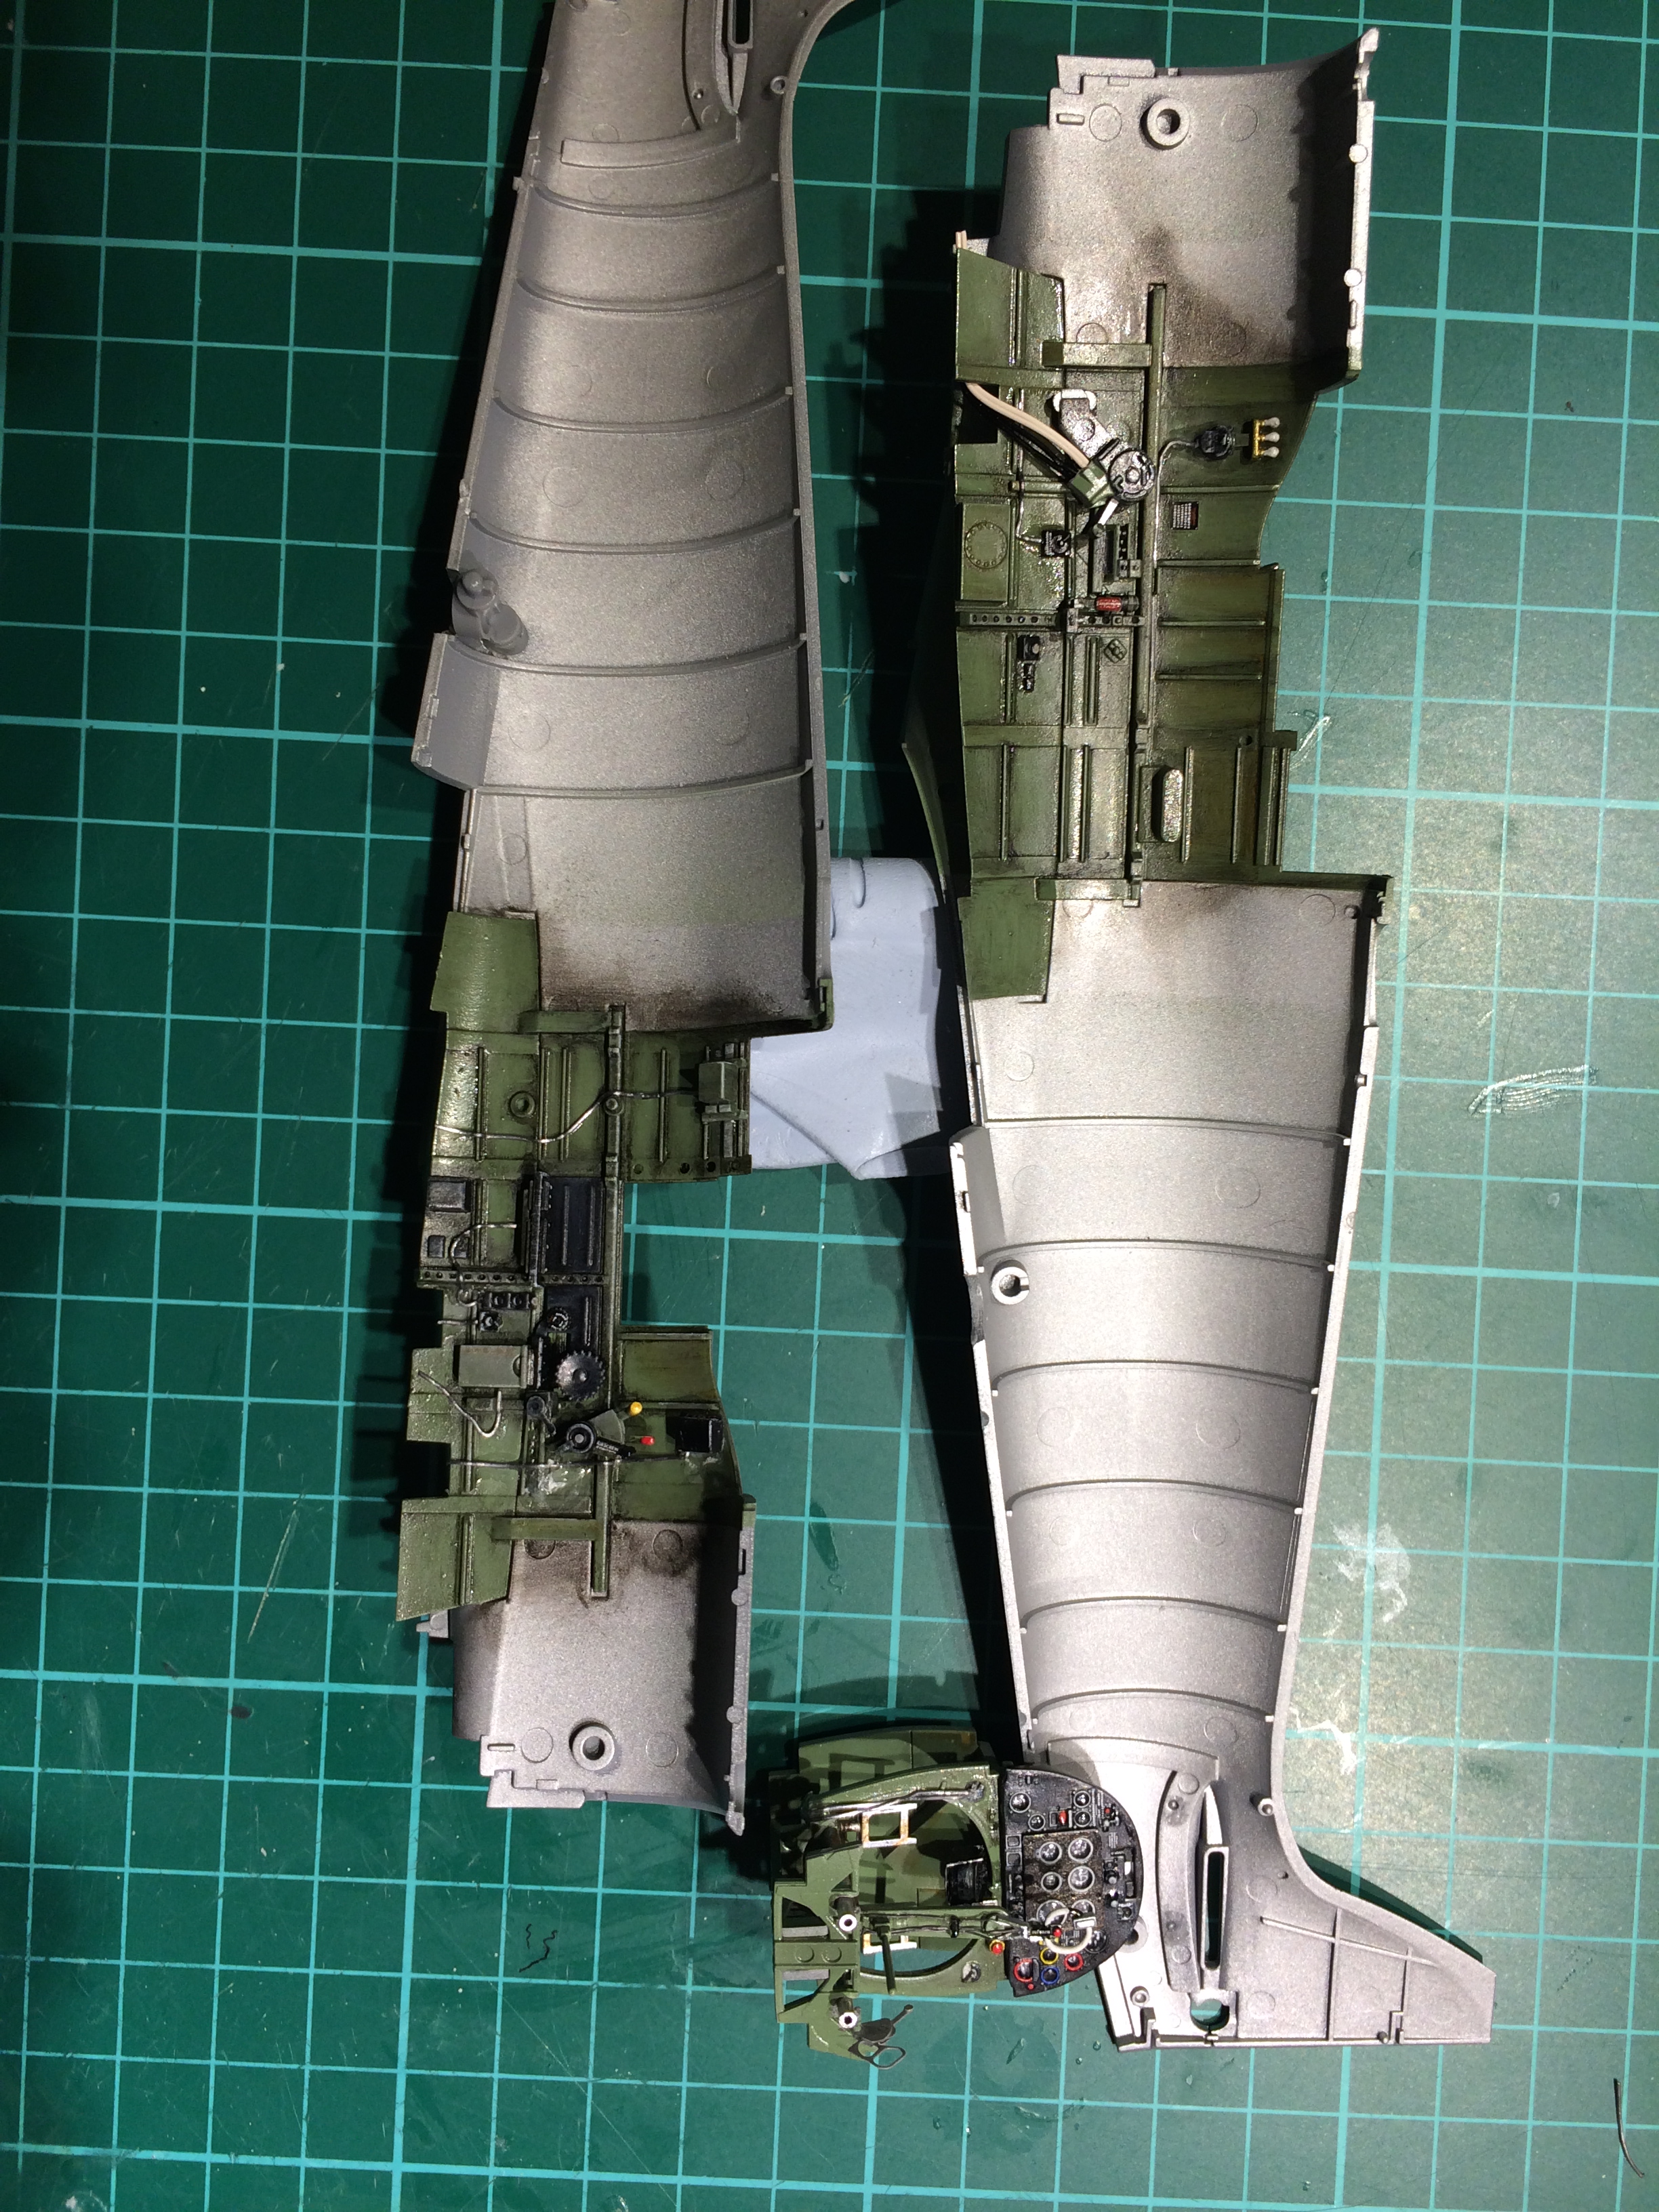
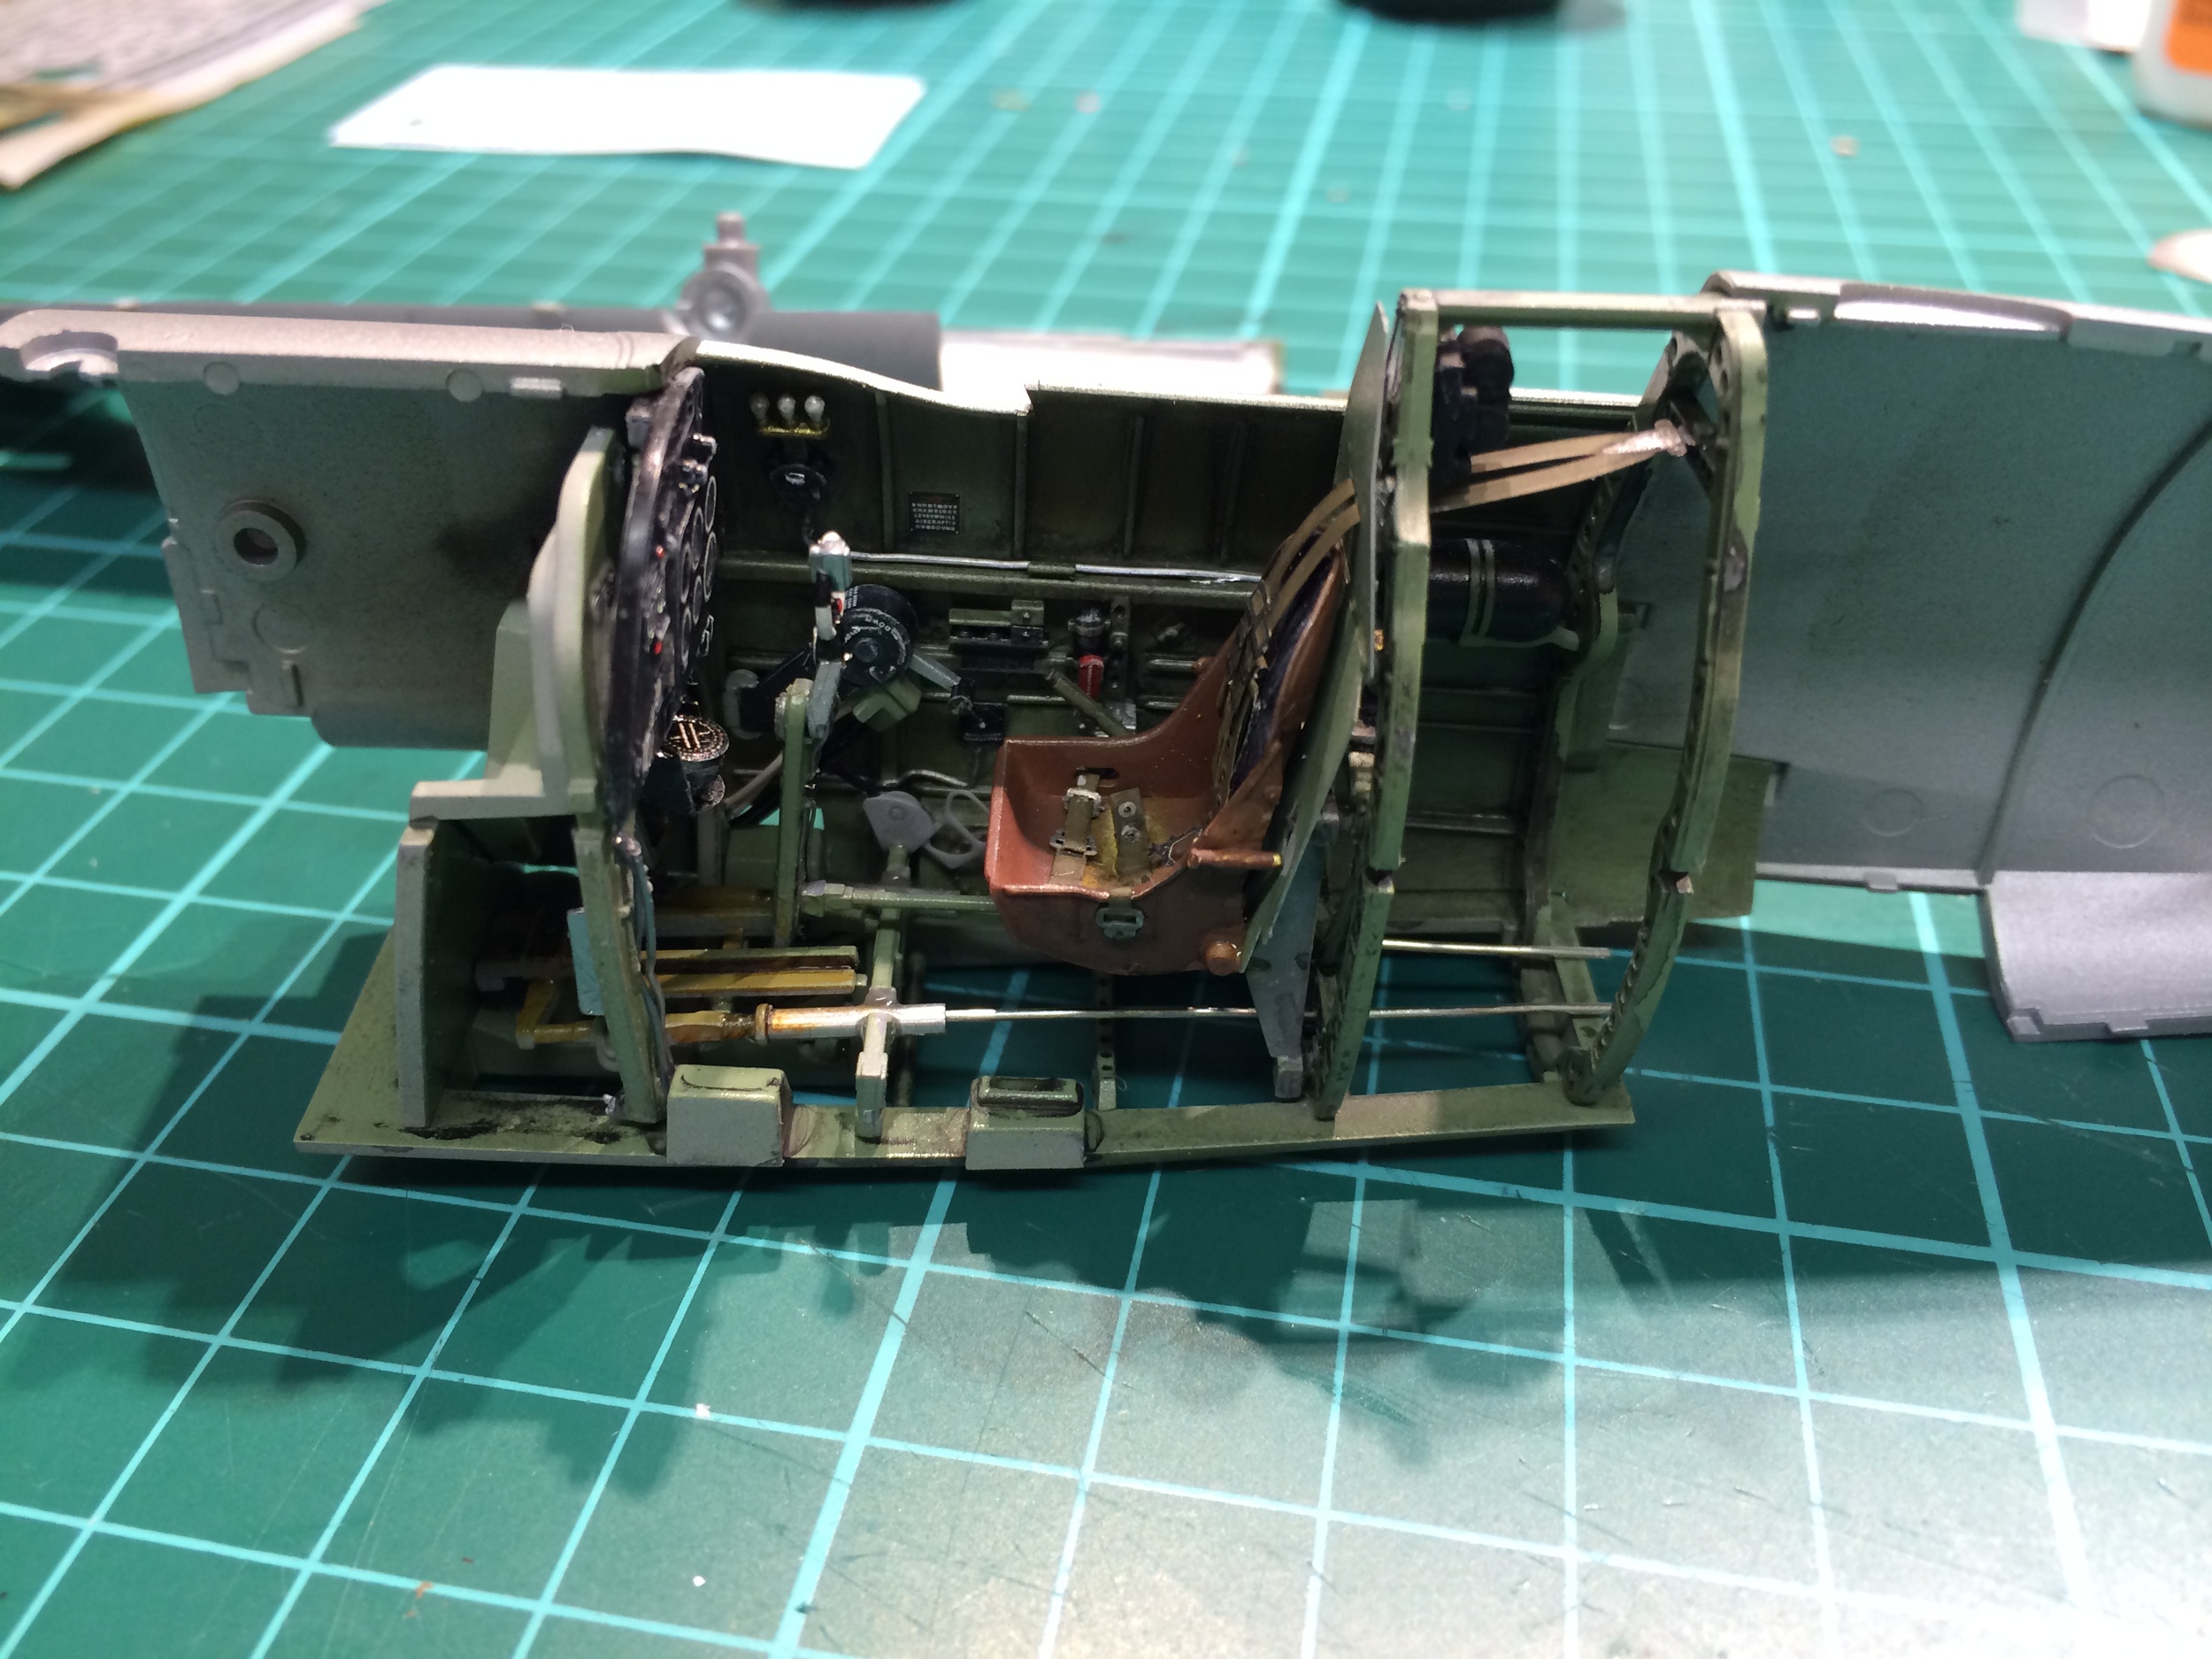
The seat and sidewalls are fixed in
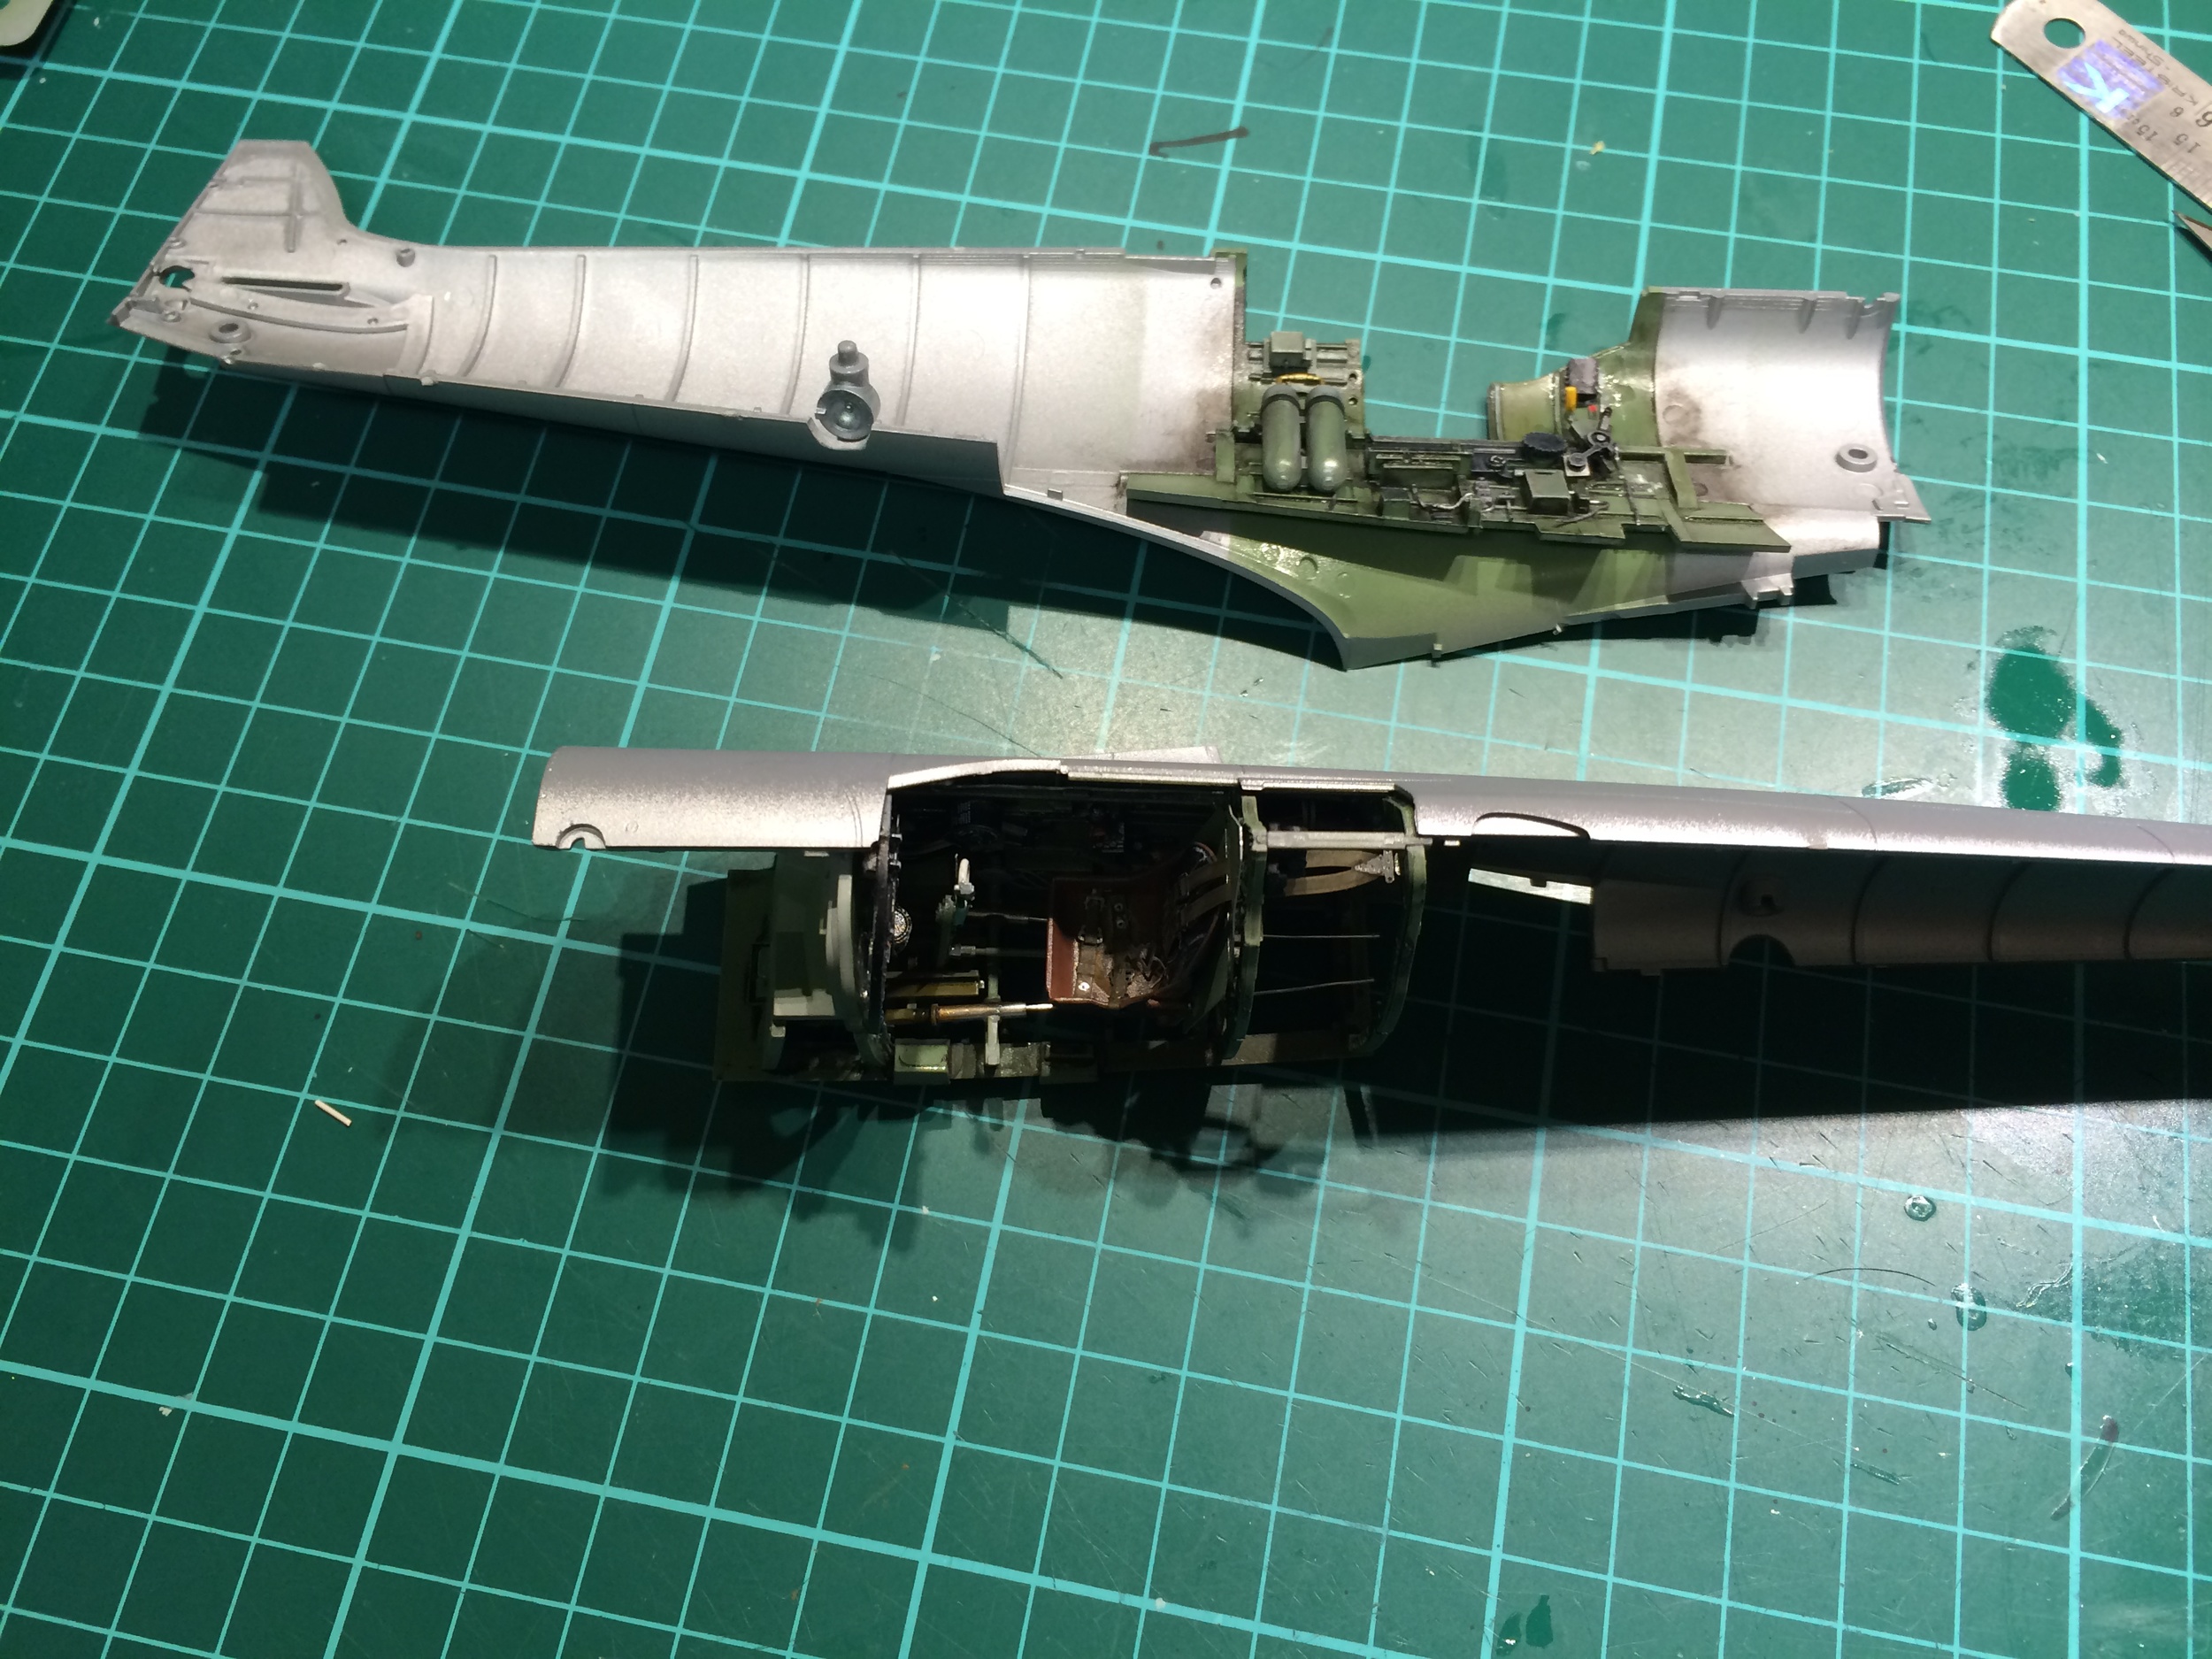
Here you can see the wires for the rear flaps in place

Assembly of the wings and flaps
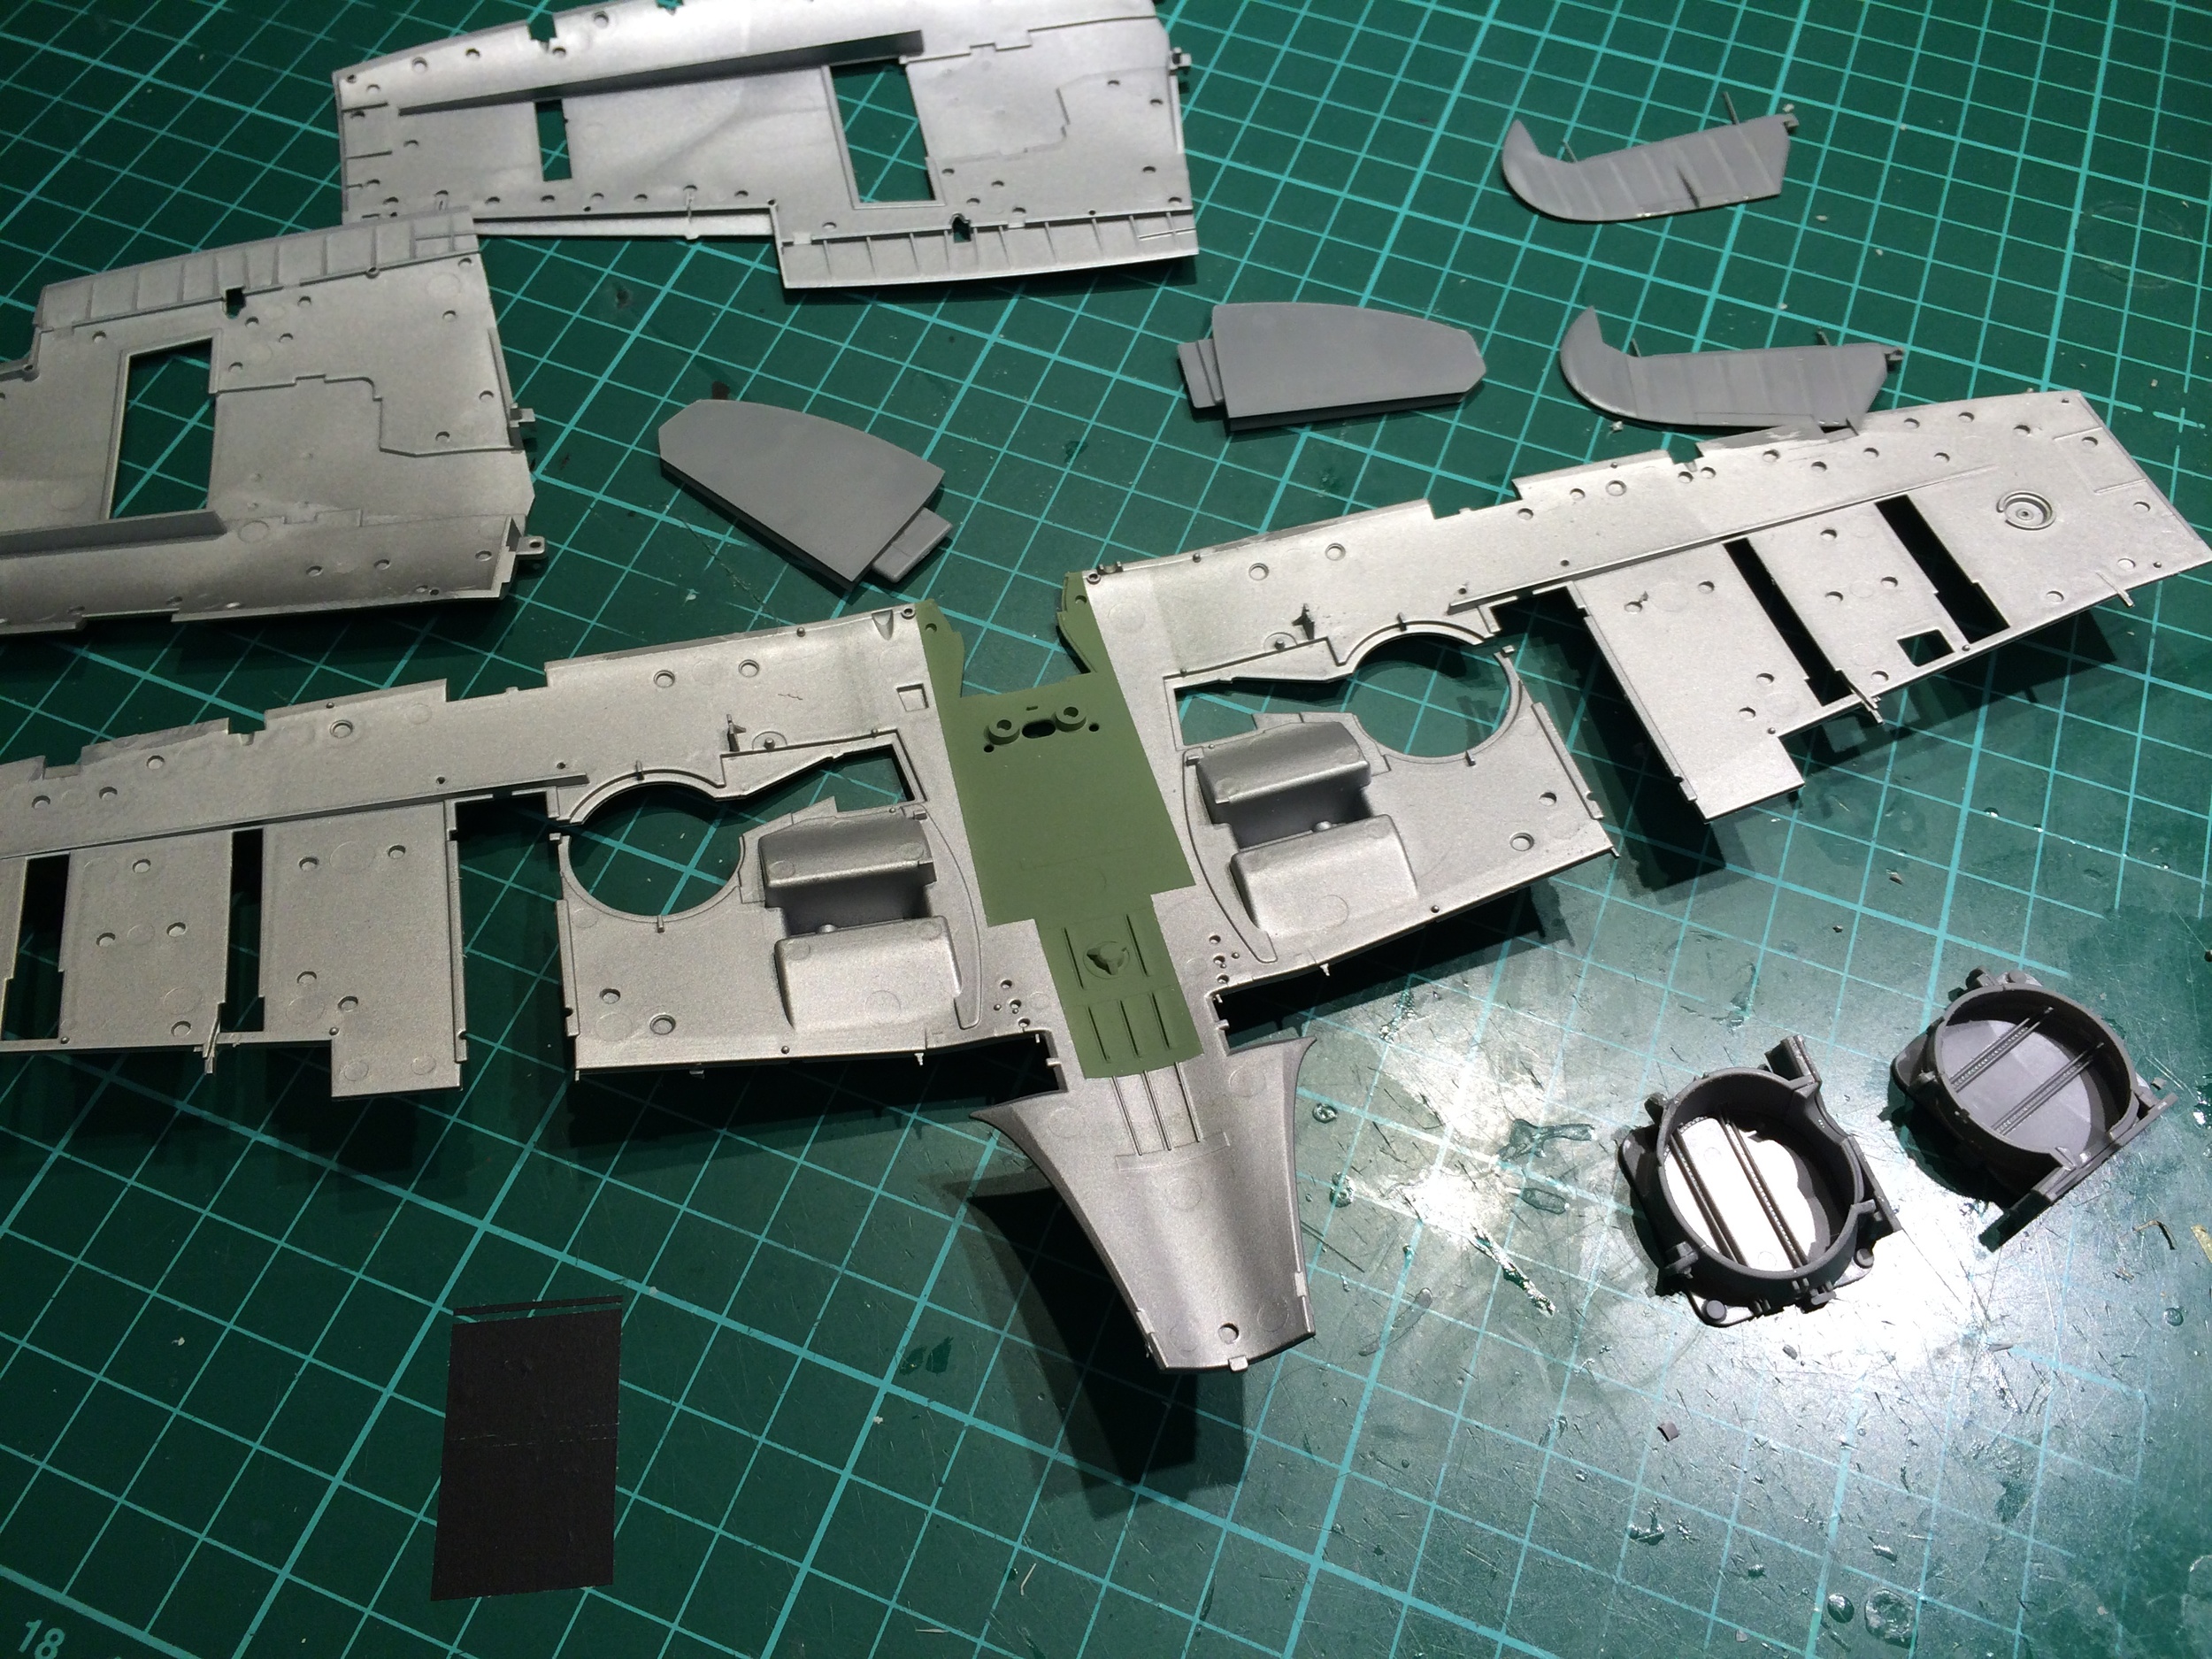
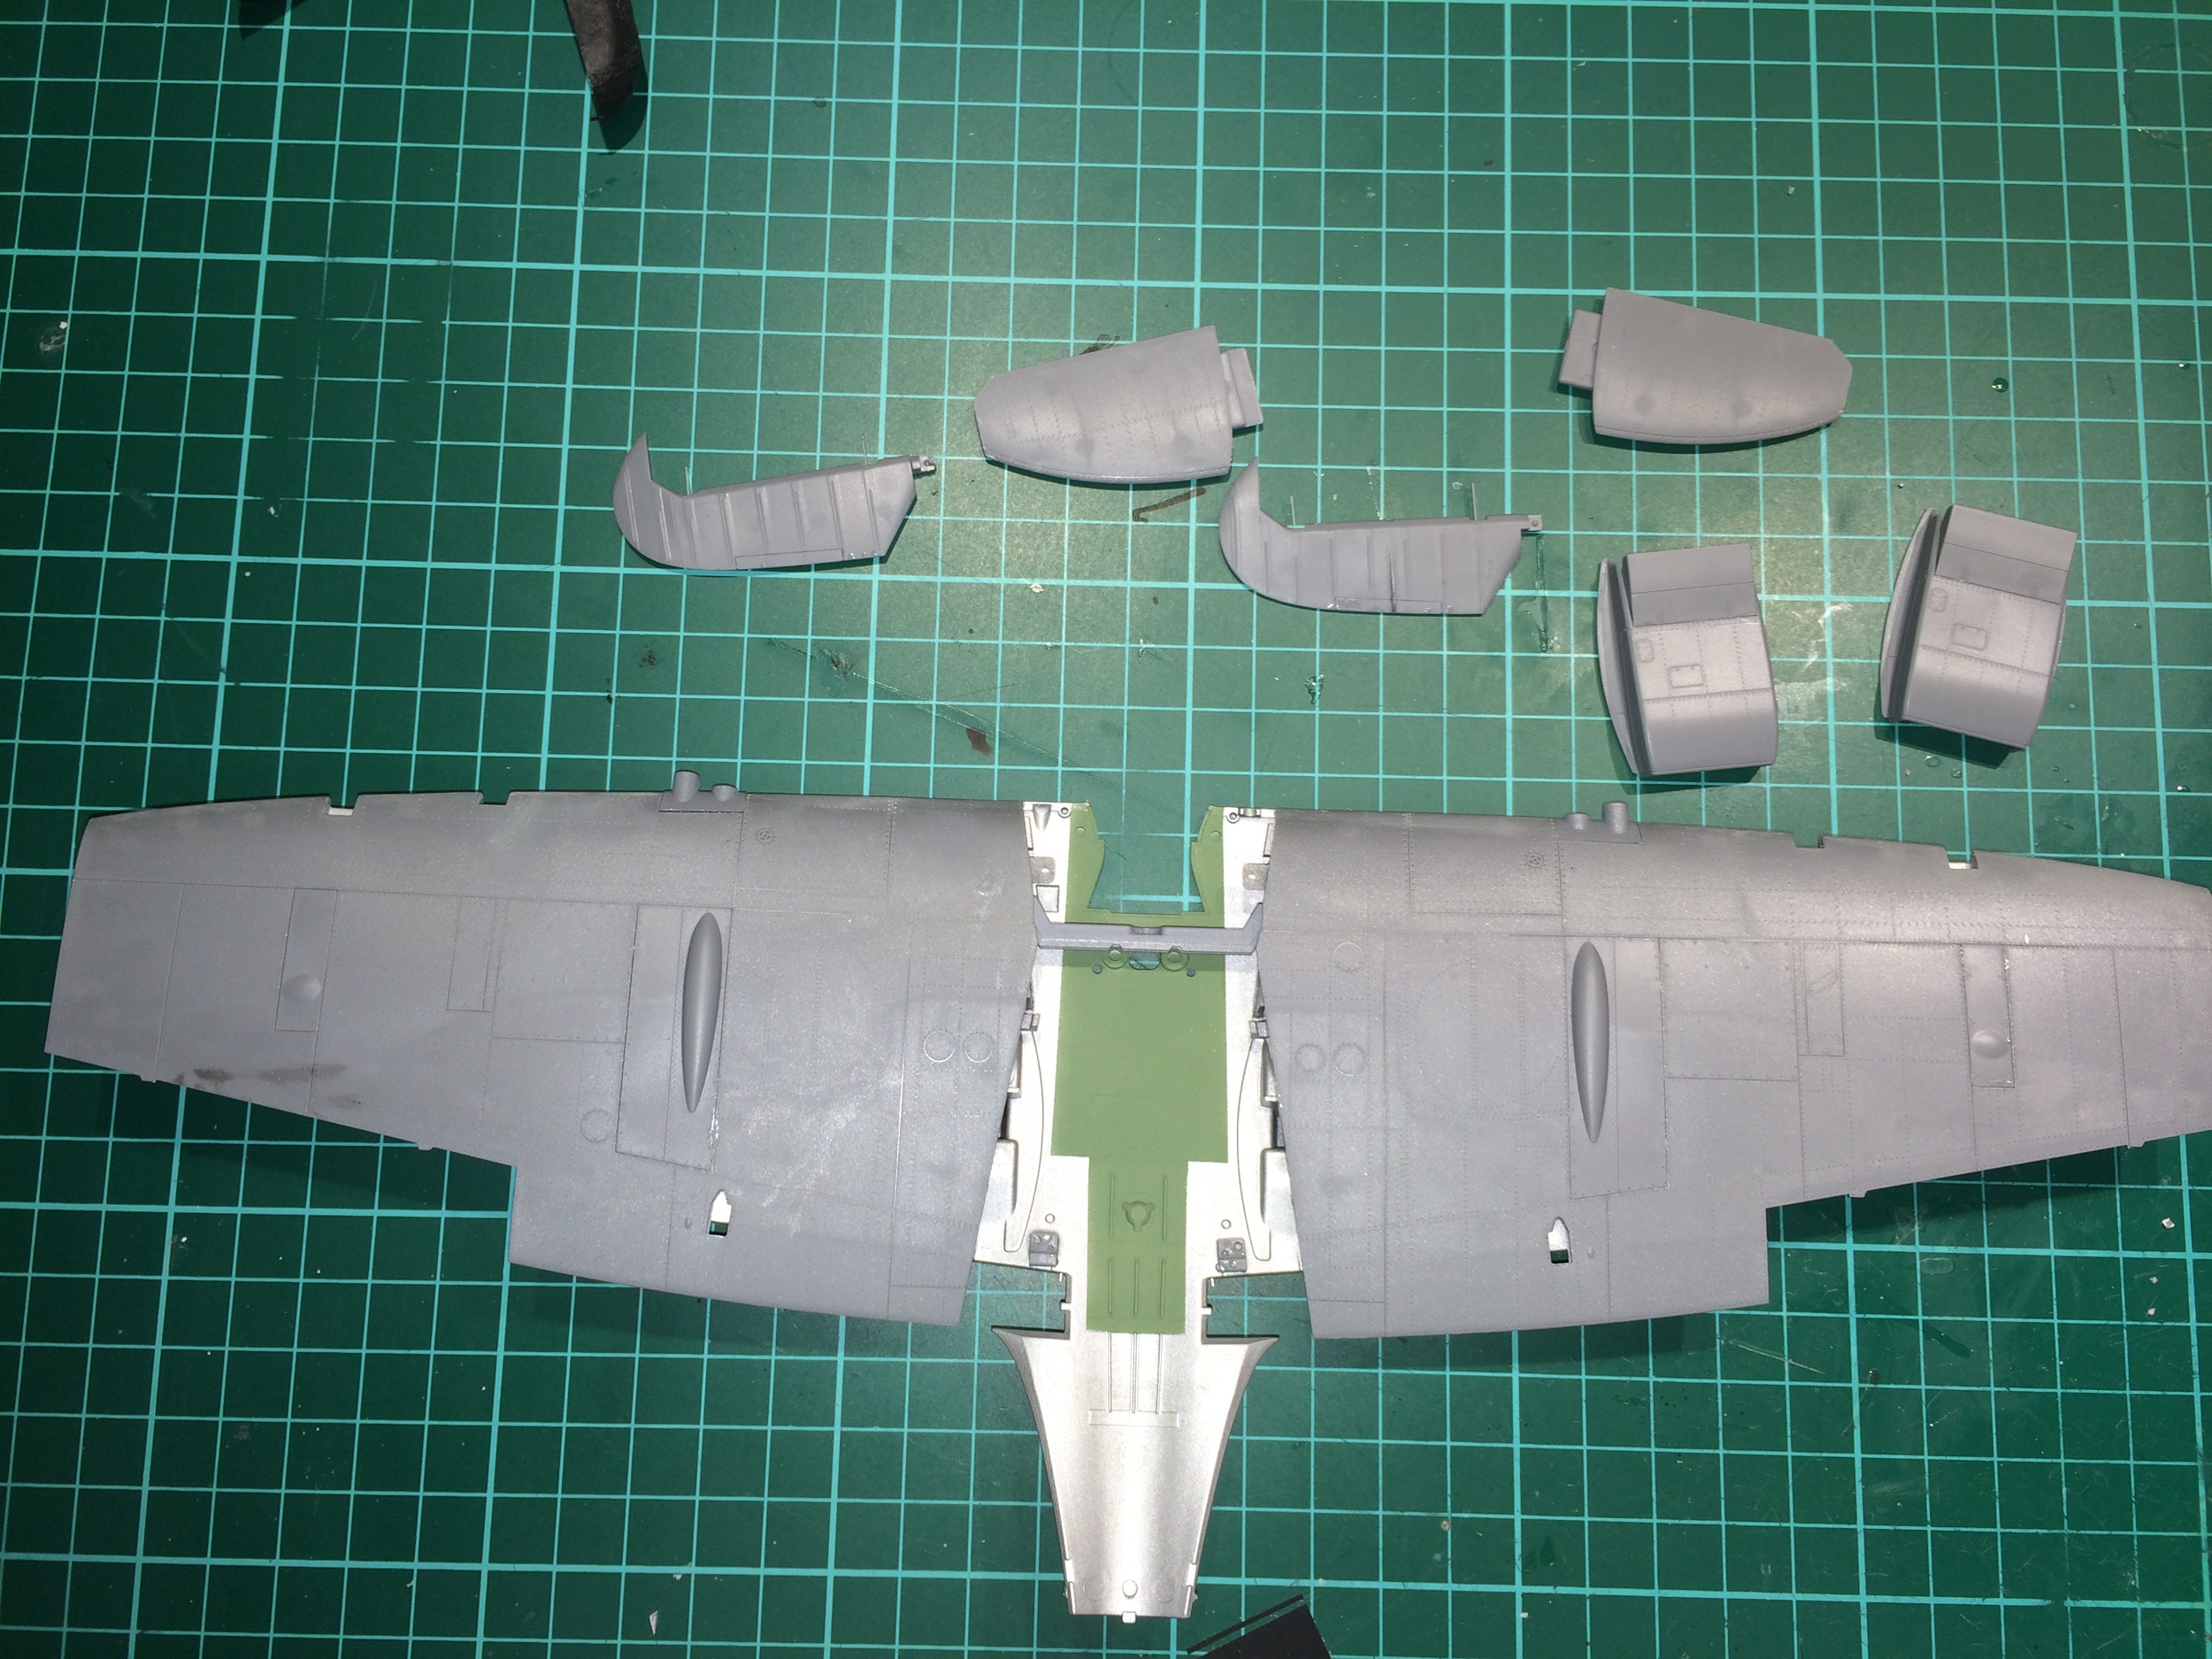
Small bit of filler in the wheel wells

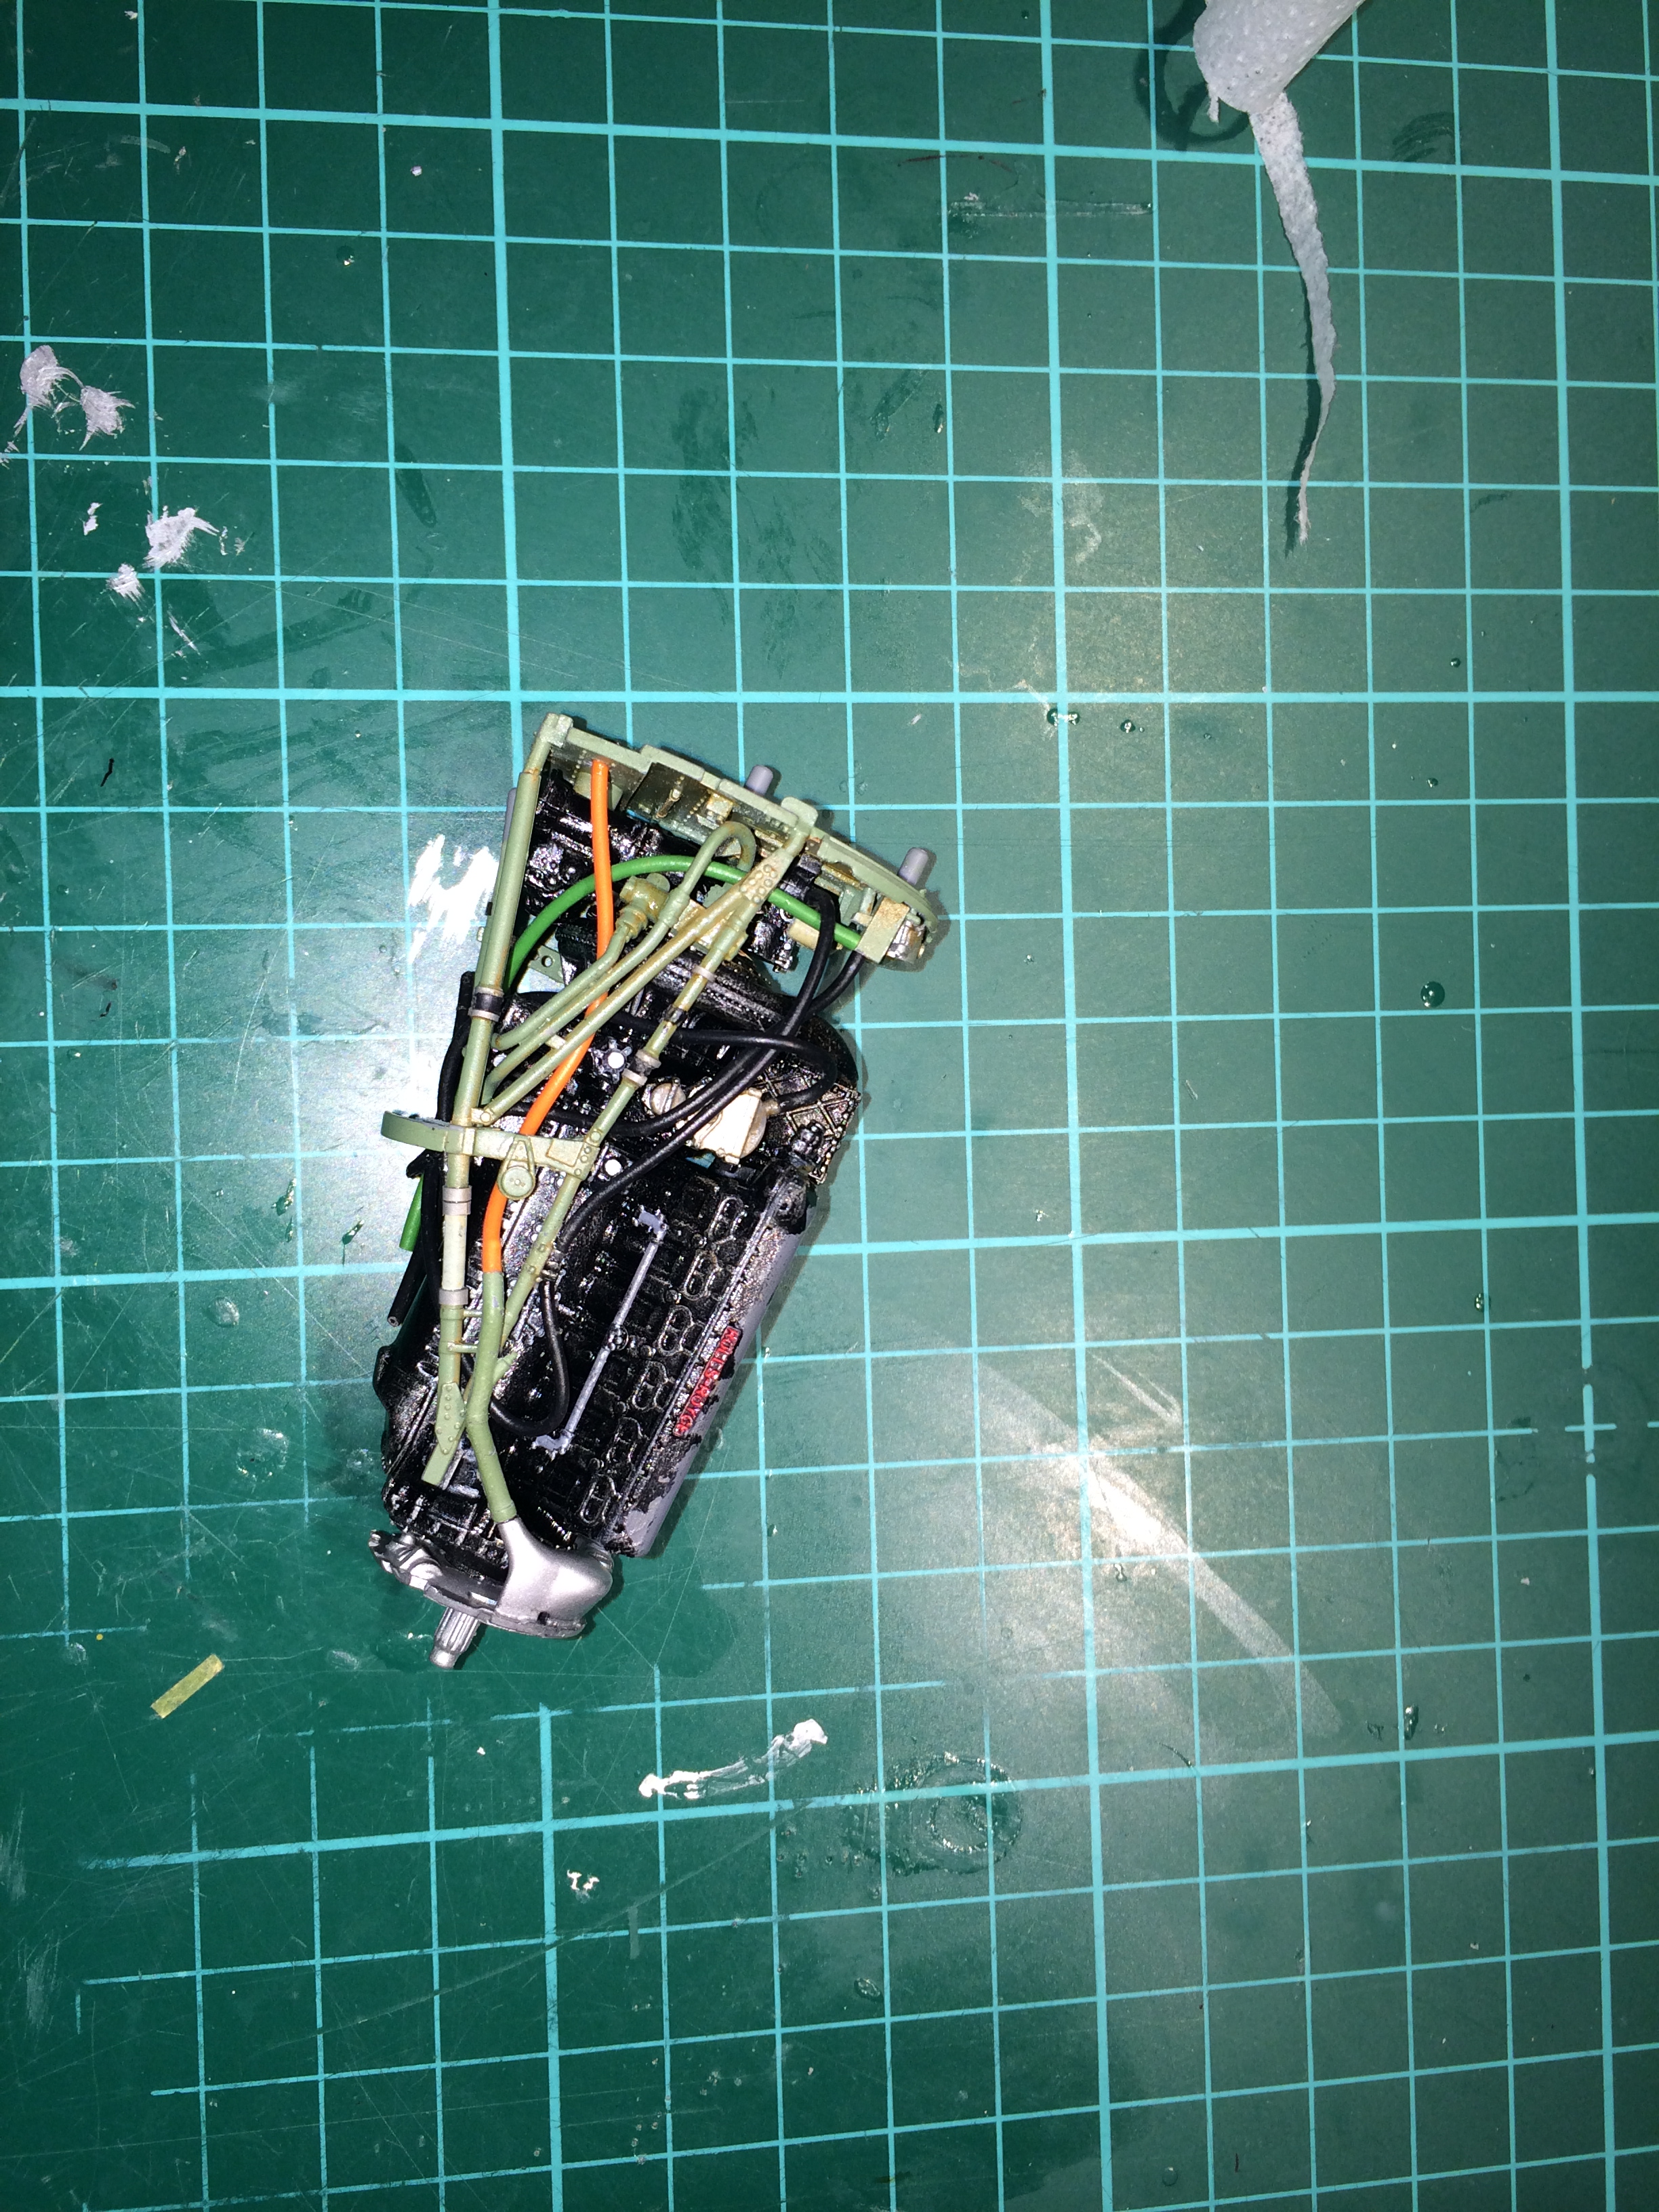
The engine build starts
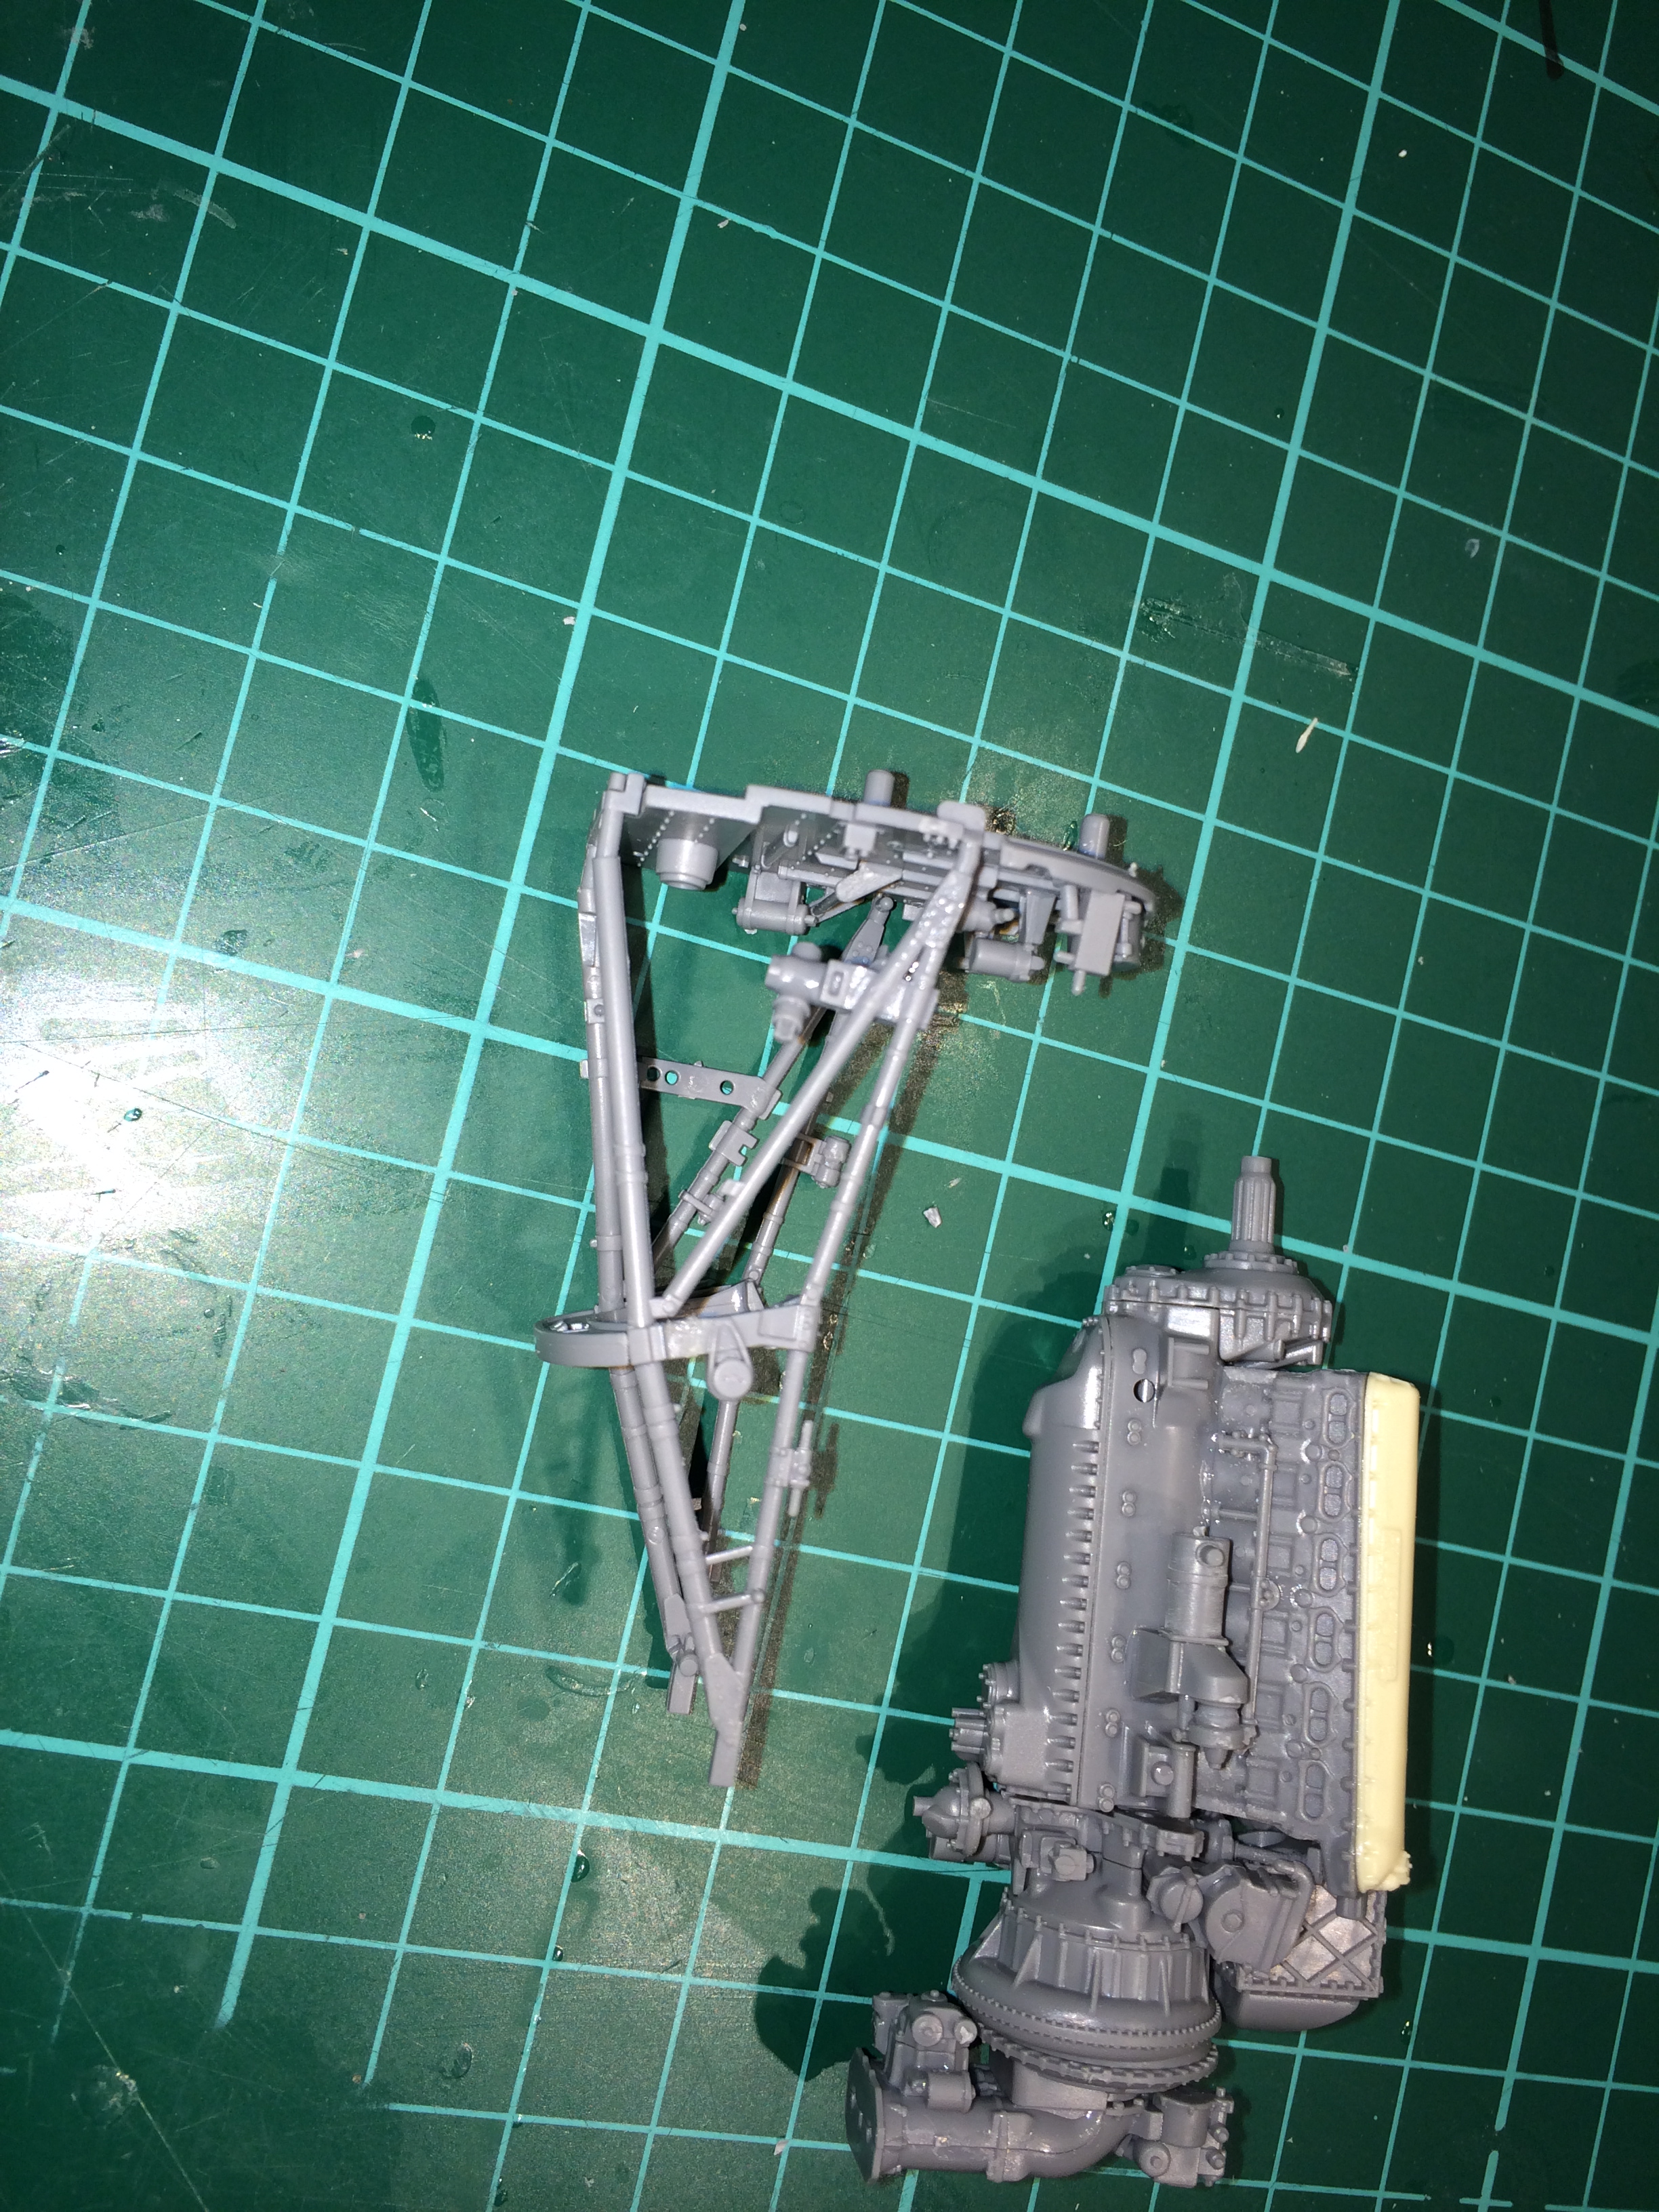
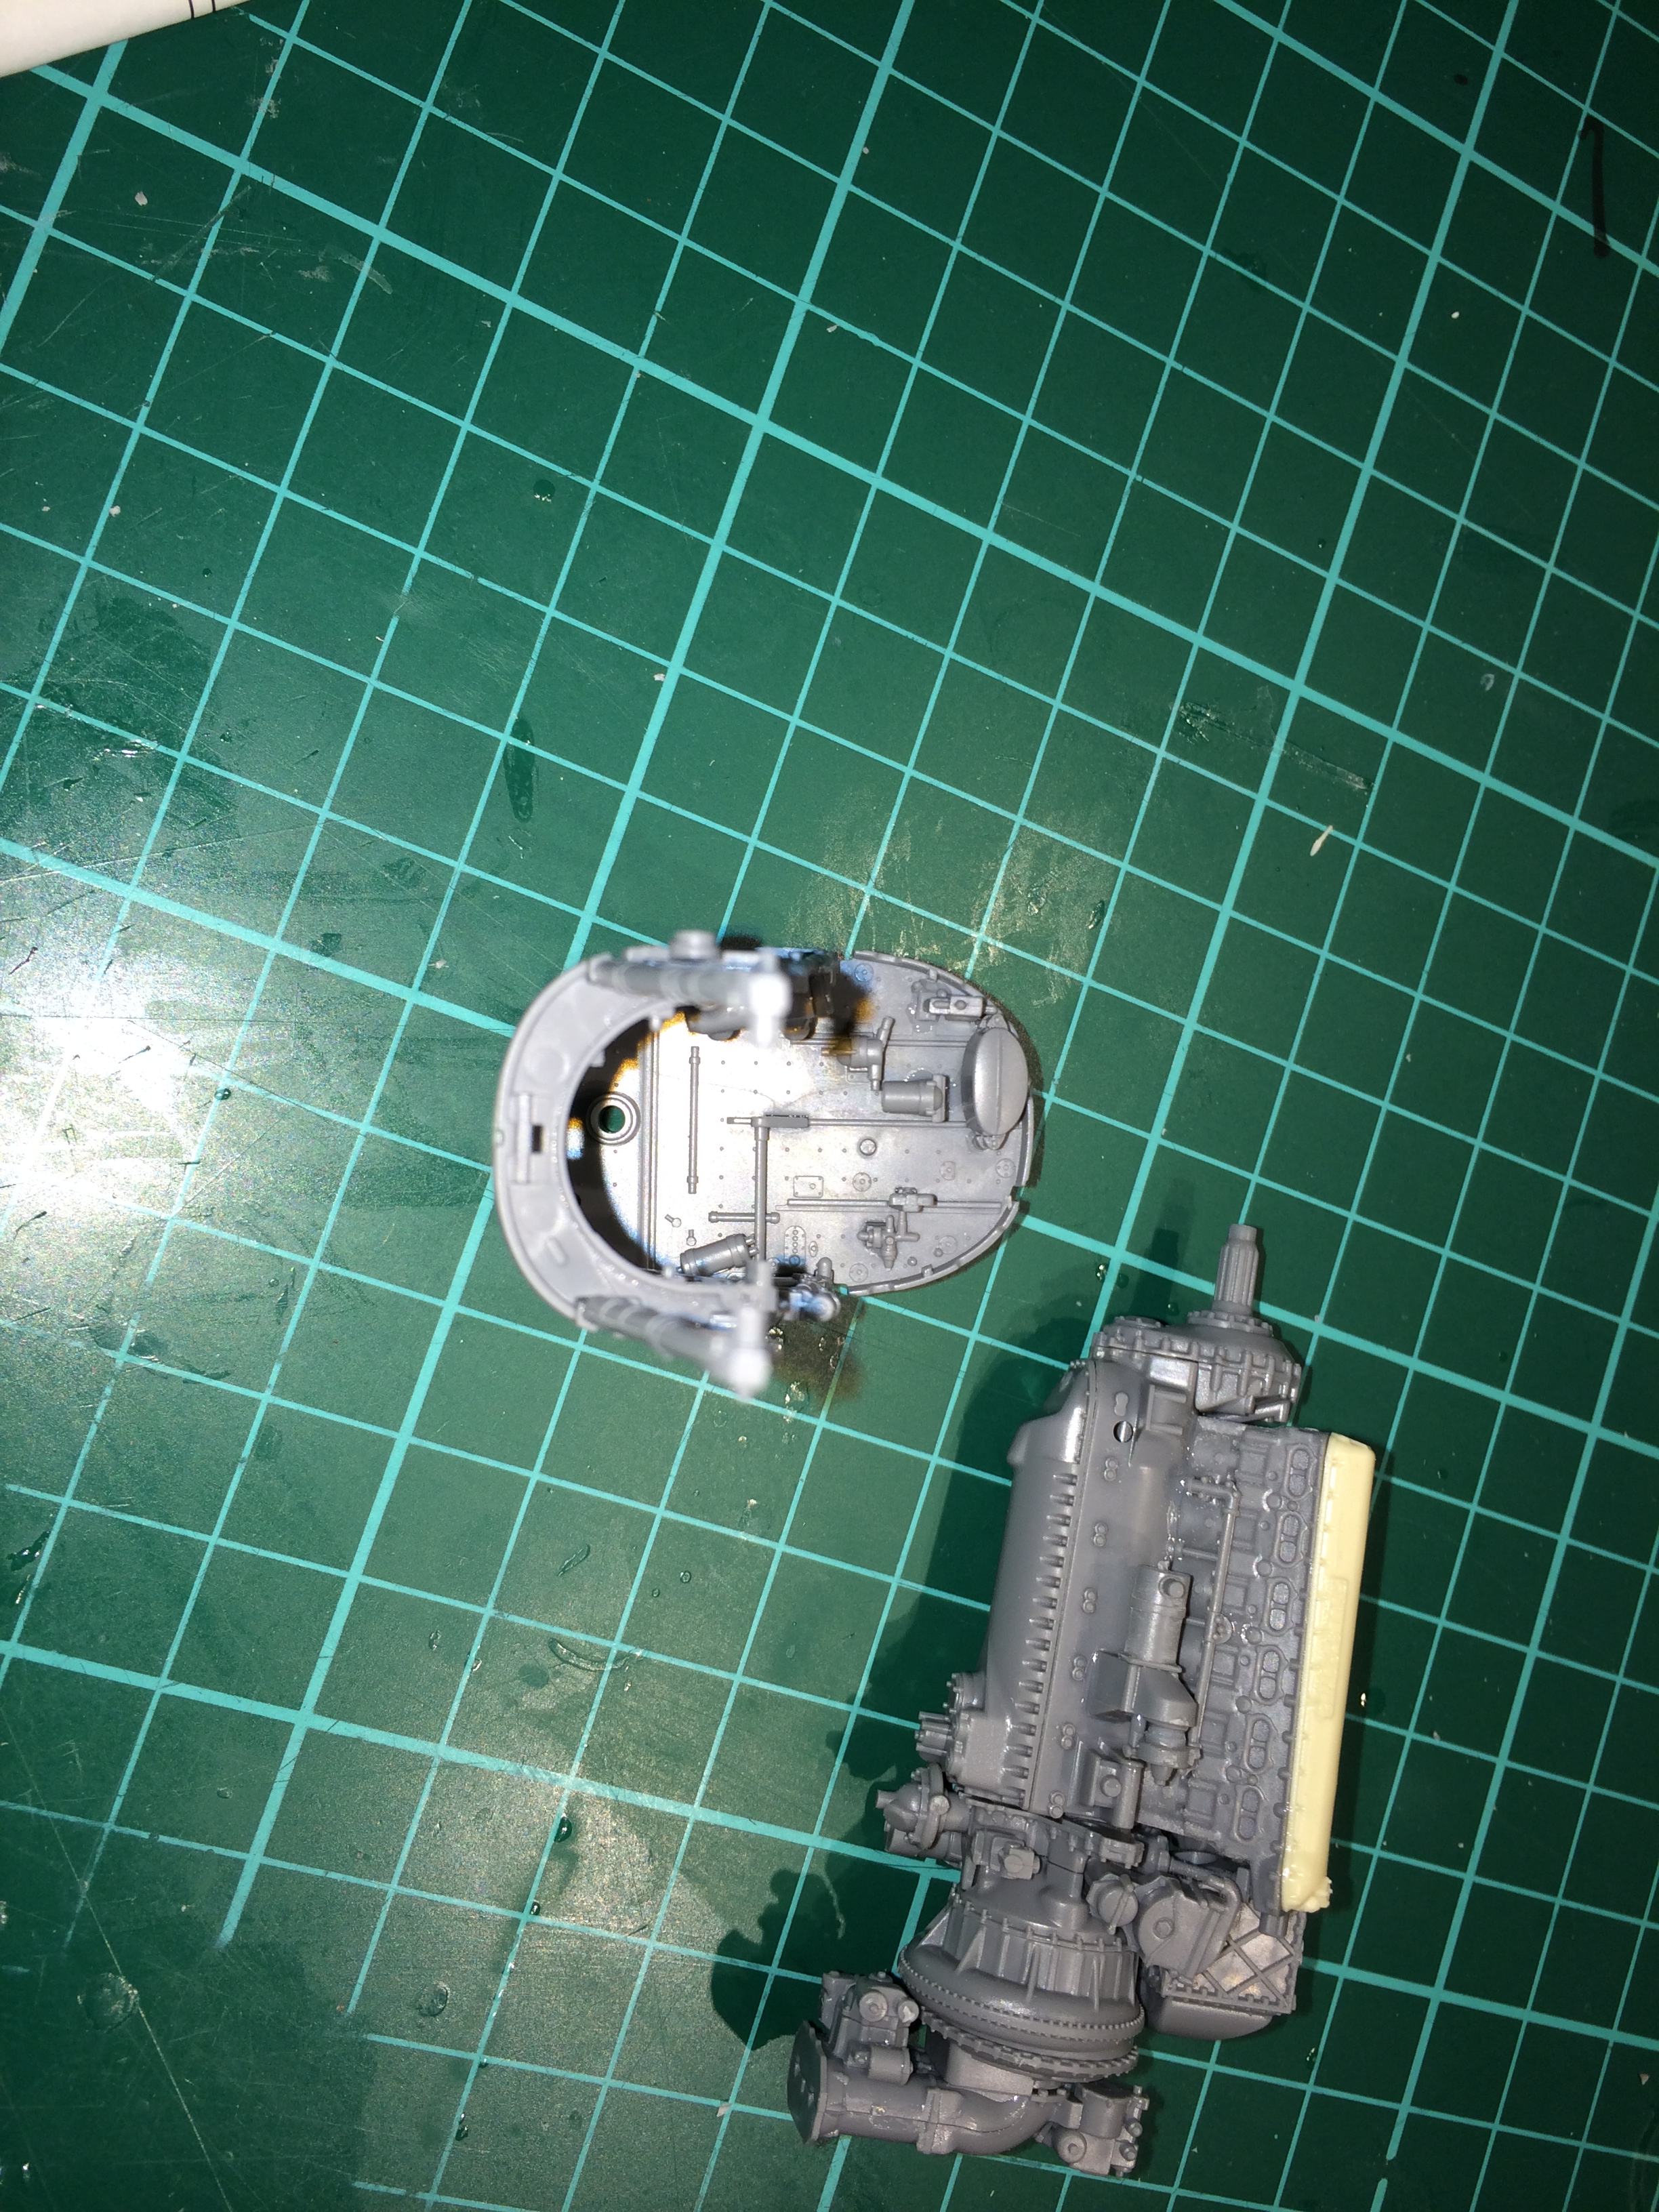
It starts to take shape

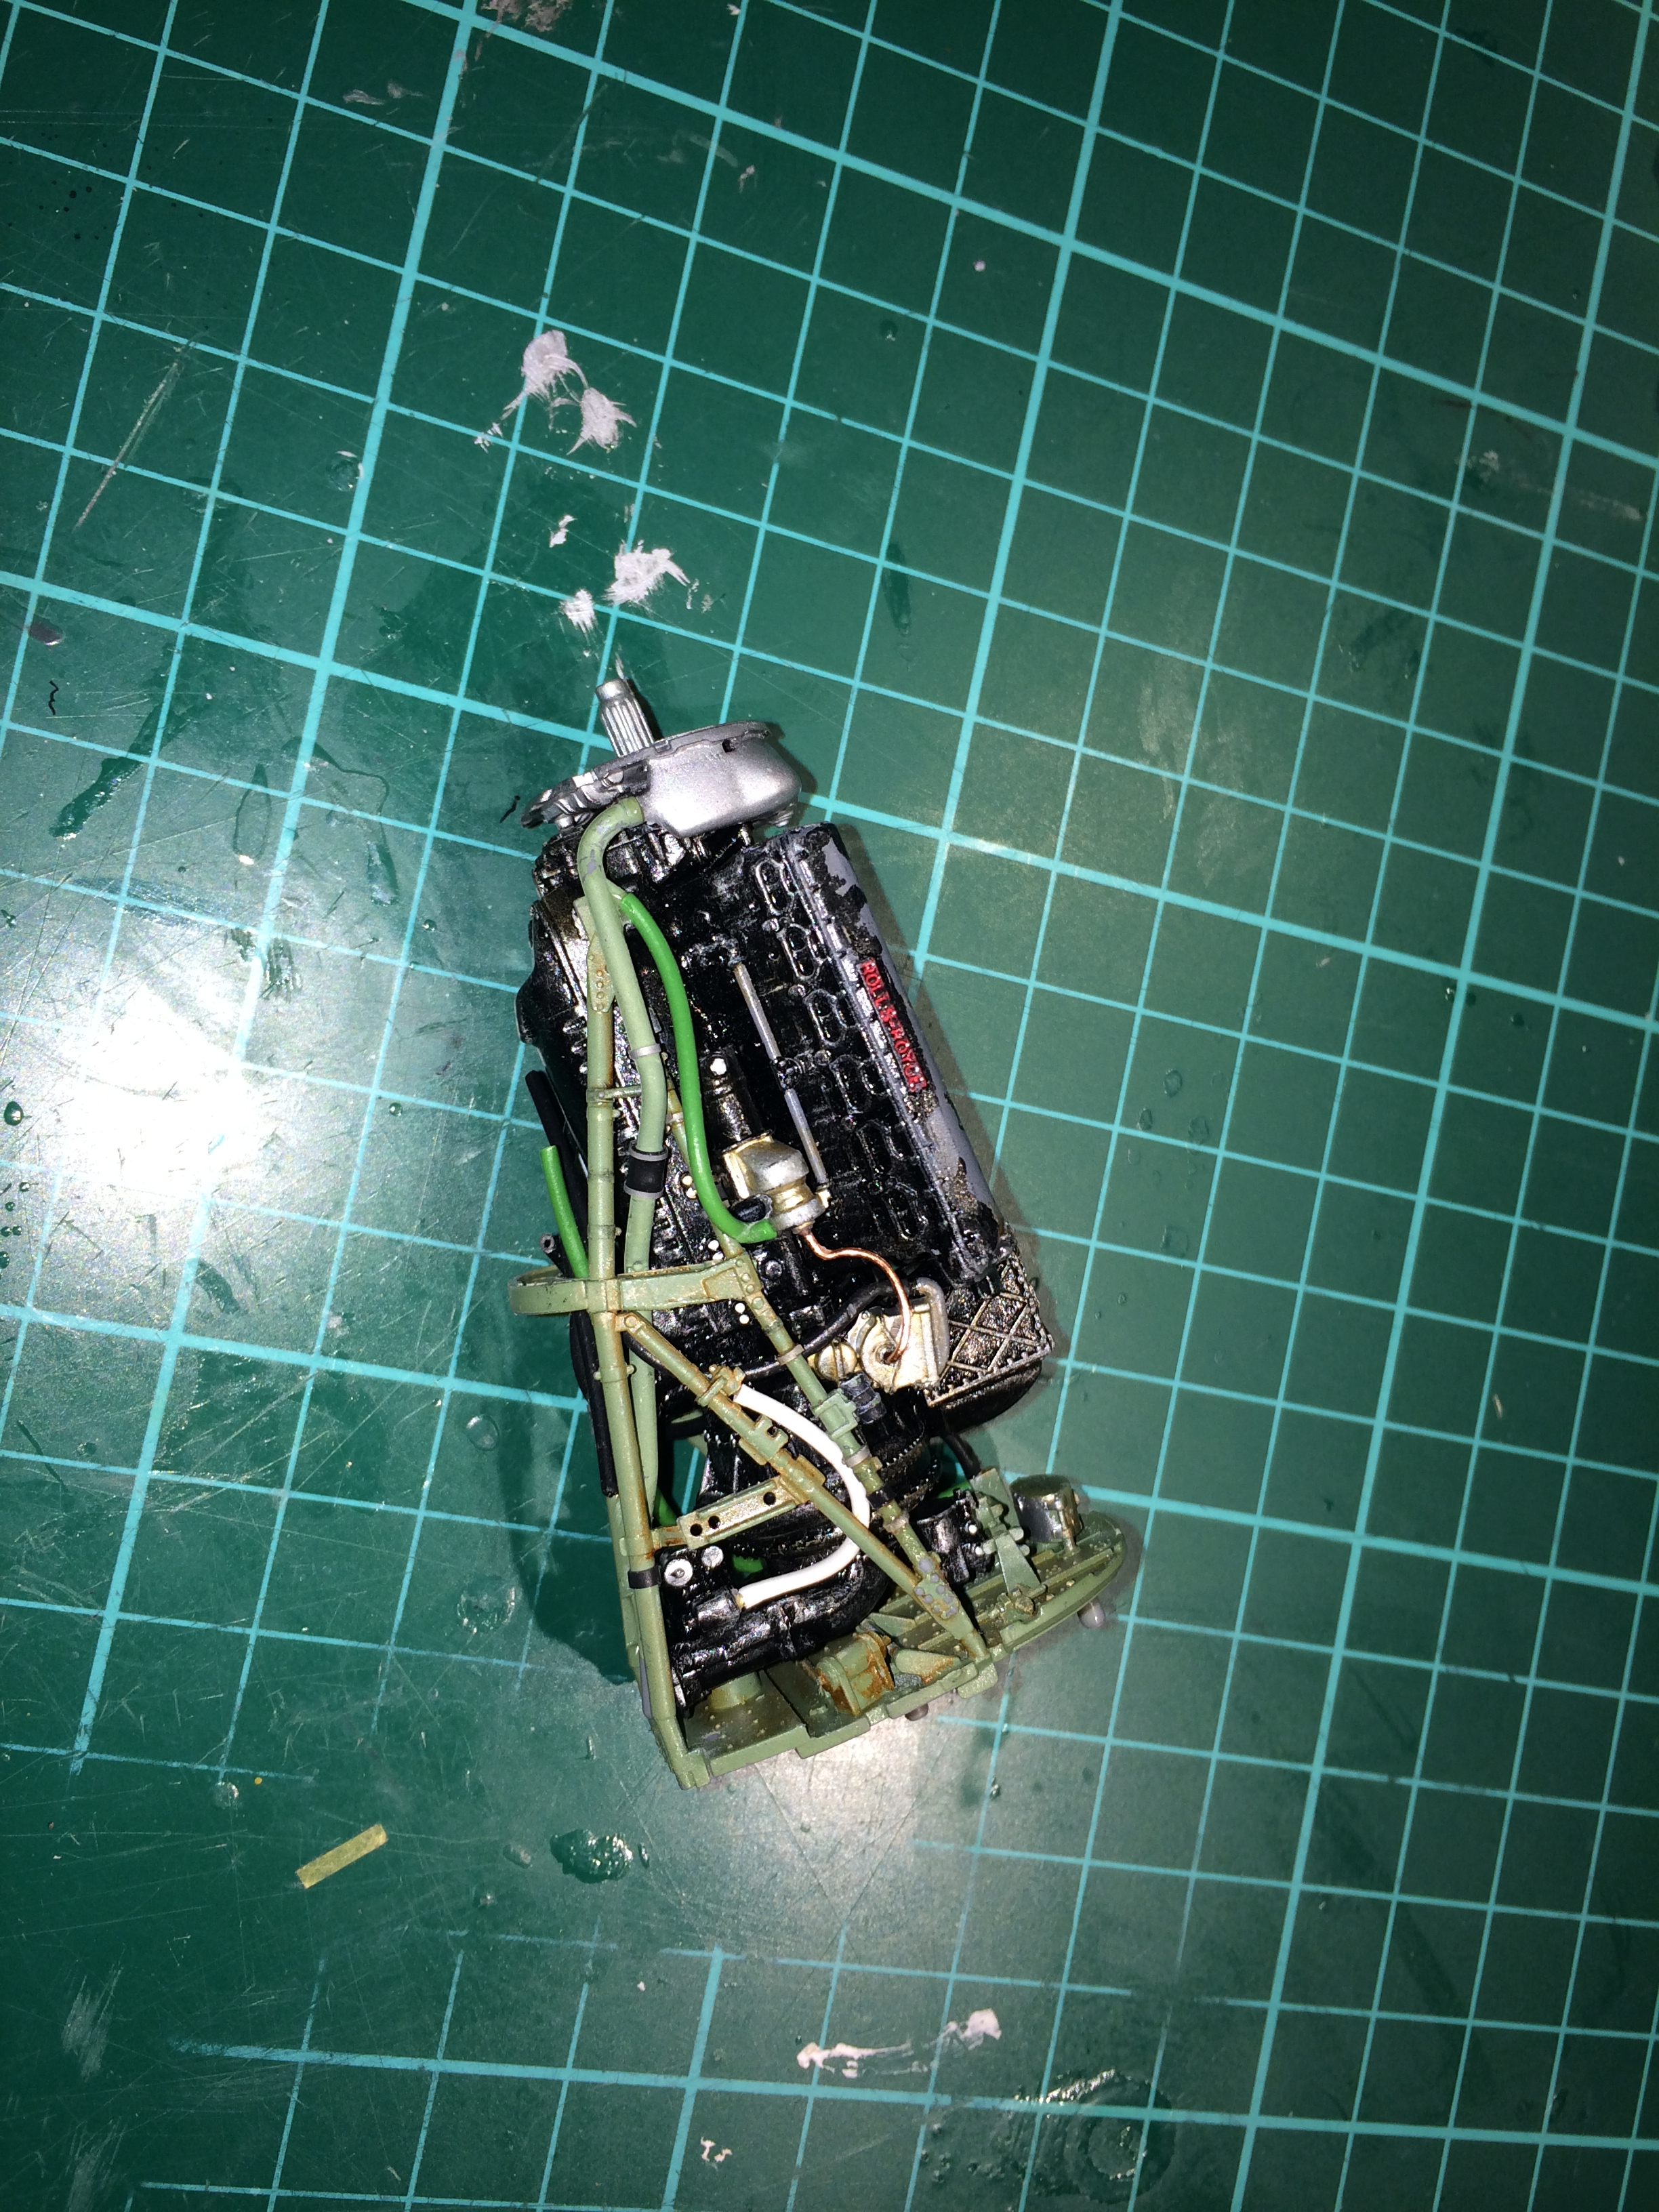
I started to add pipe work using house hold cable
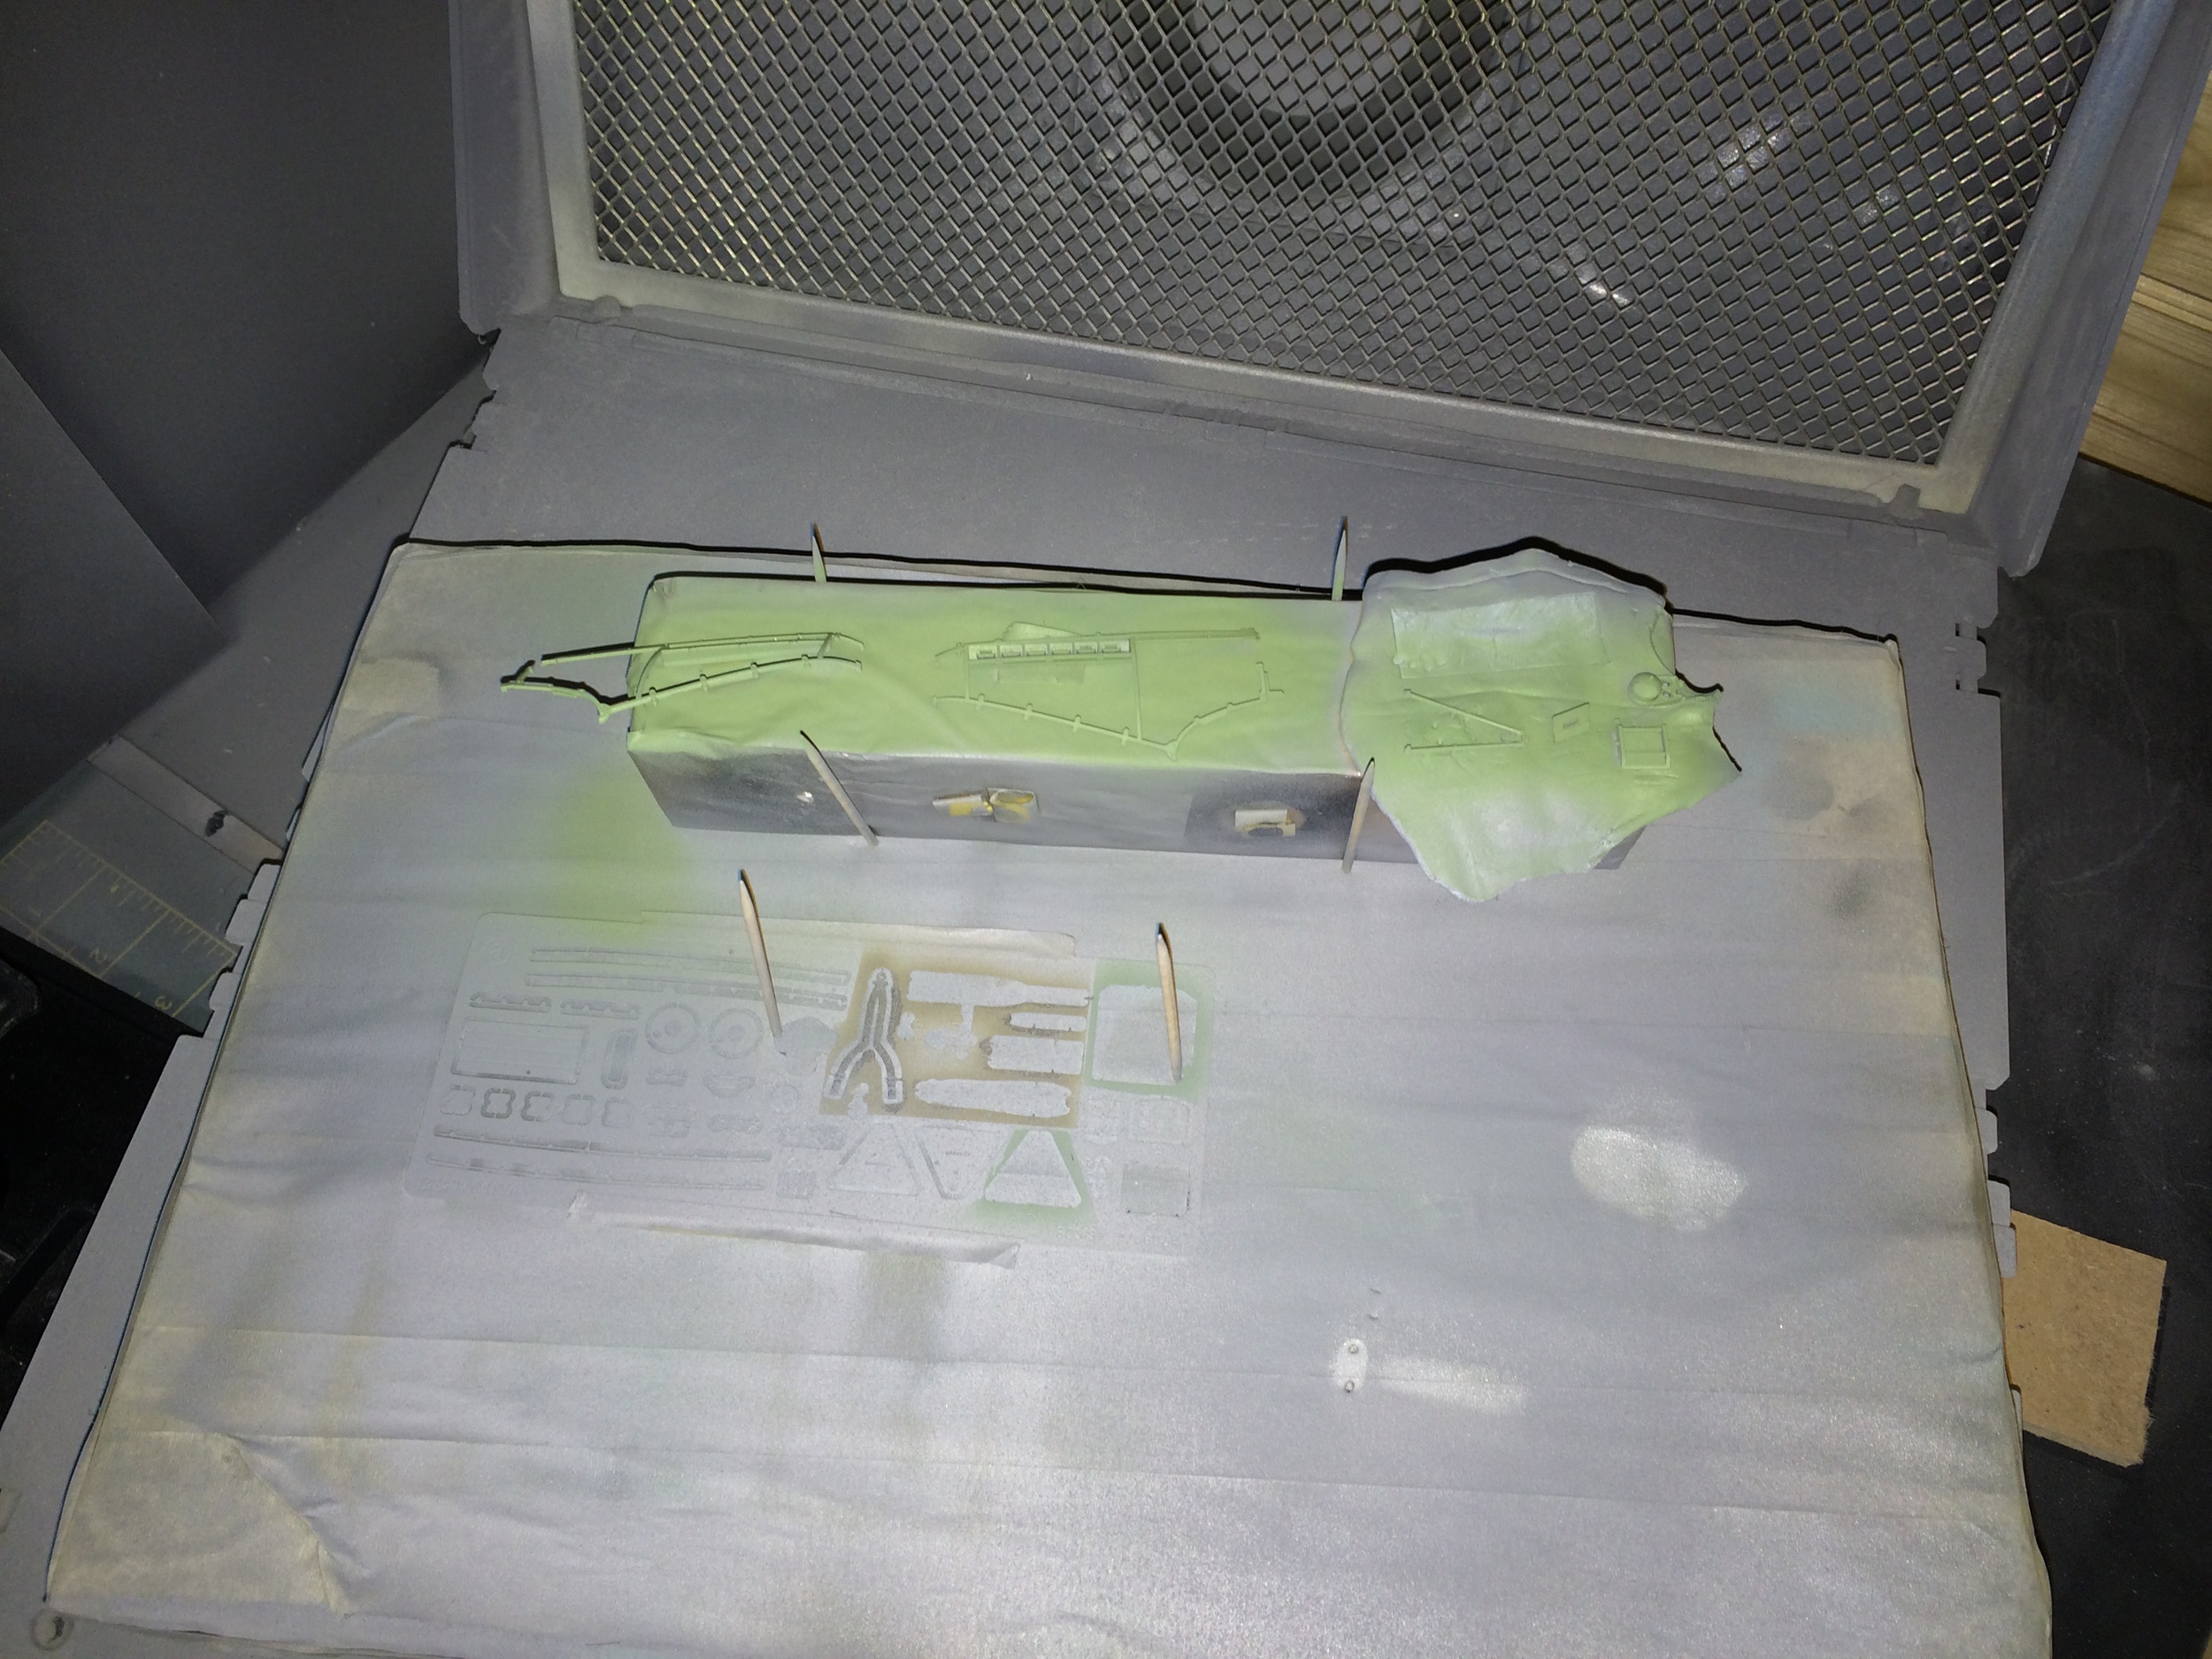
More engine parts in the spray Bothe
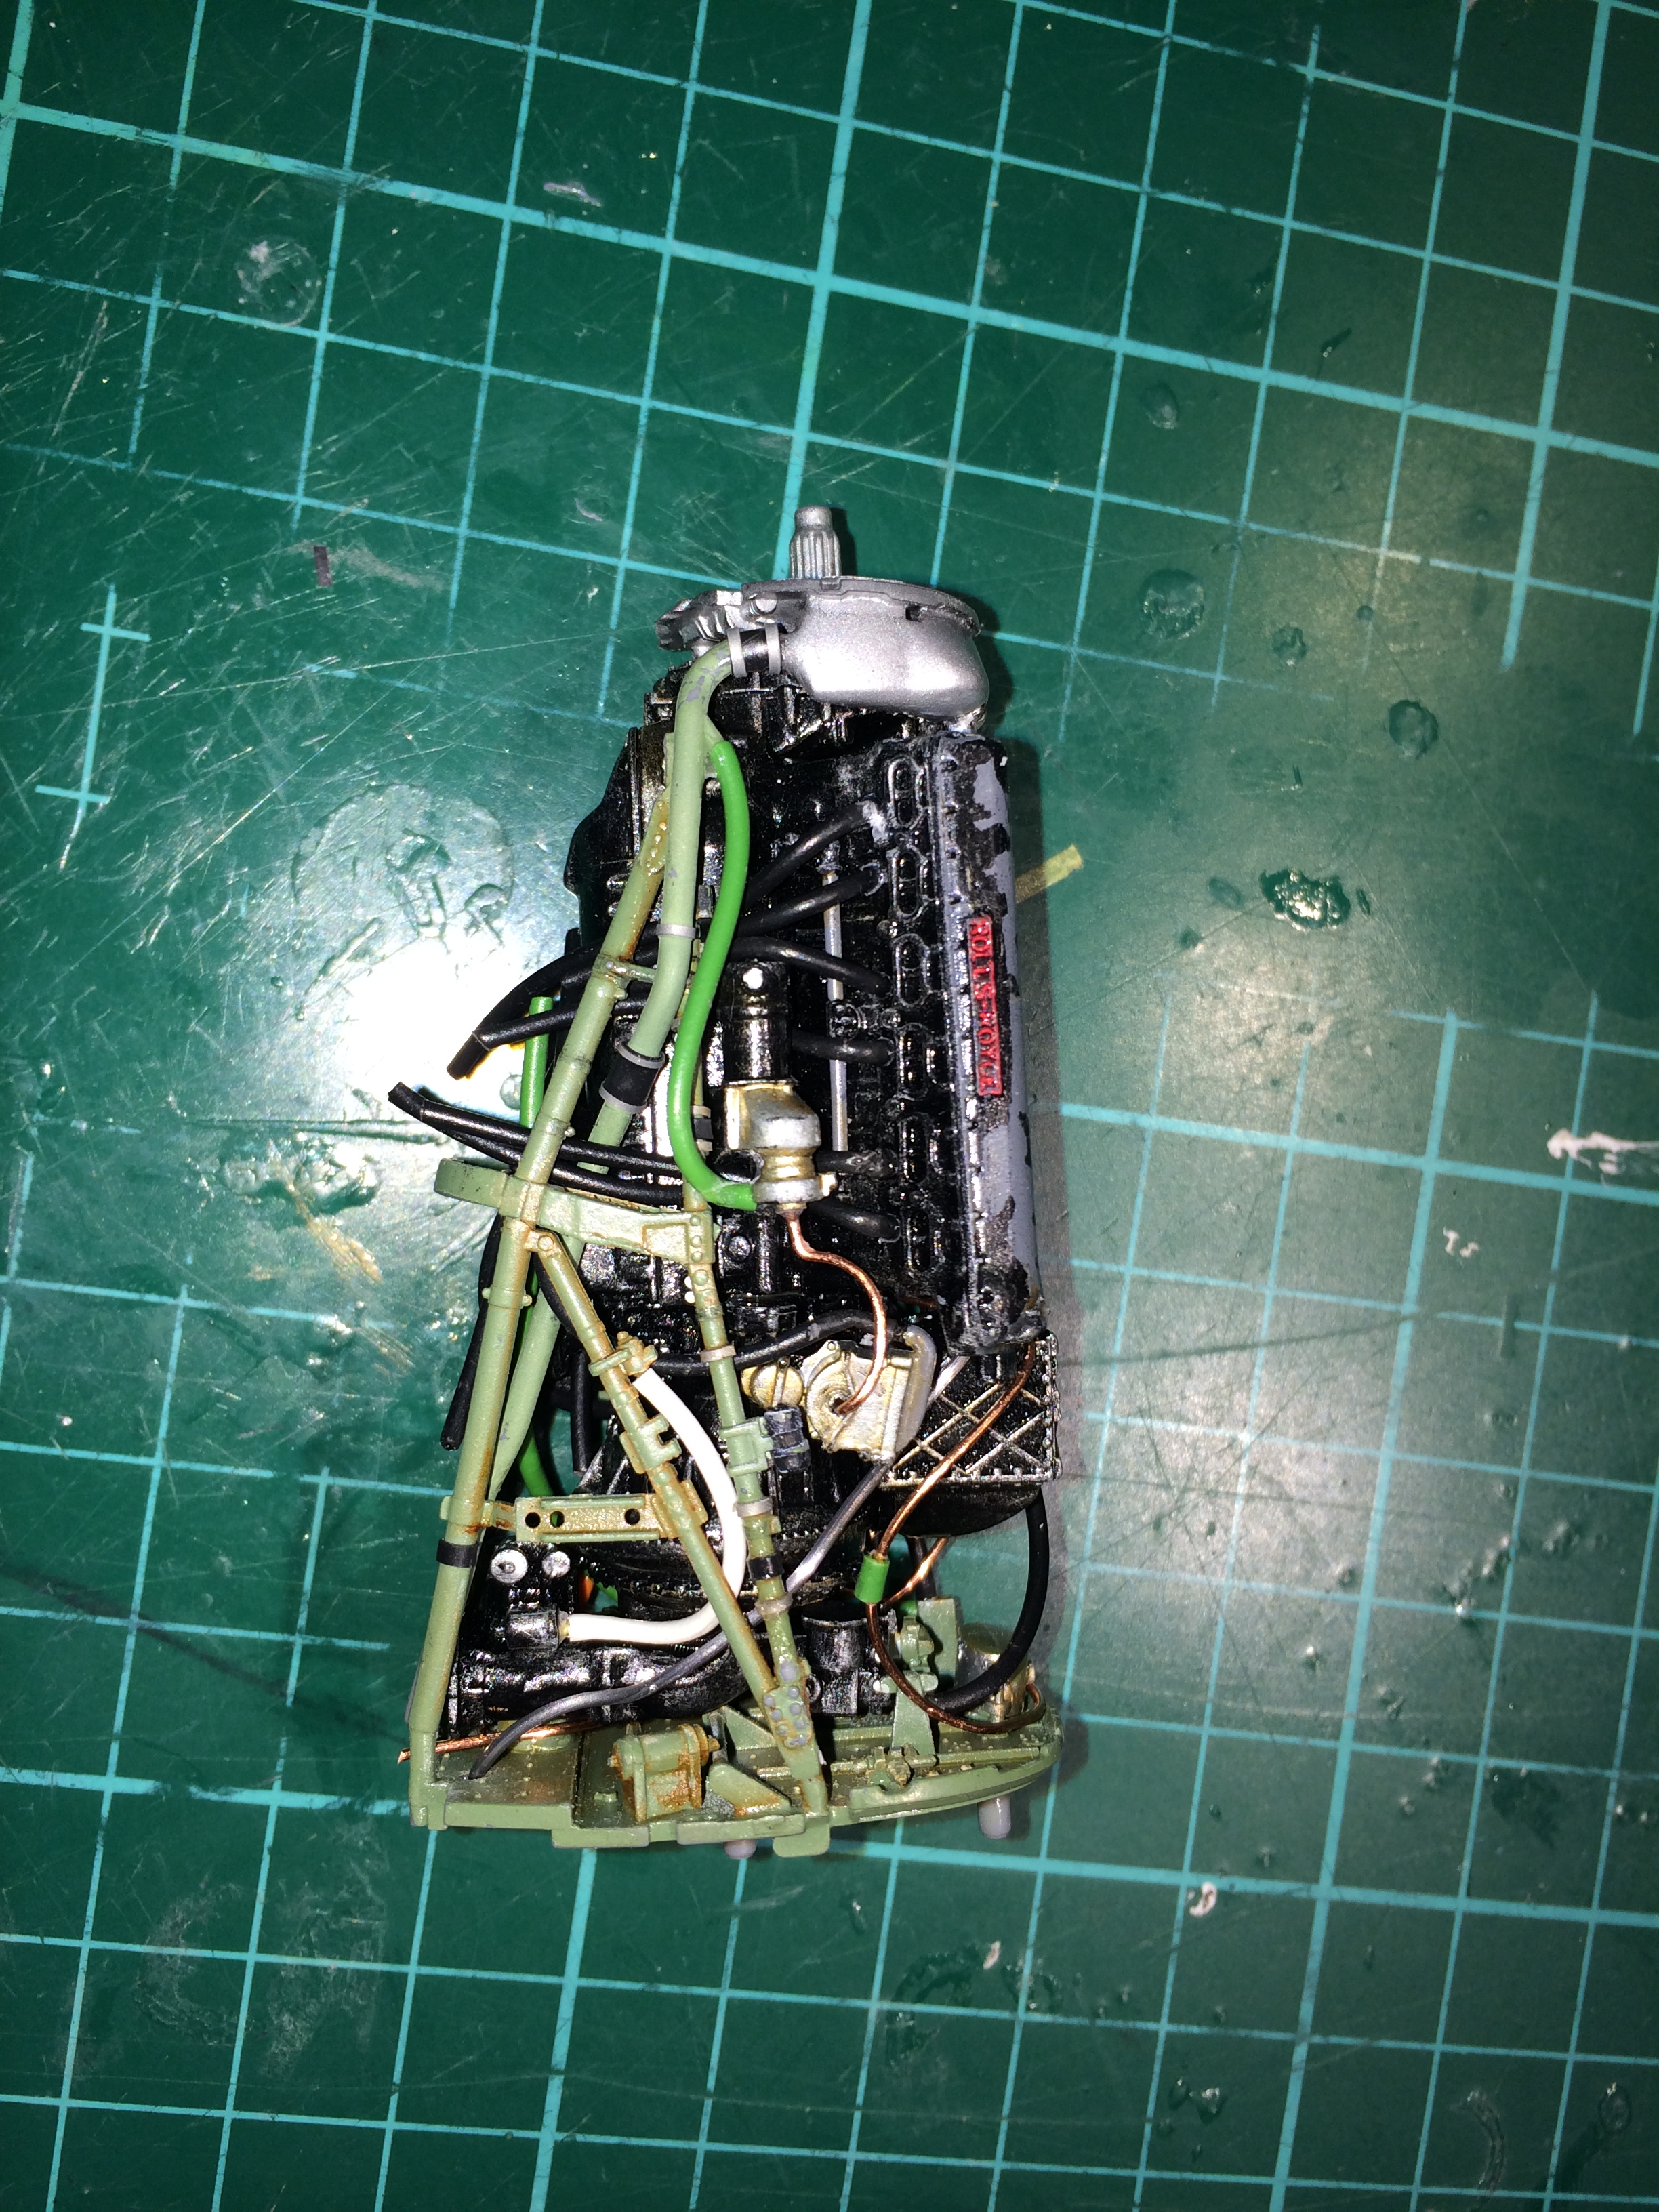
Tamiya bear metal with a smidge of oil paint to blend in

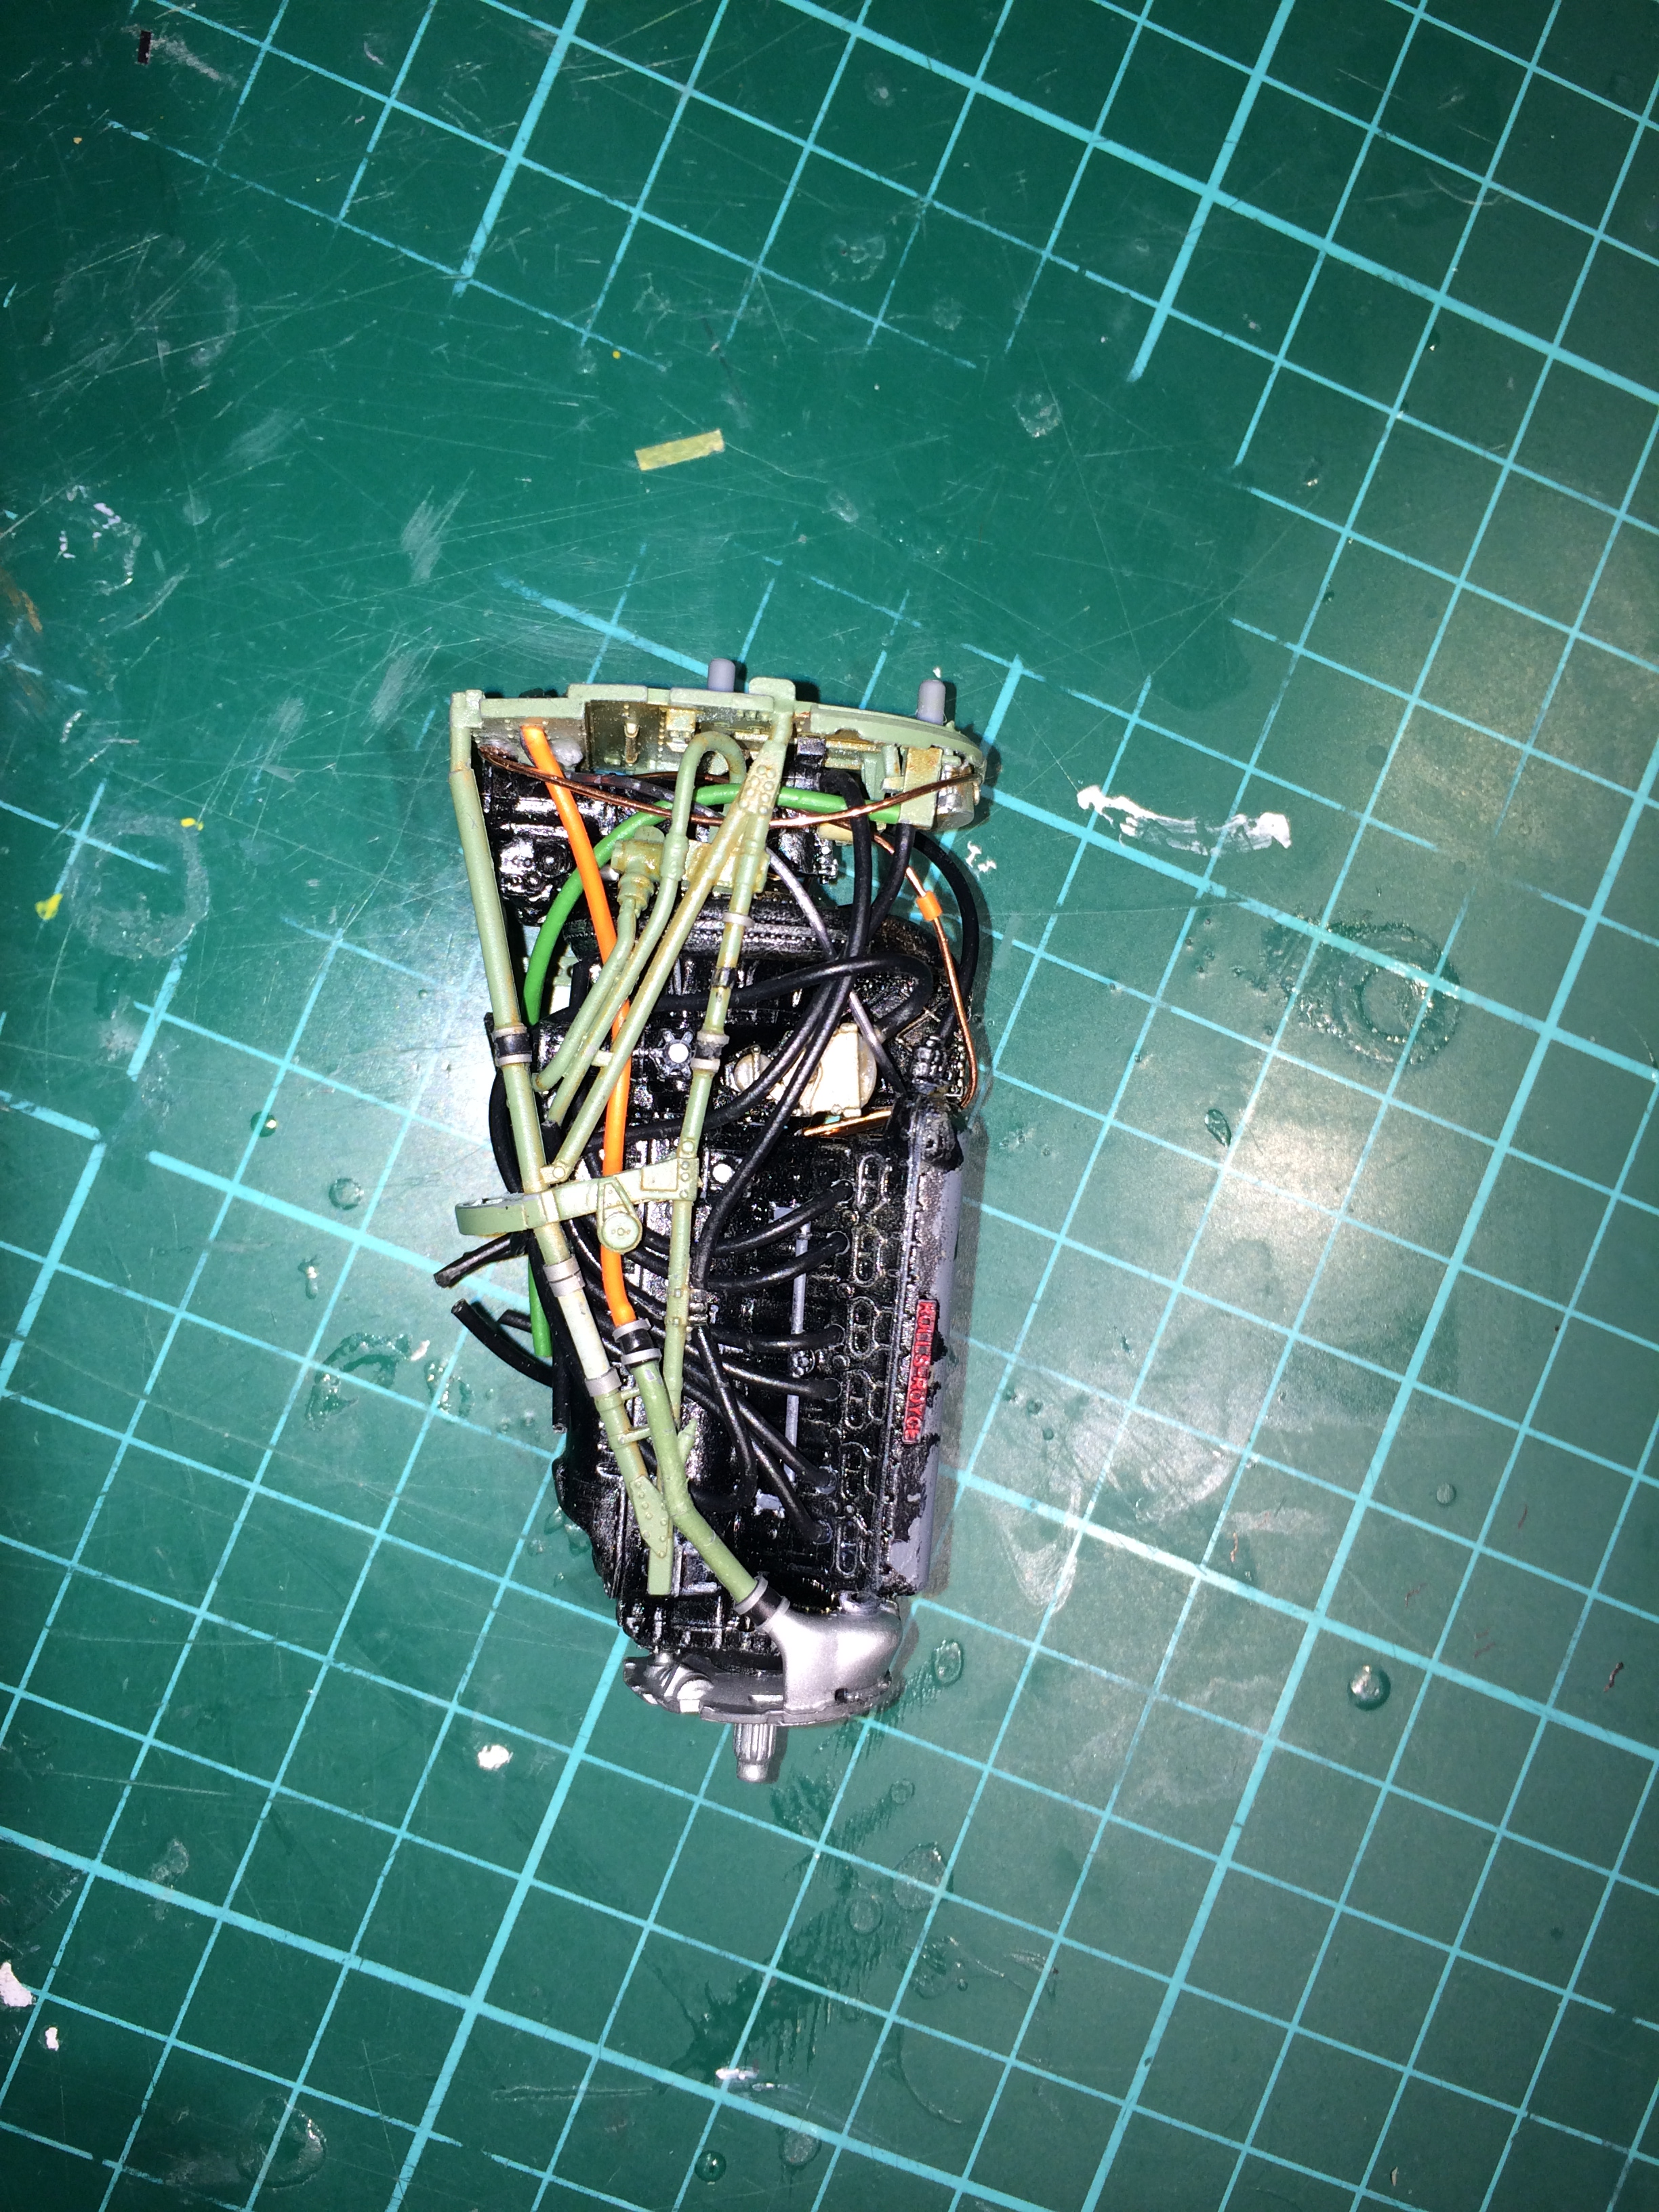
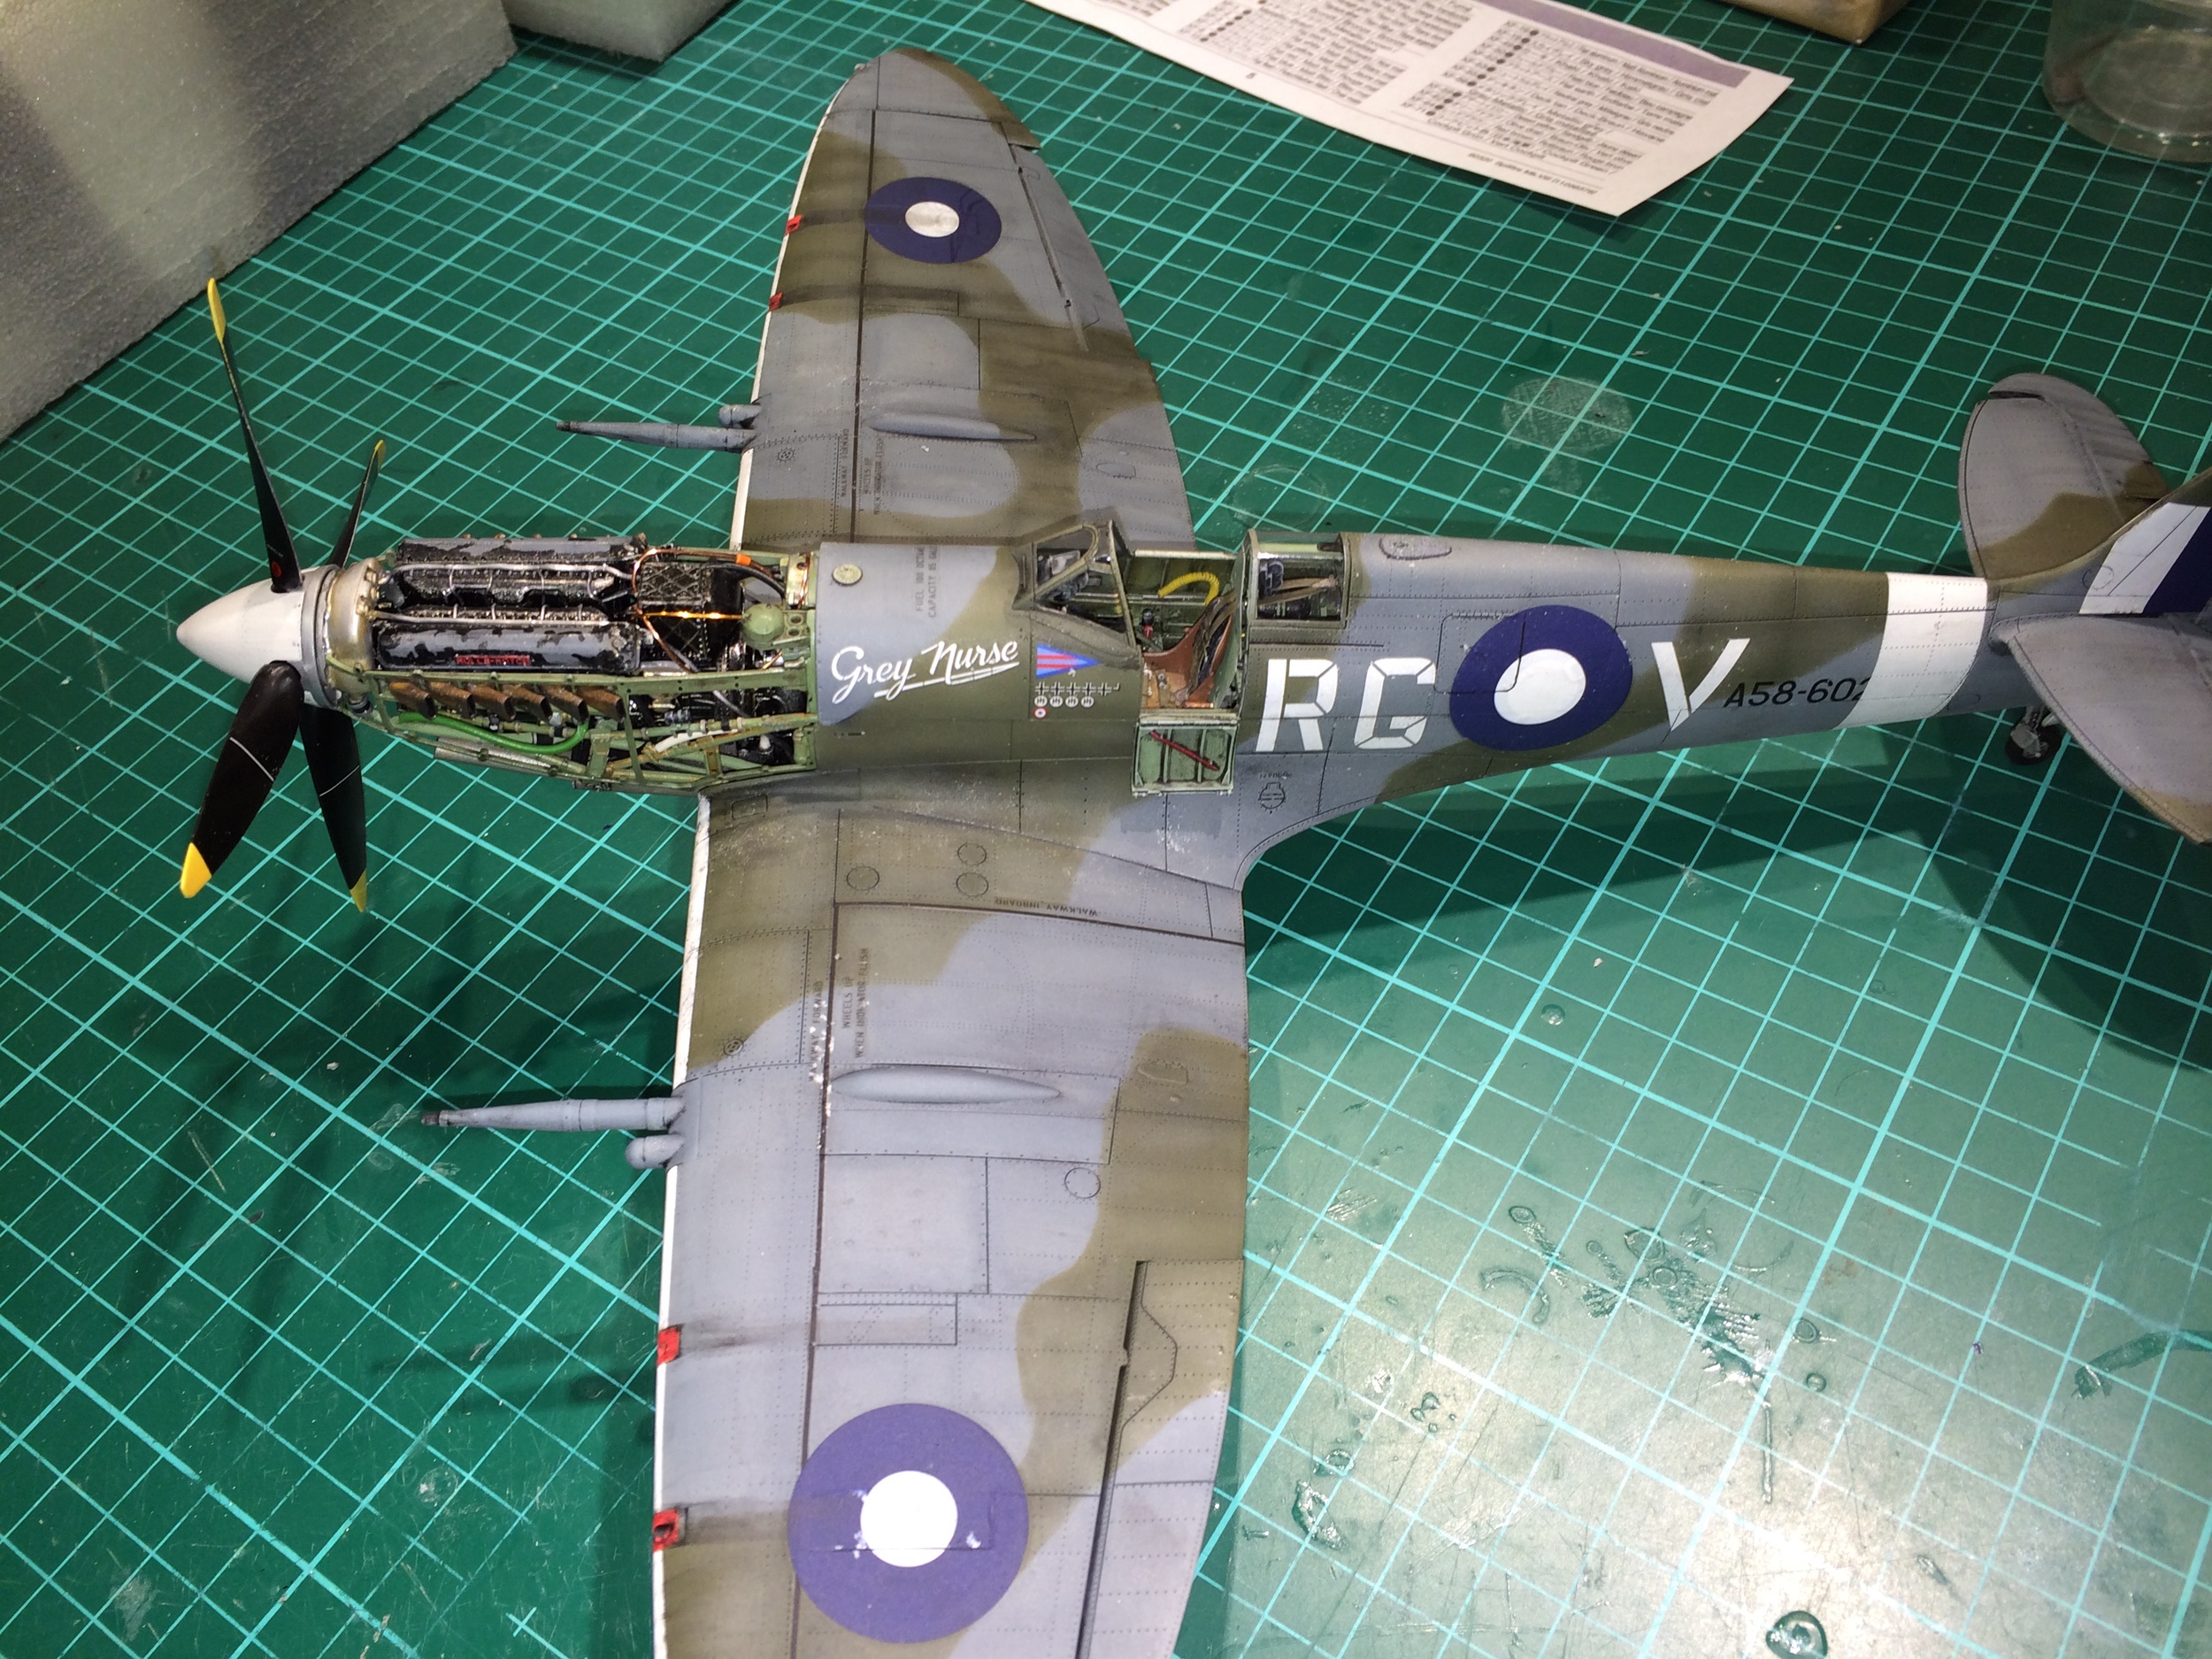
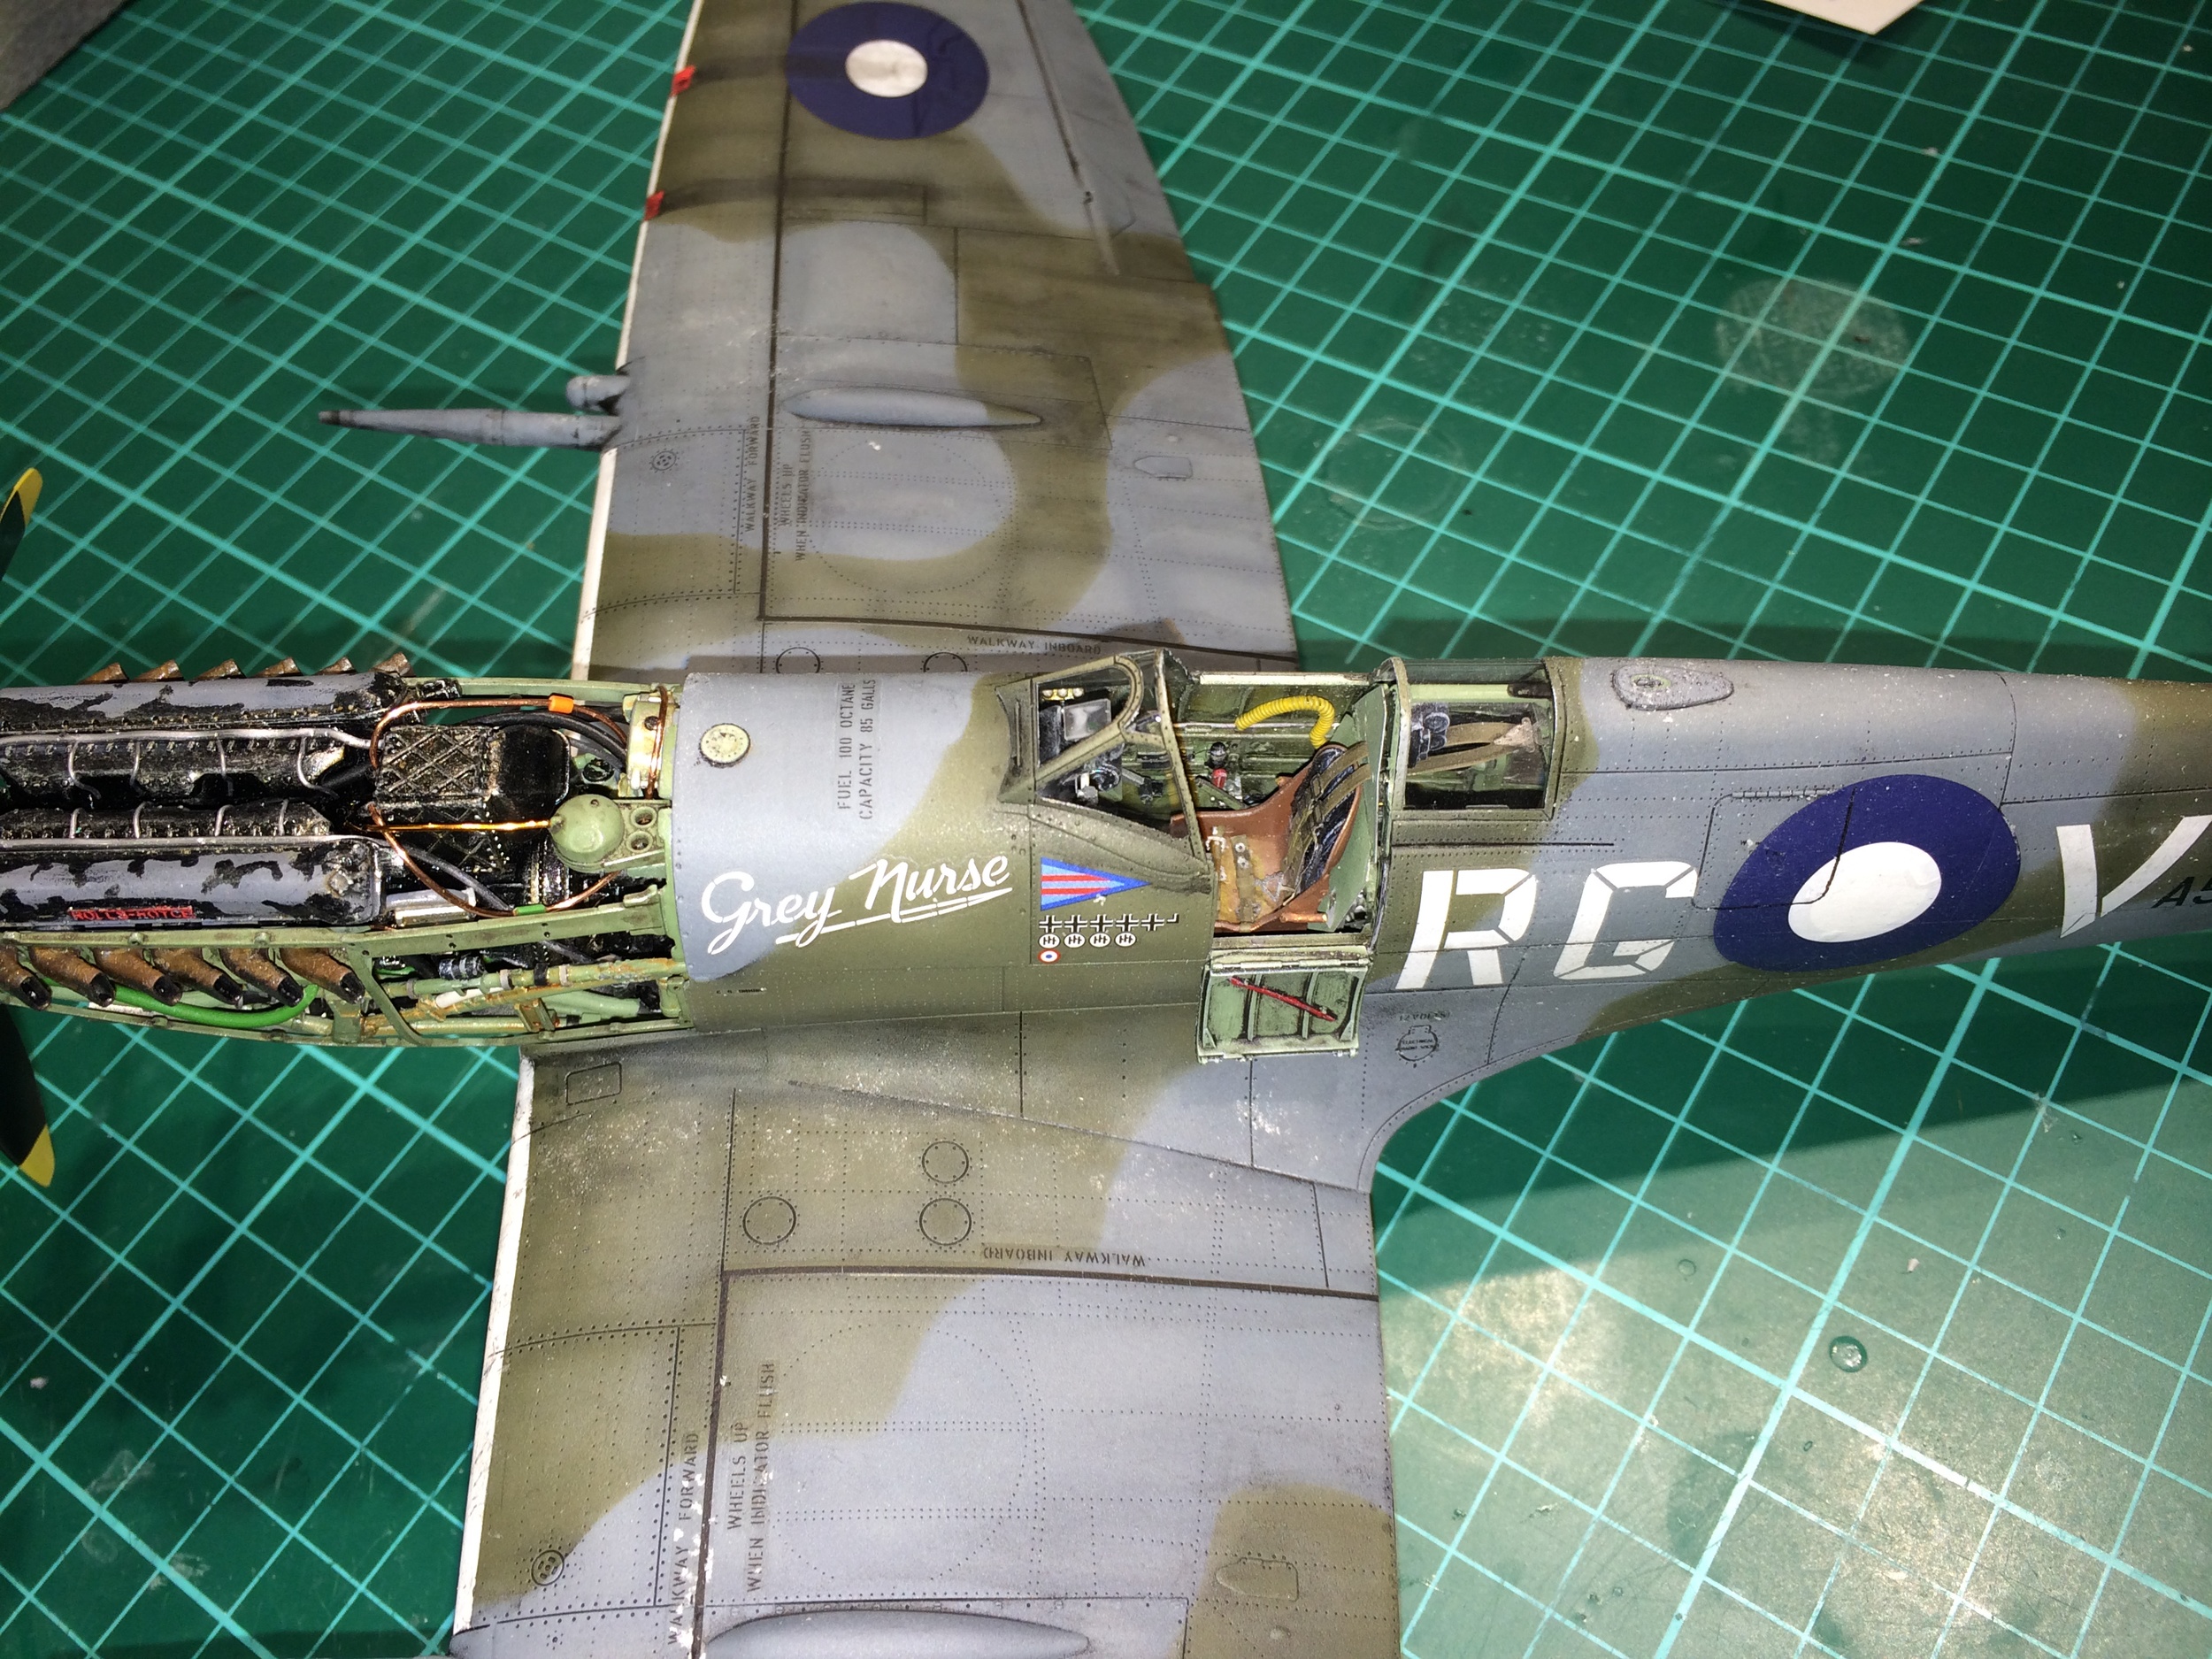
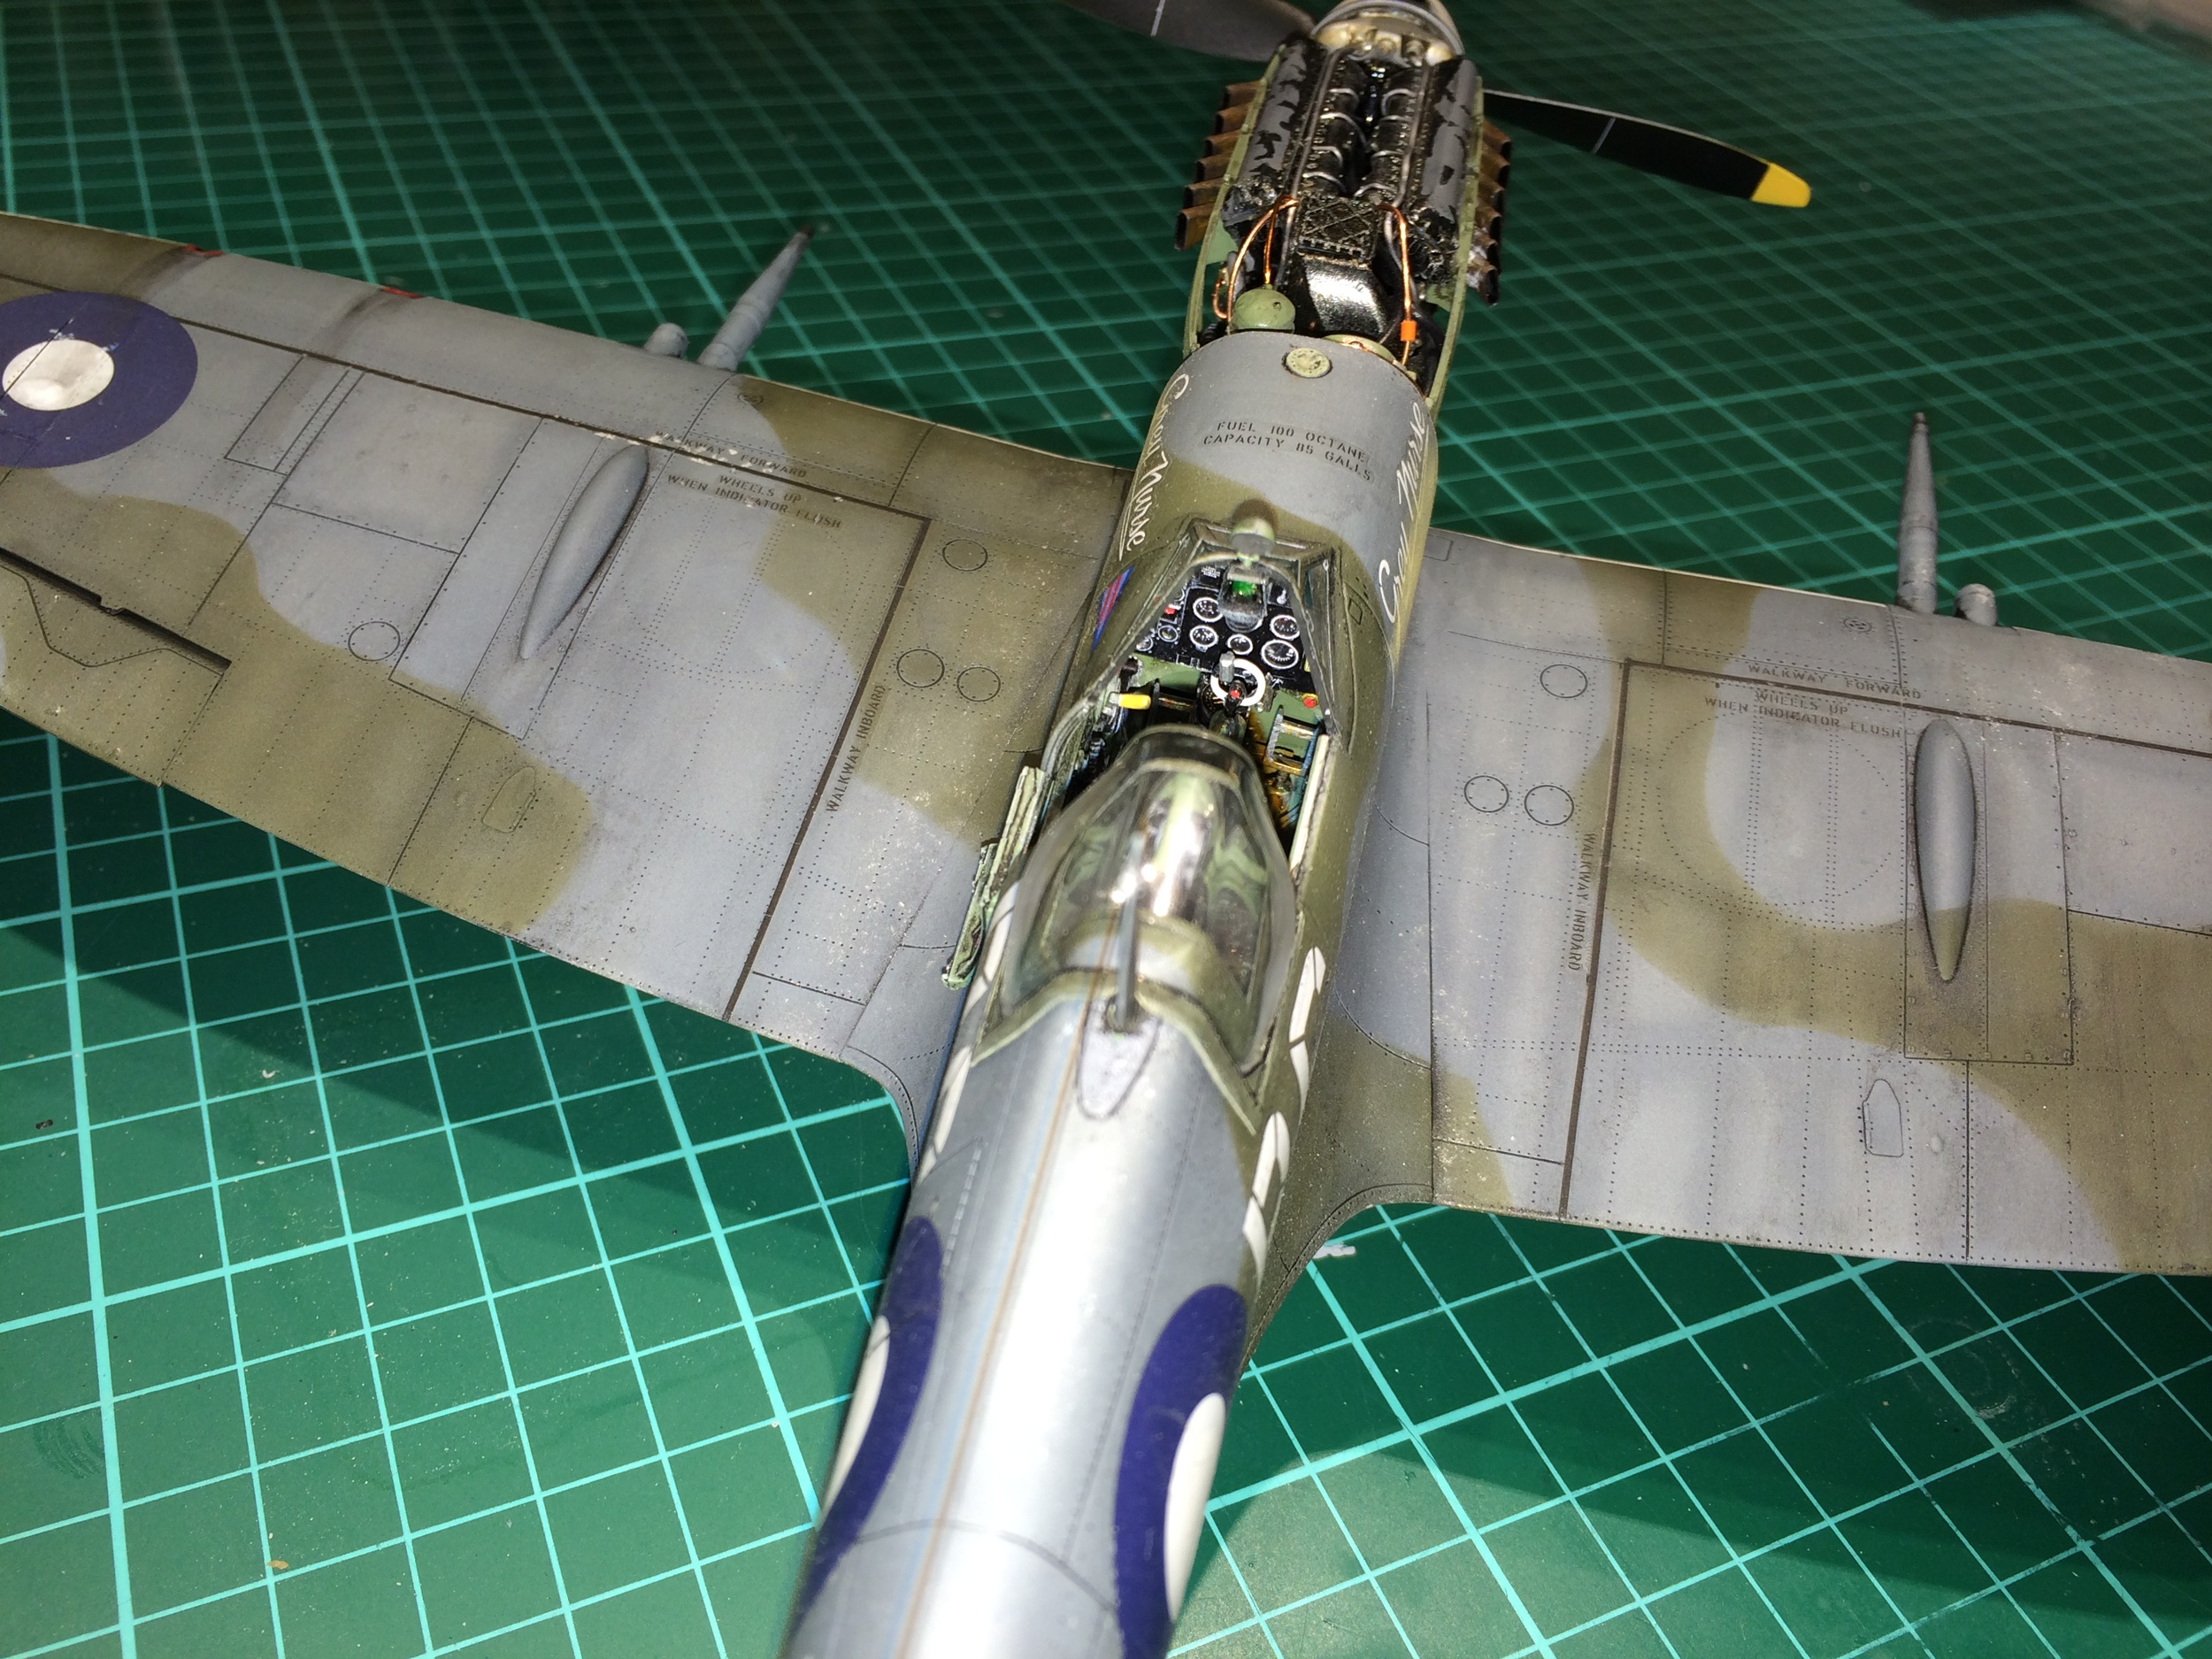
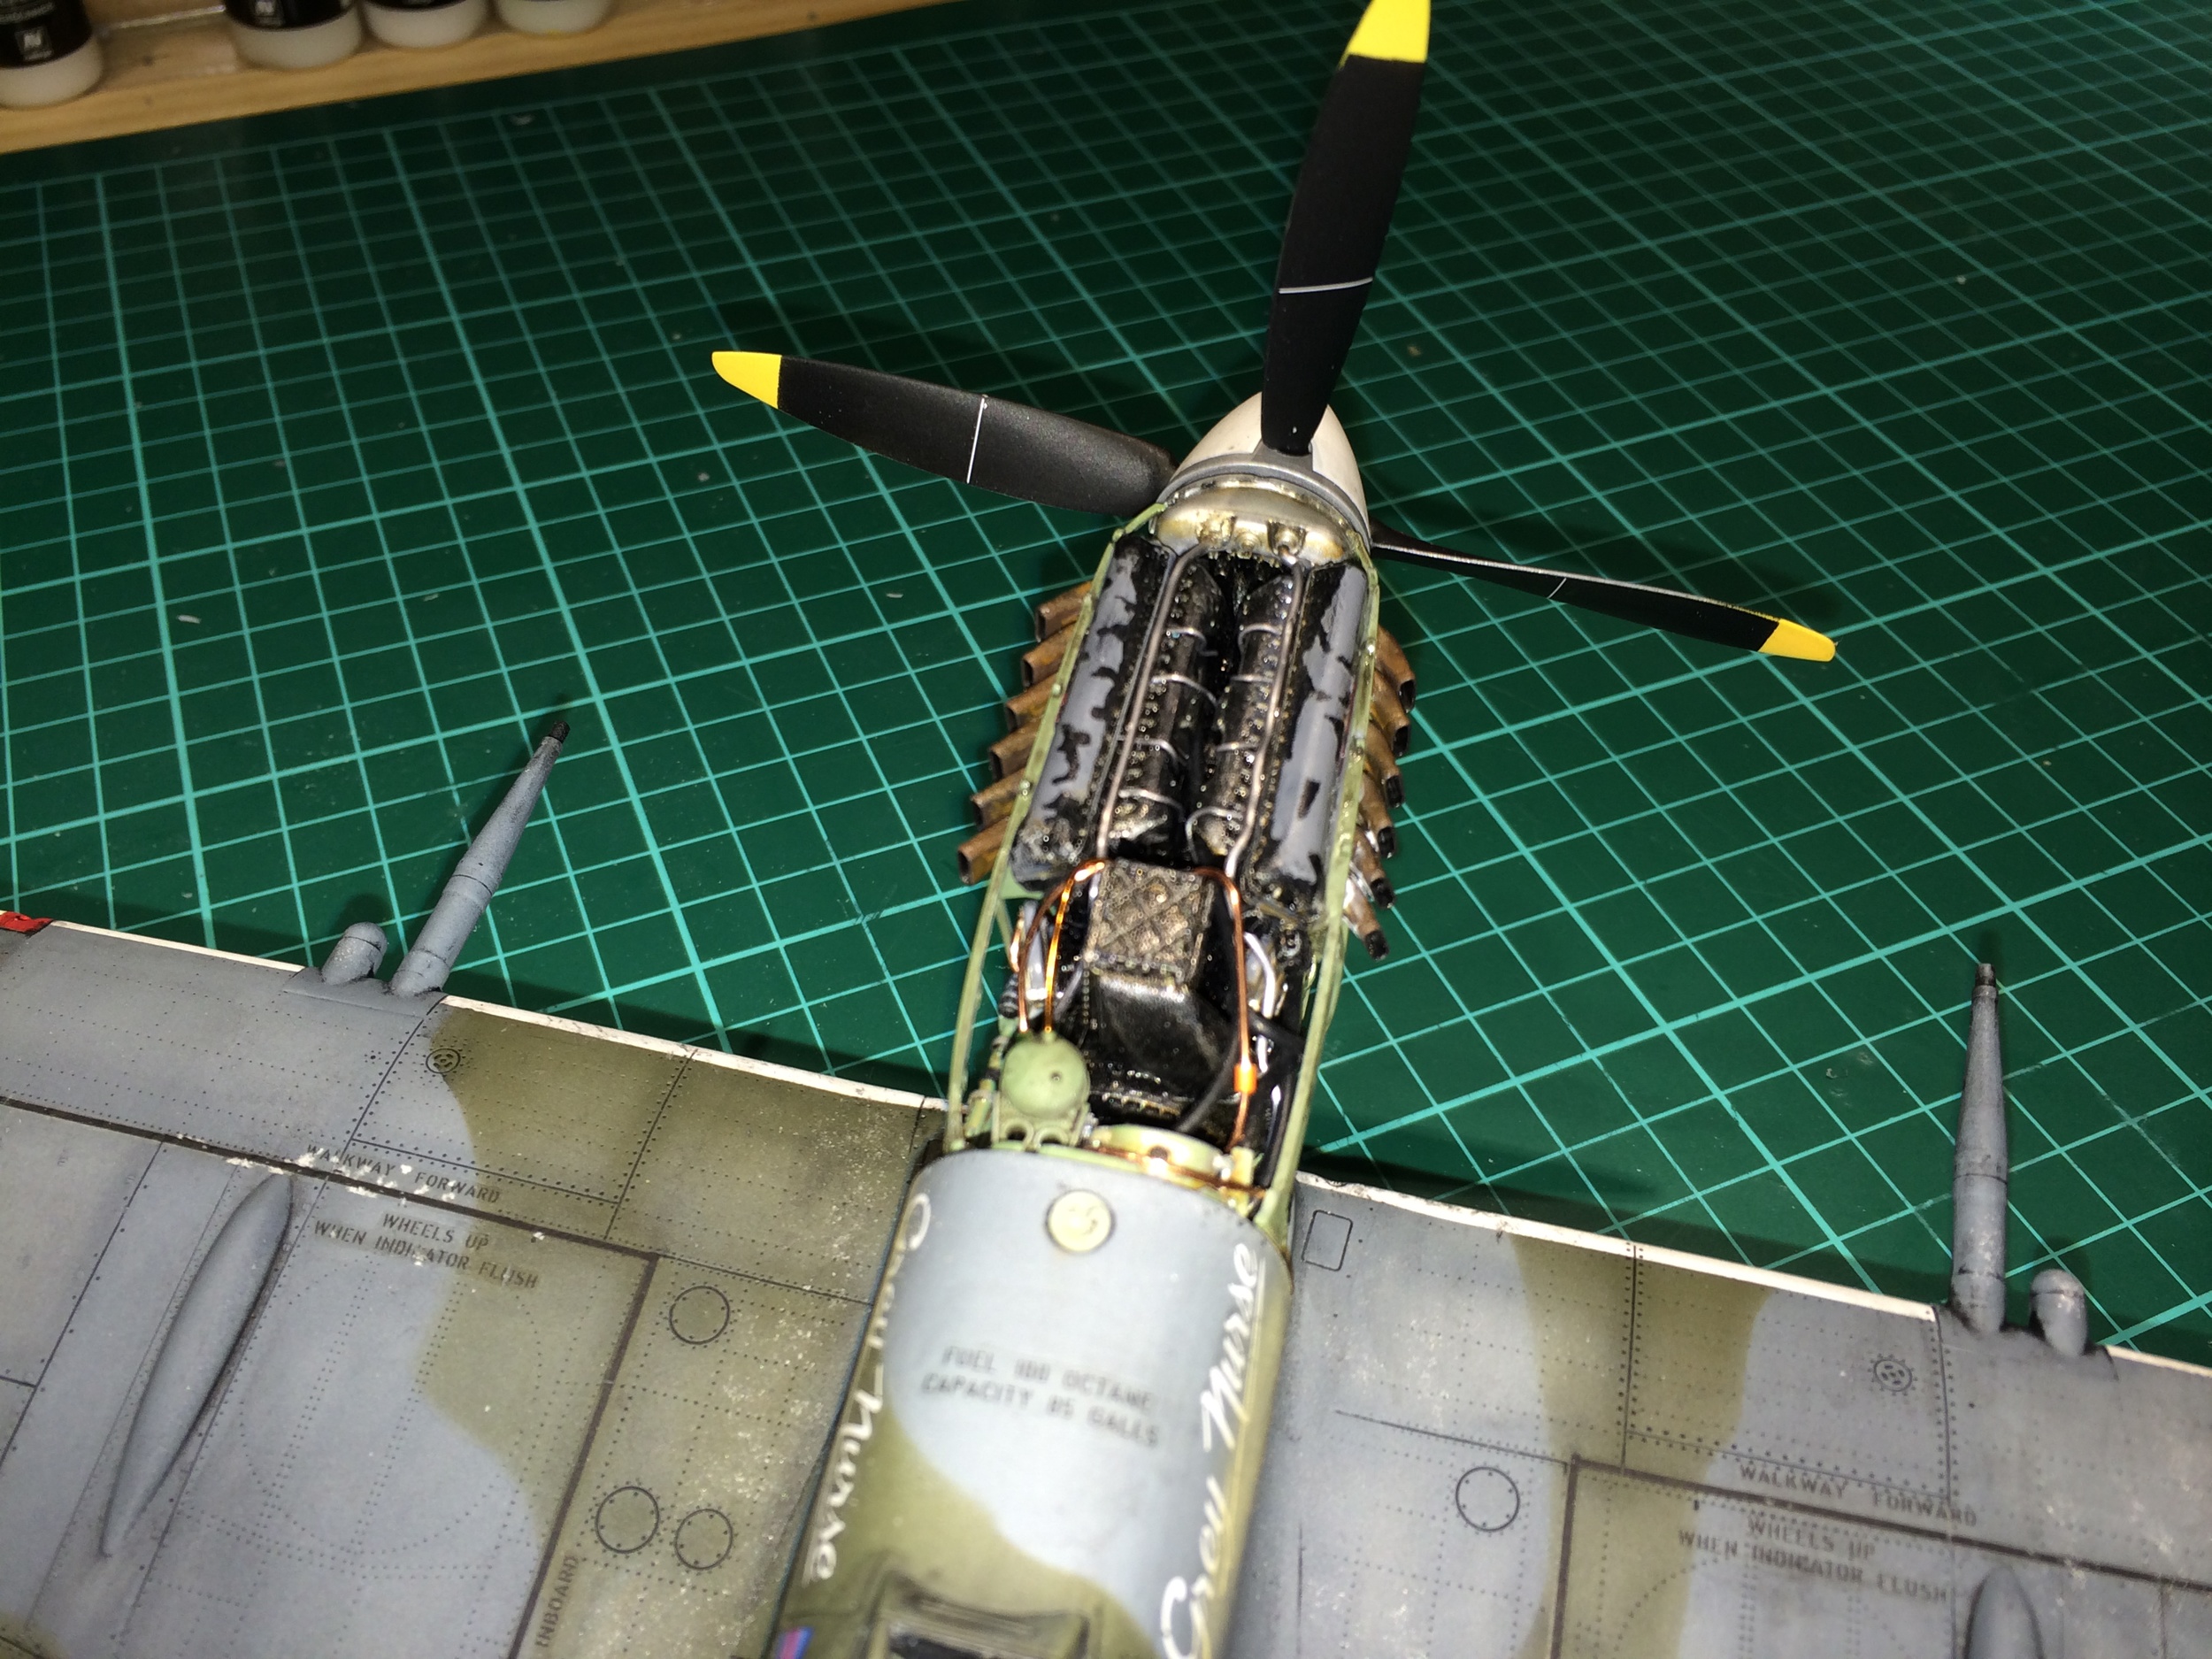
The finished engine

The top of the engine with a bit of weathering
It’s starting to come together

Brass cannons fitted
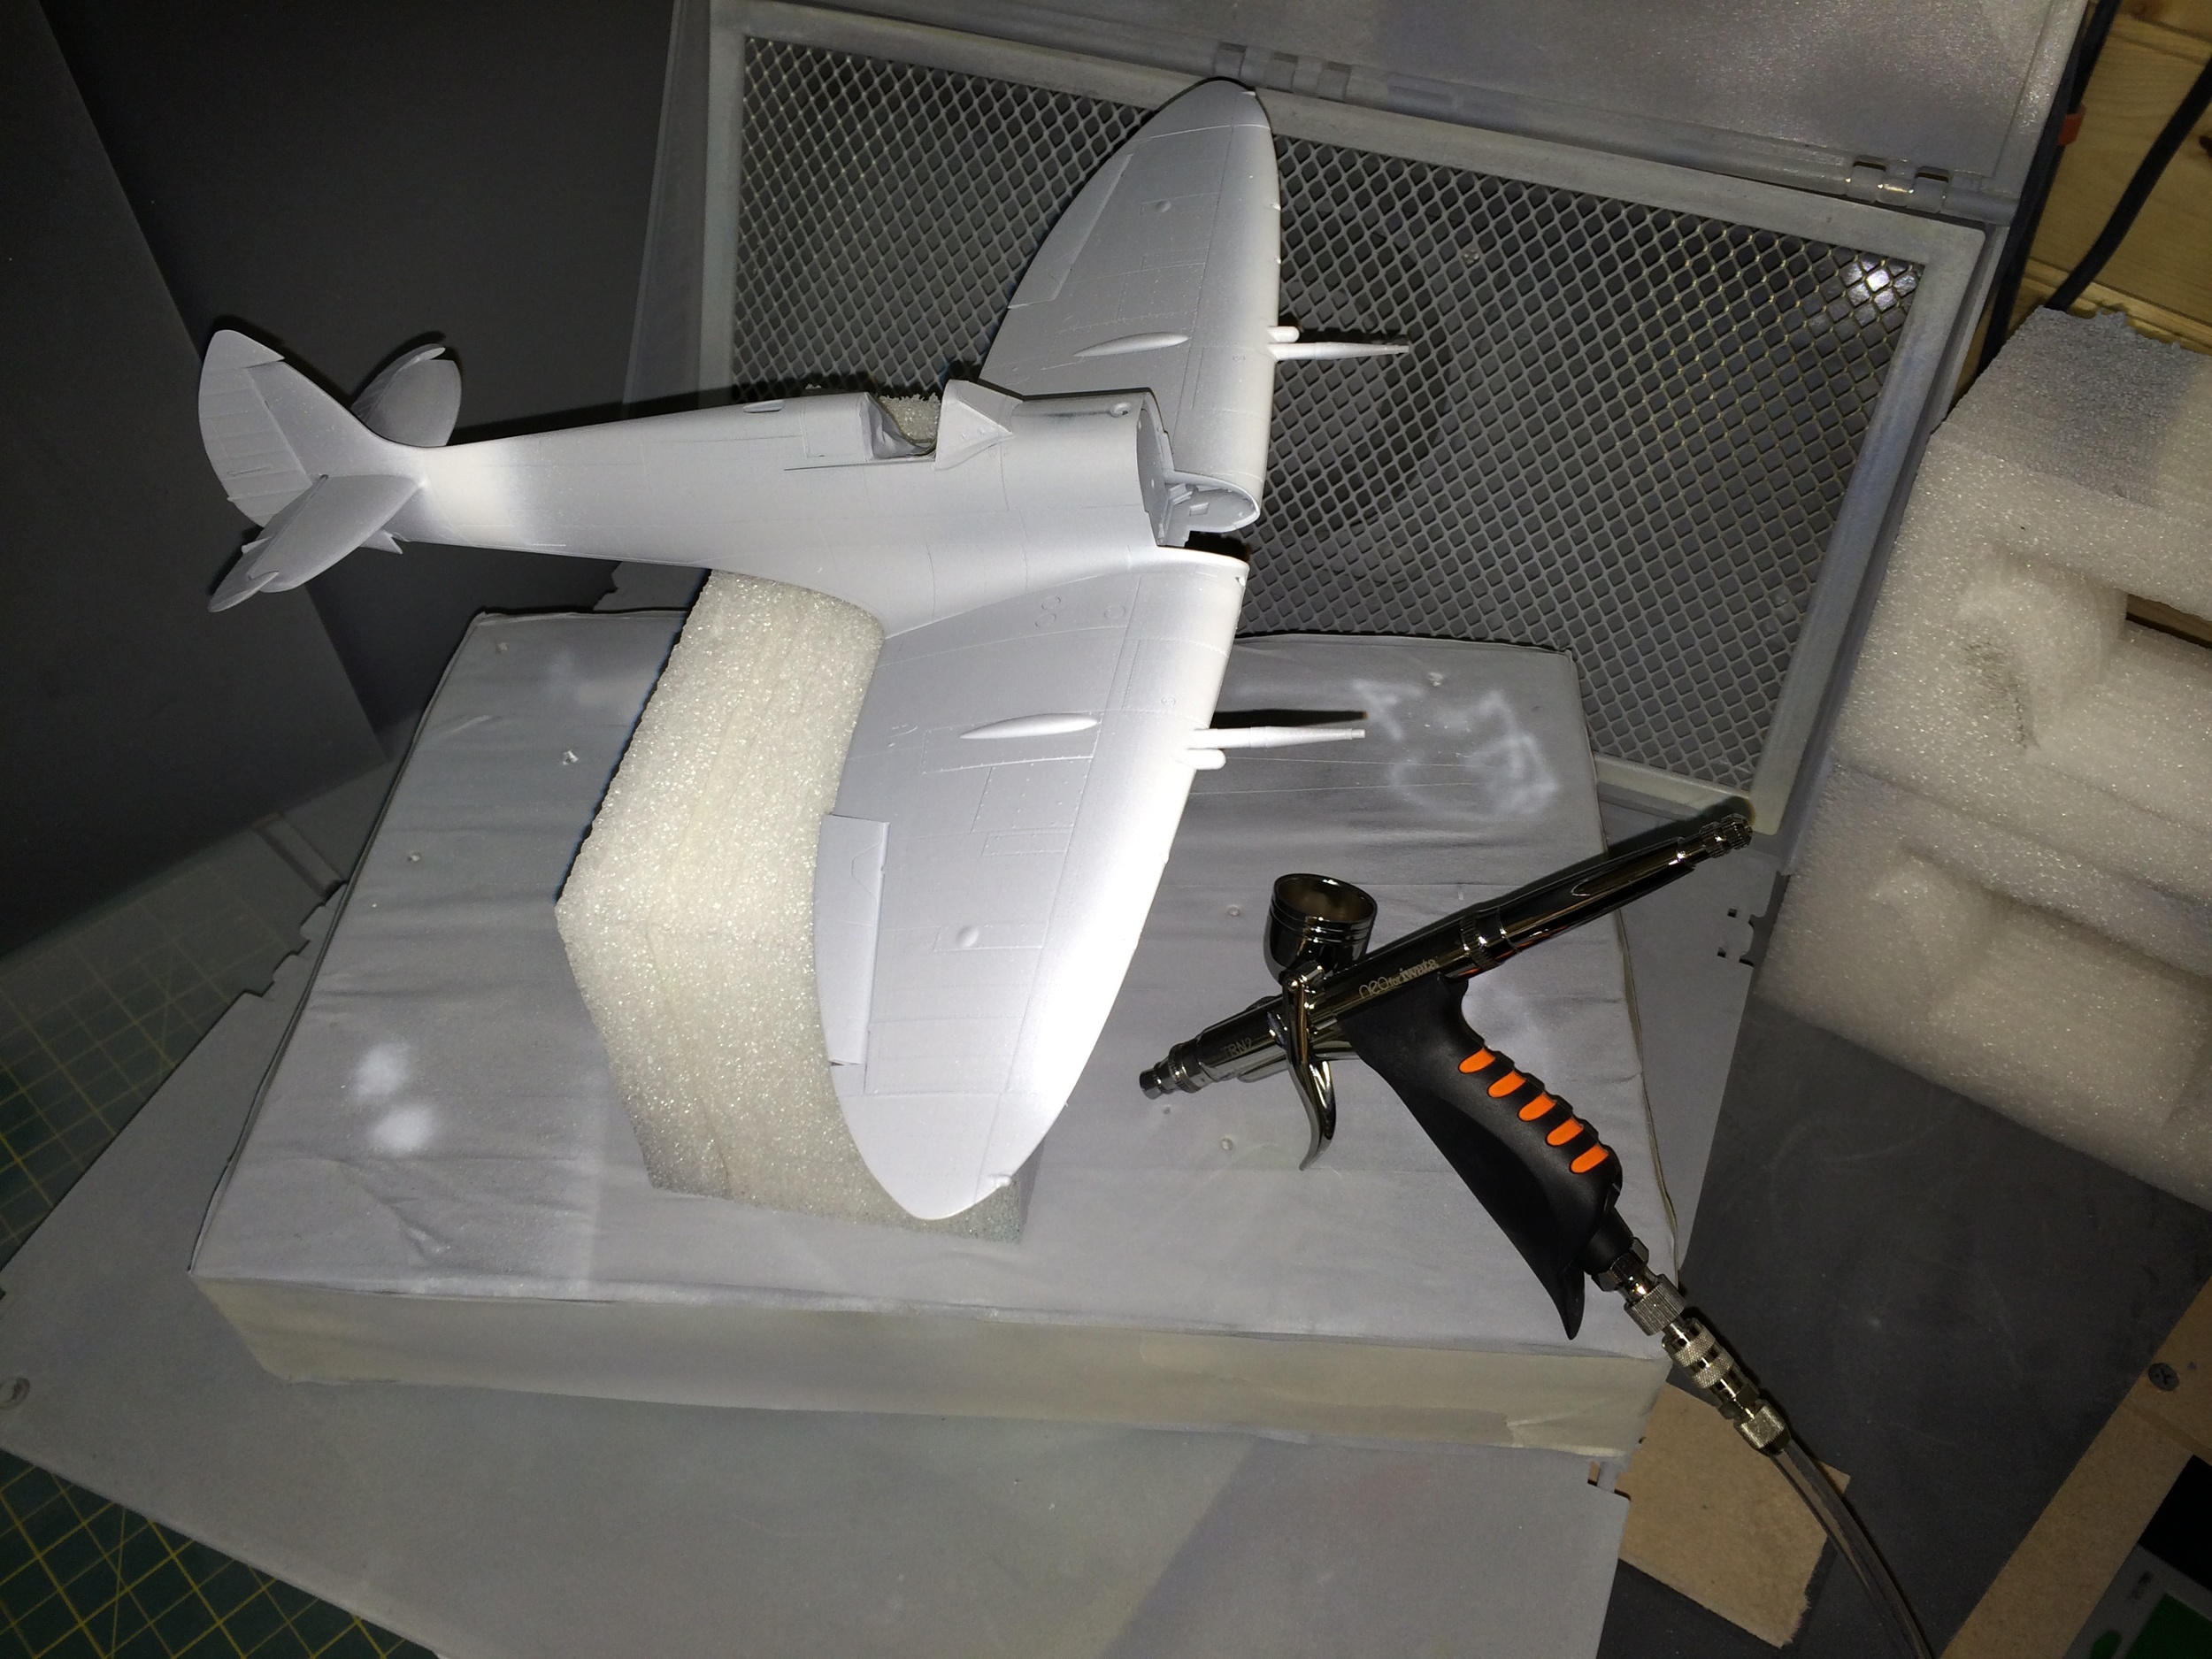
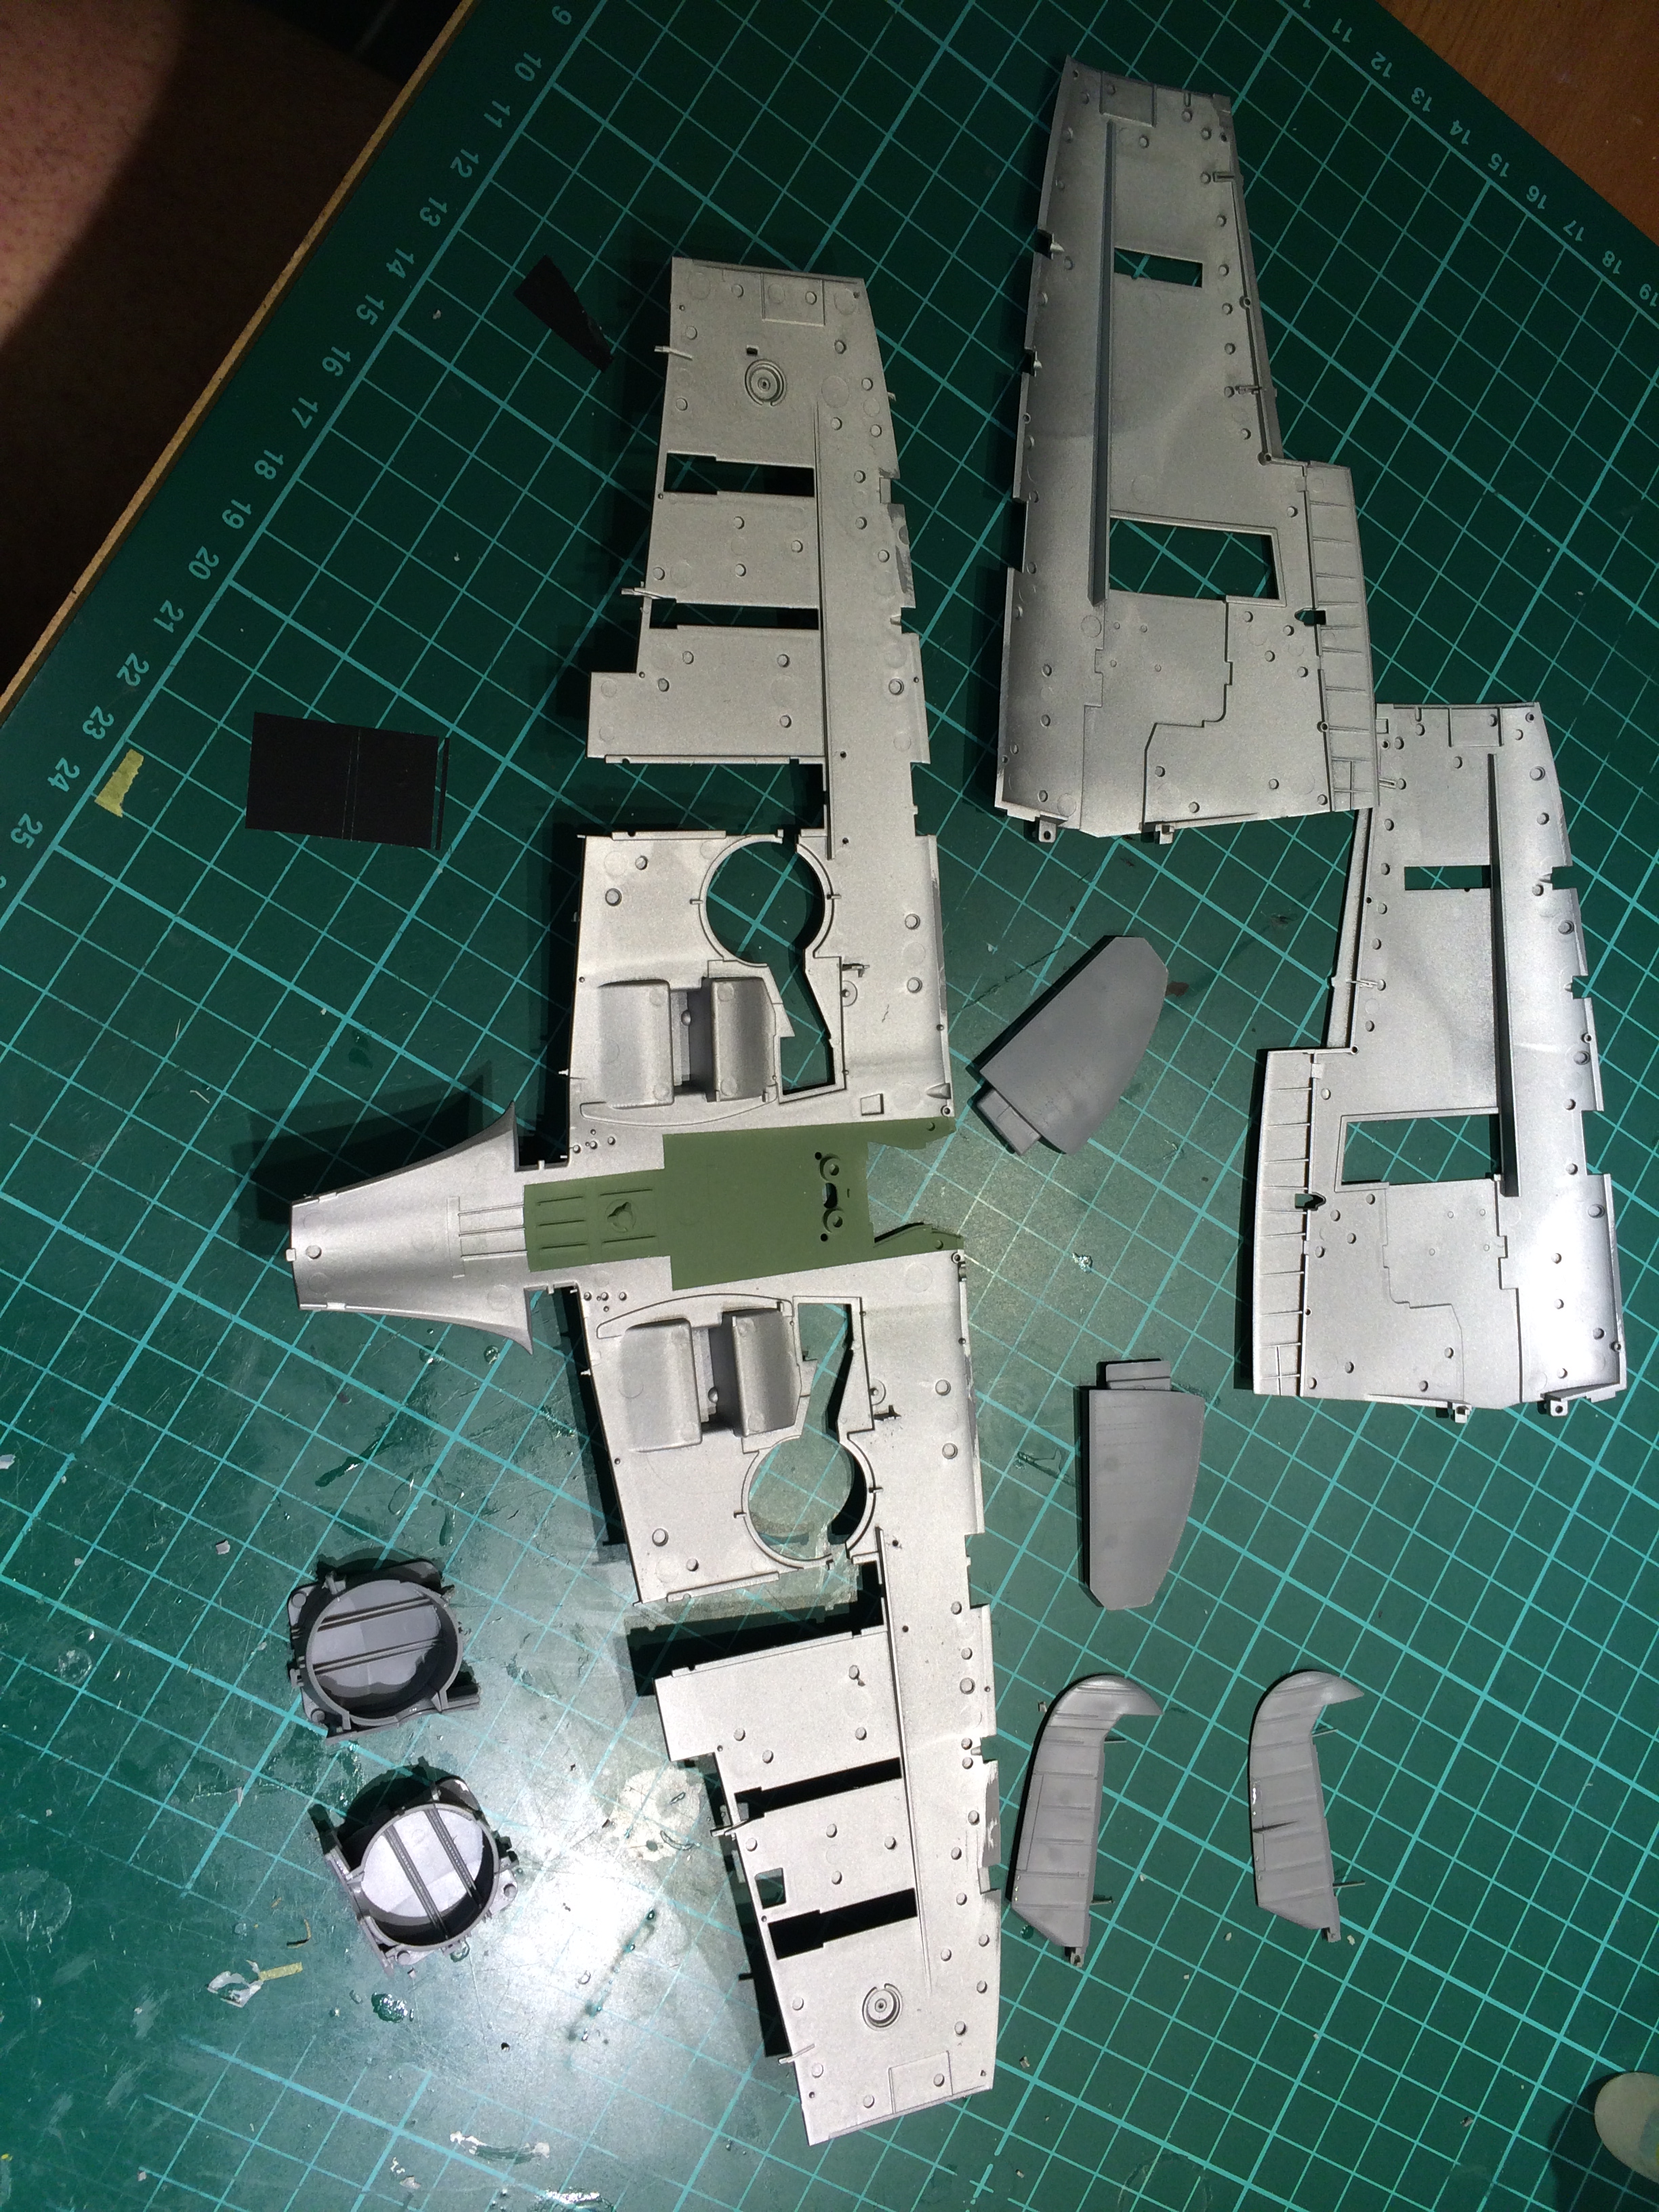
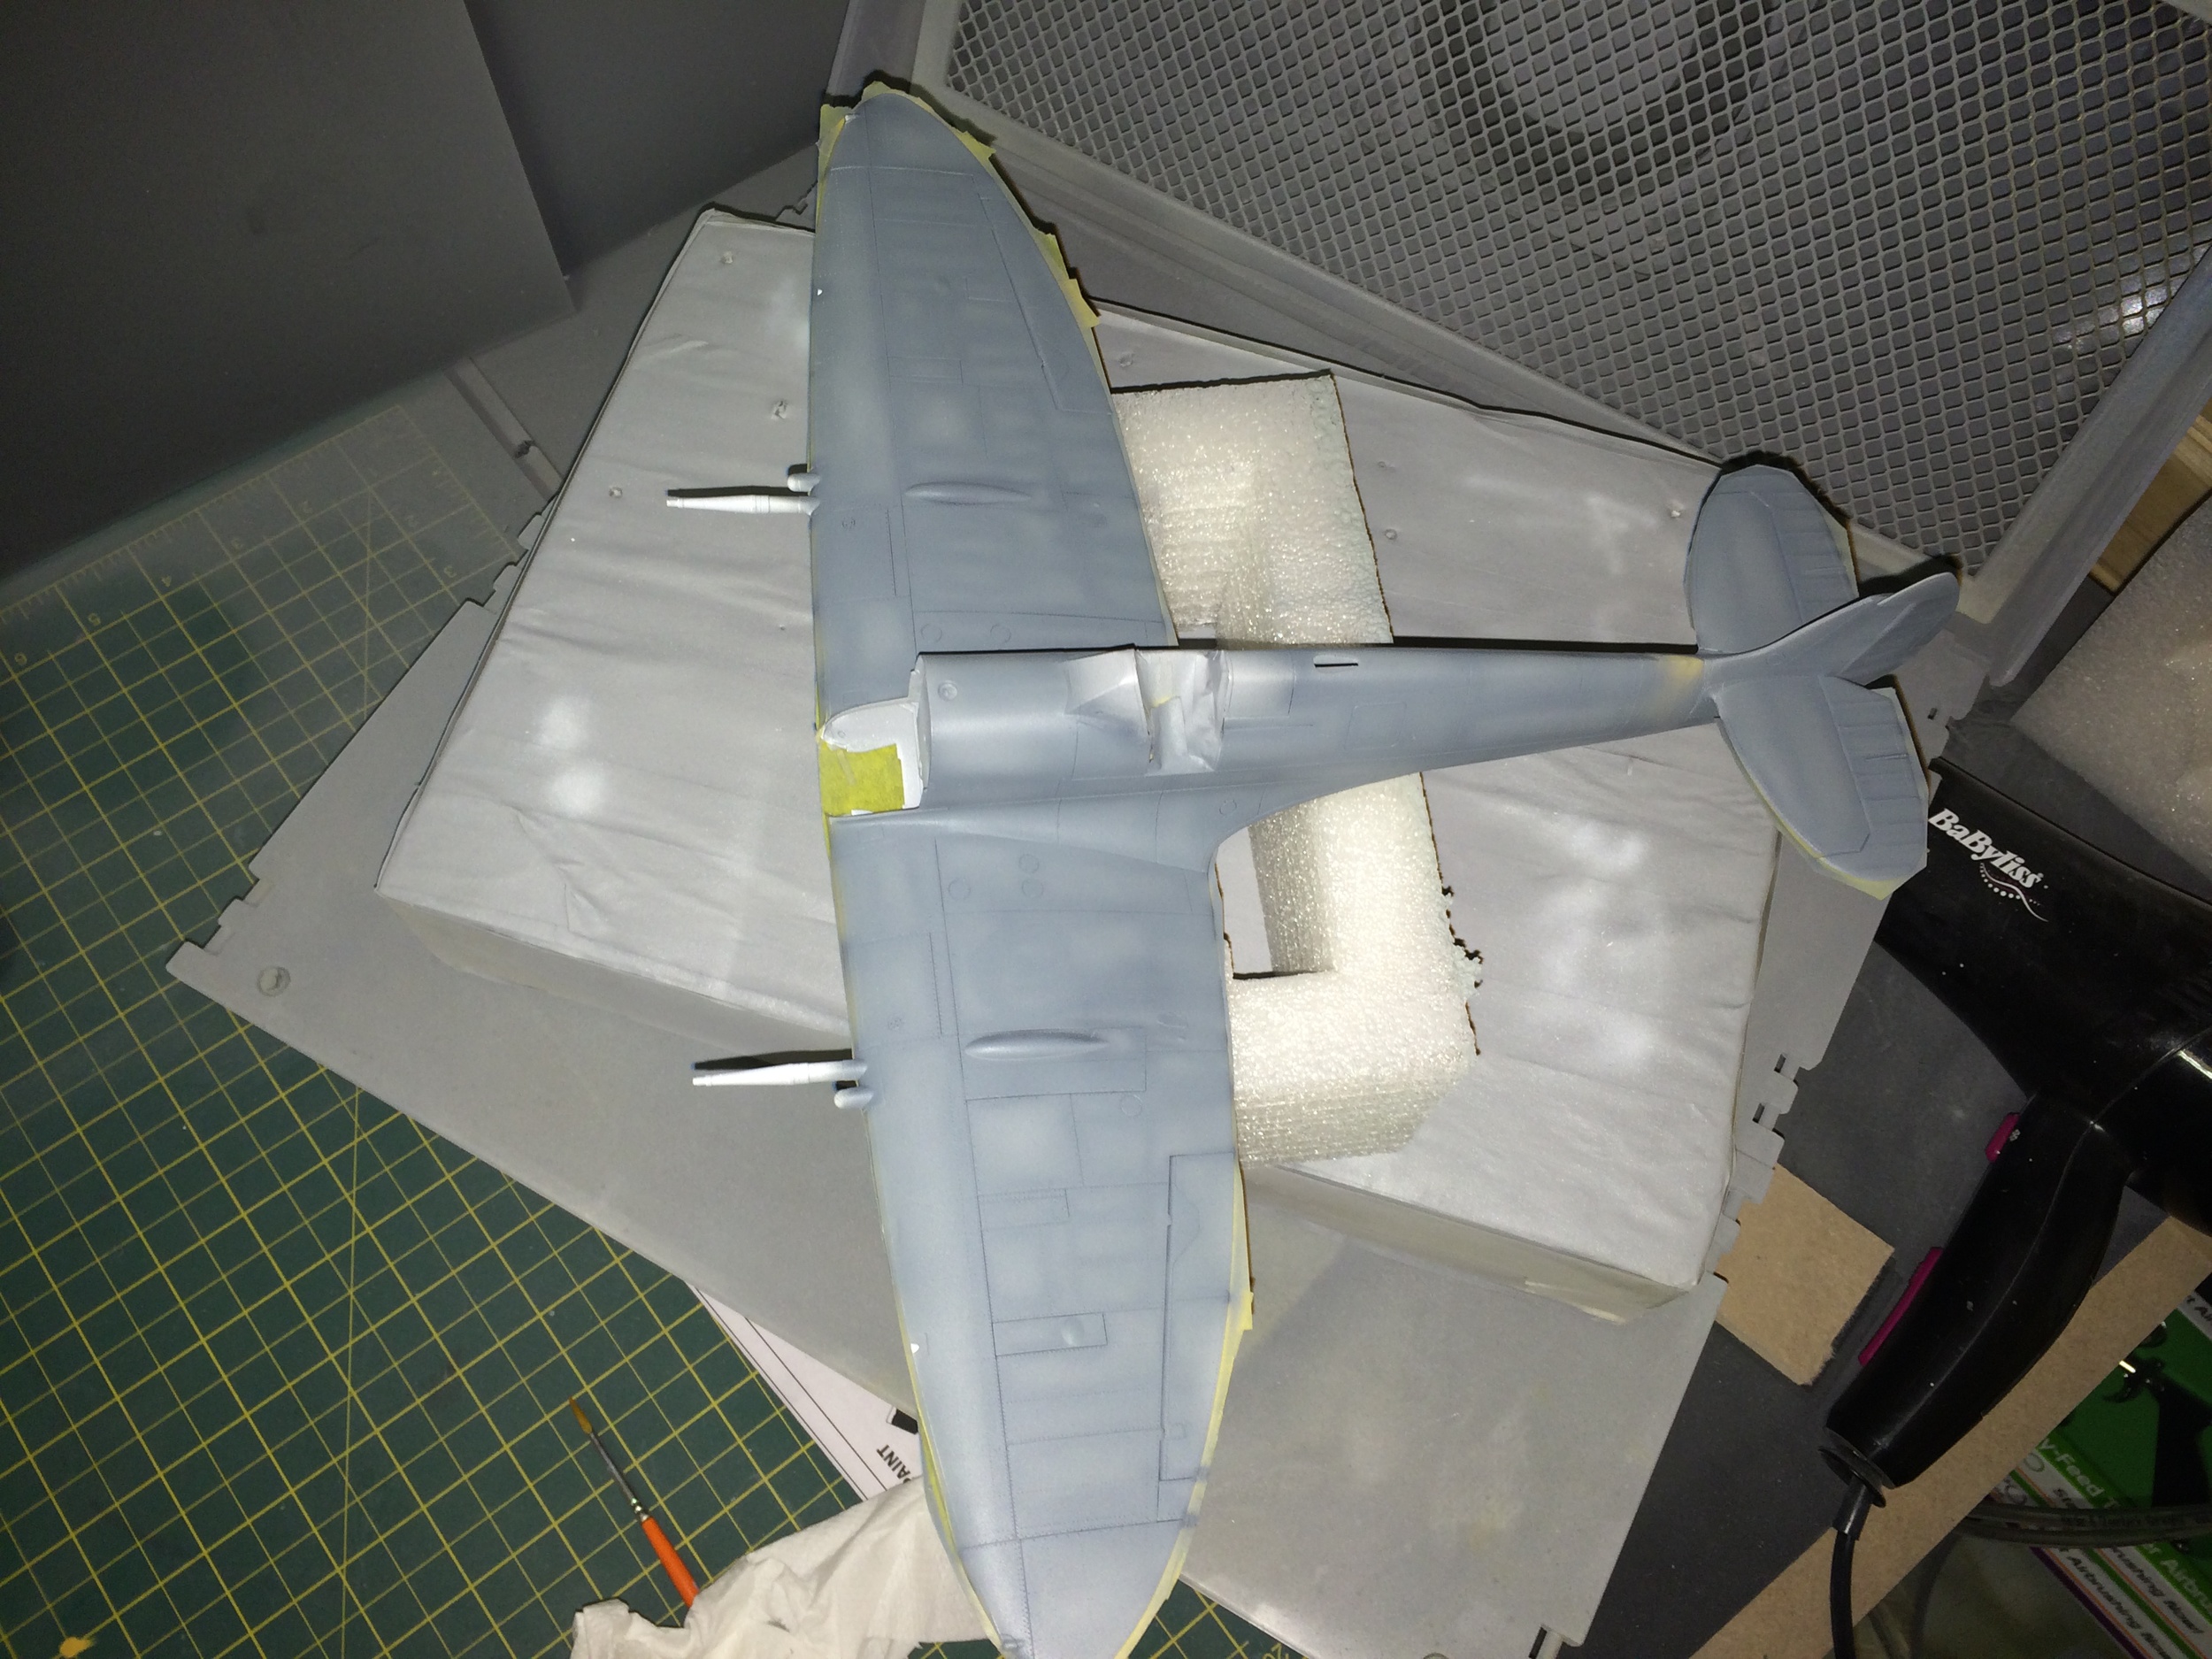
The undercoat goes on using my new neo airbrush from iwata, its a pistol grip first time I have used one, and i have to say I am impressed
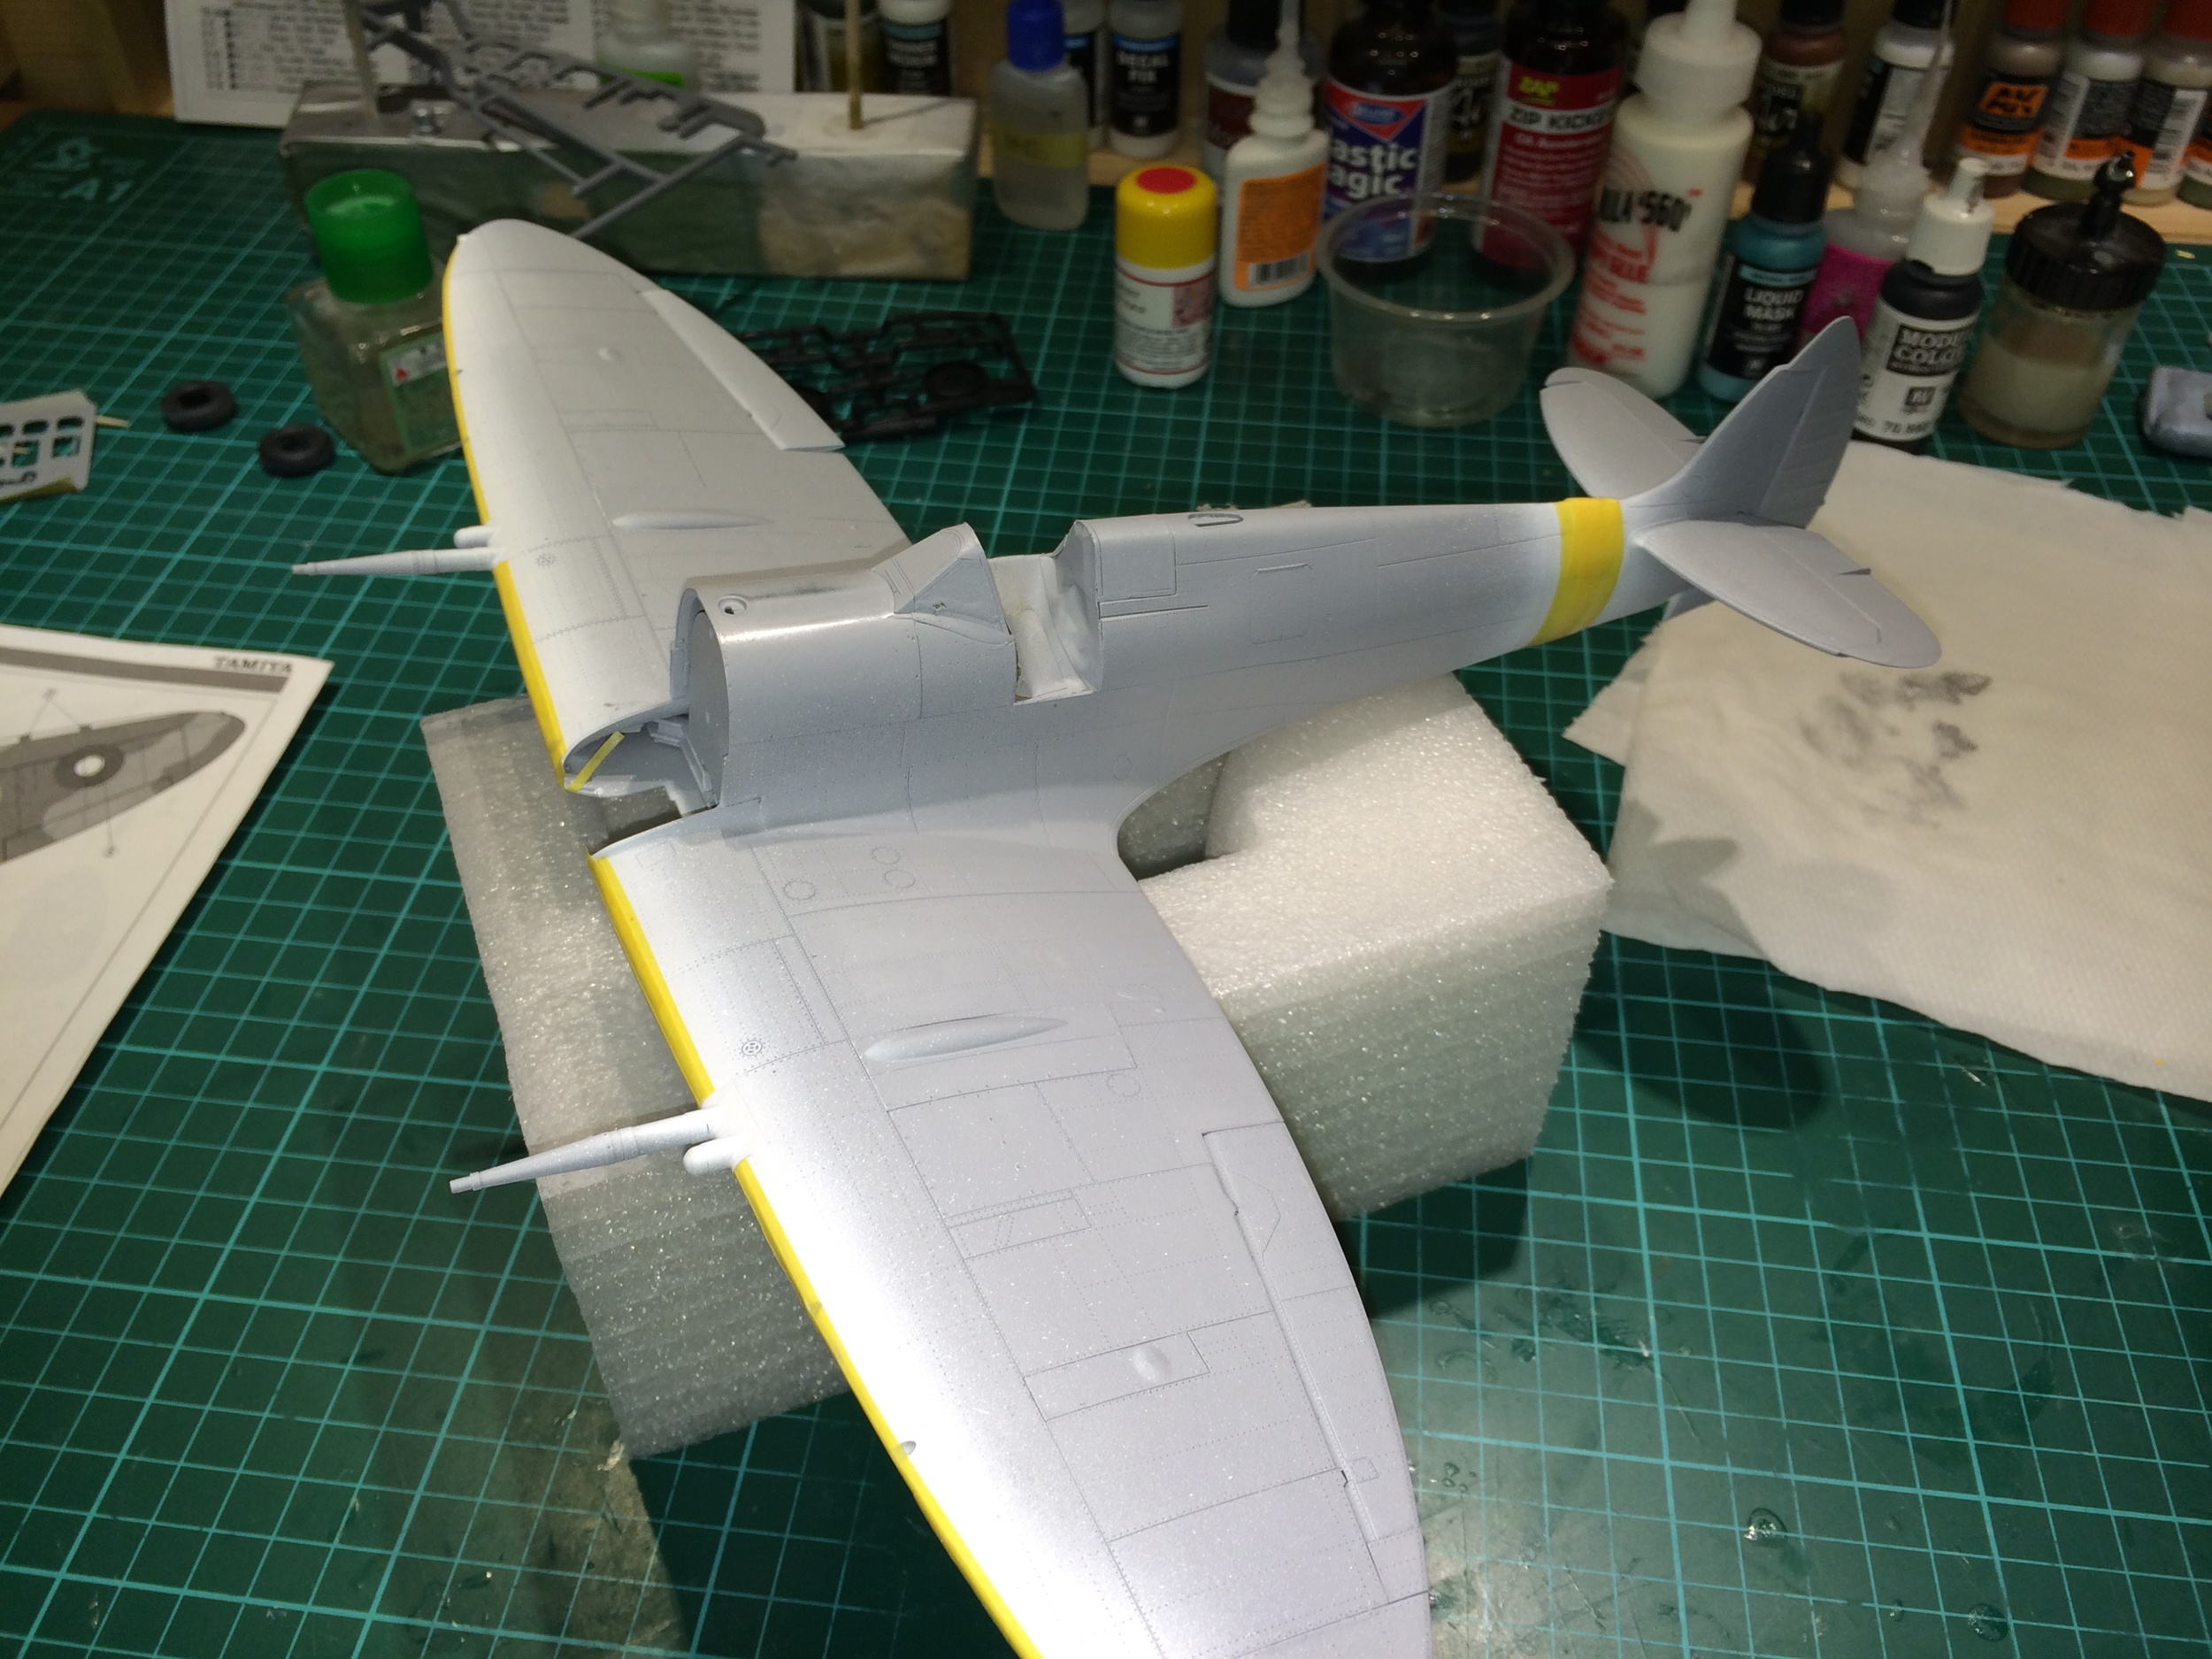
All the white bits are sprayed and masked
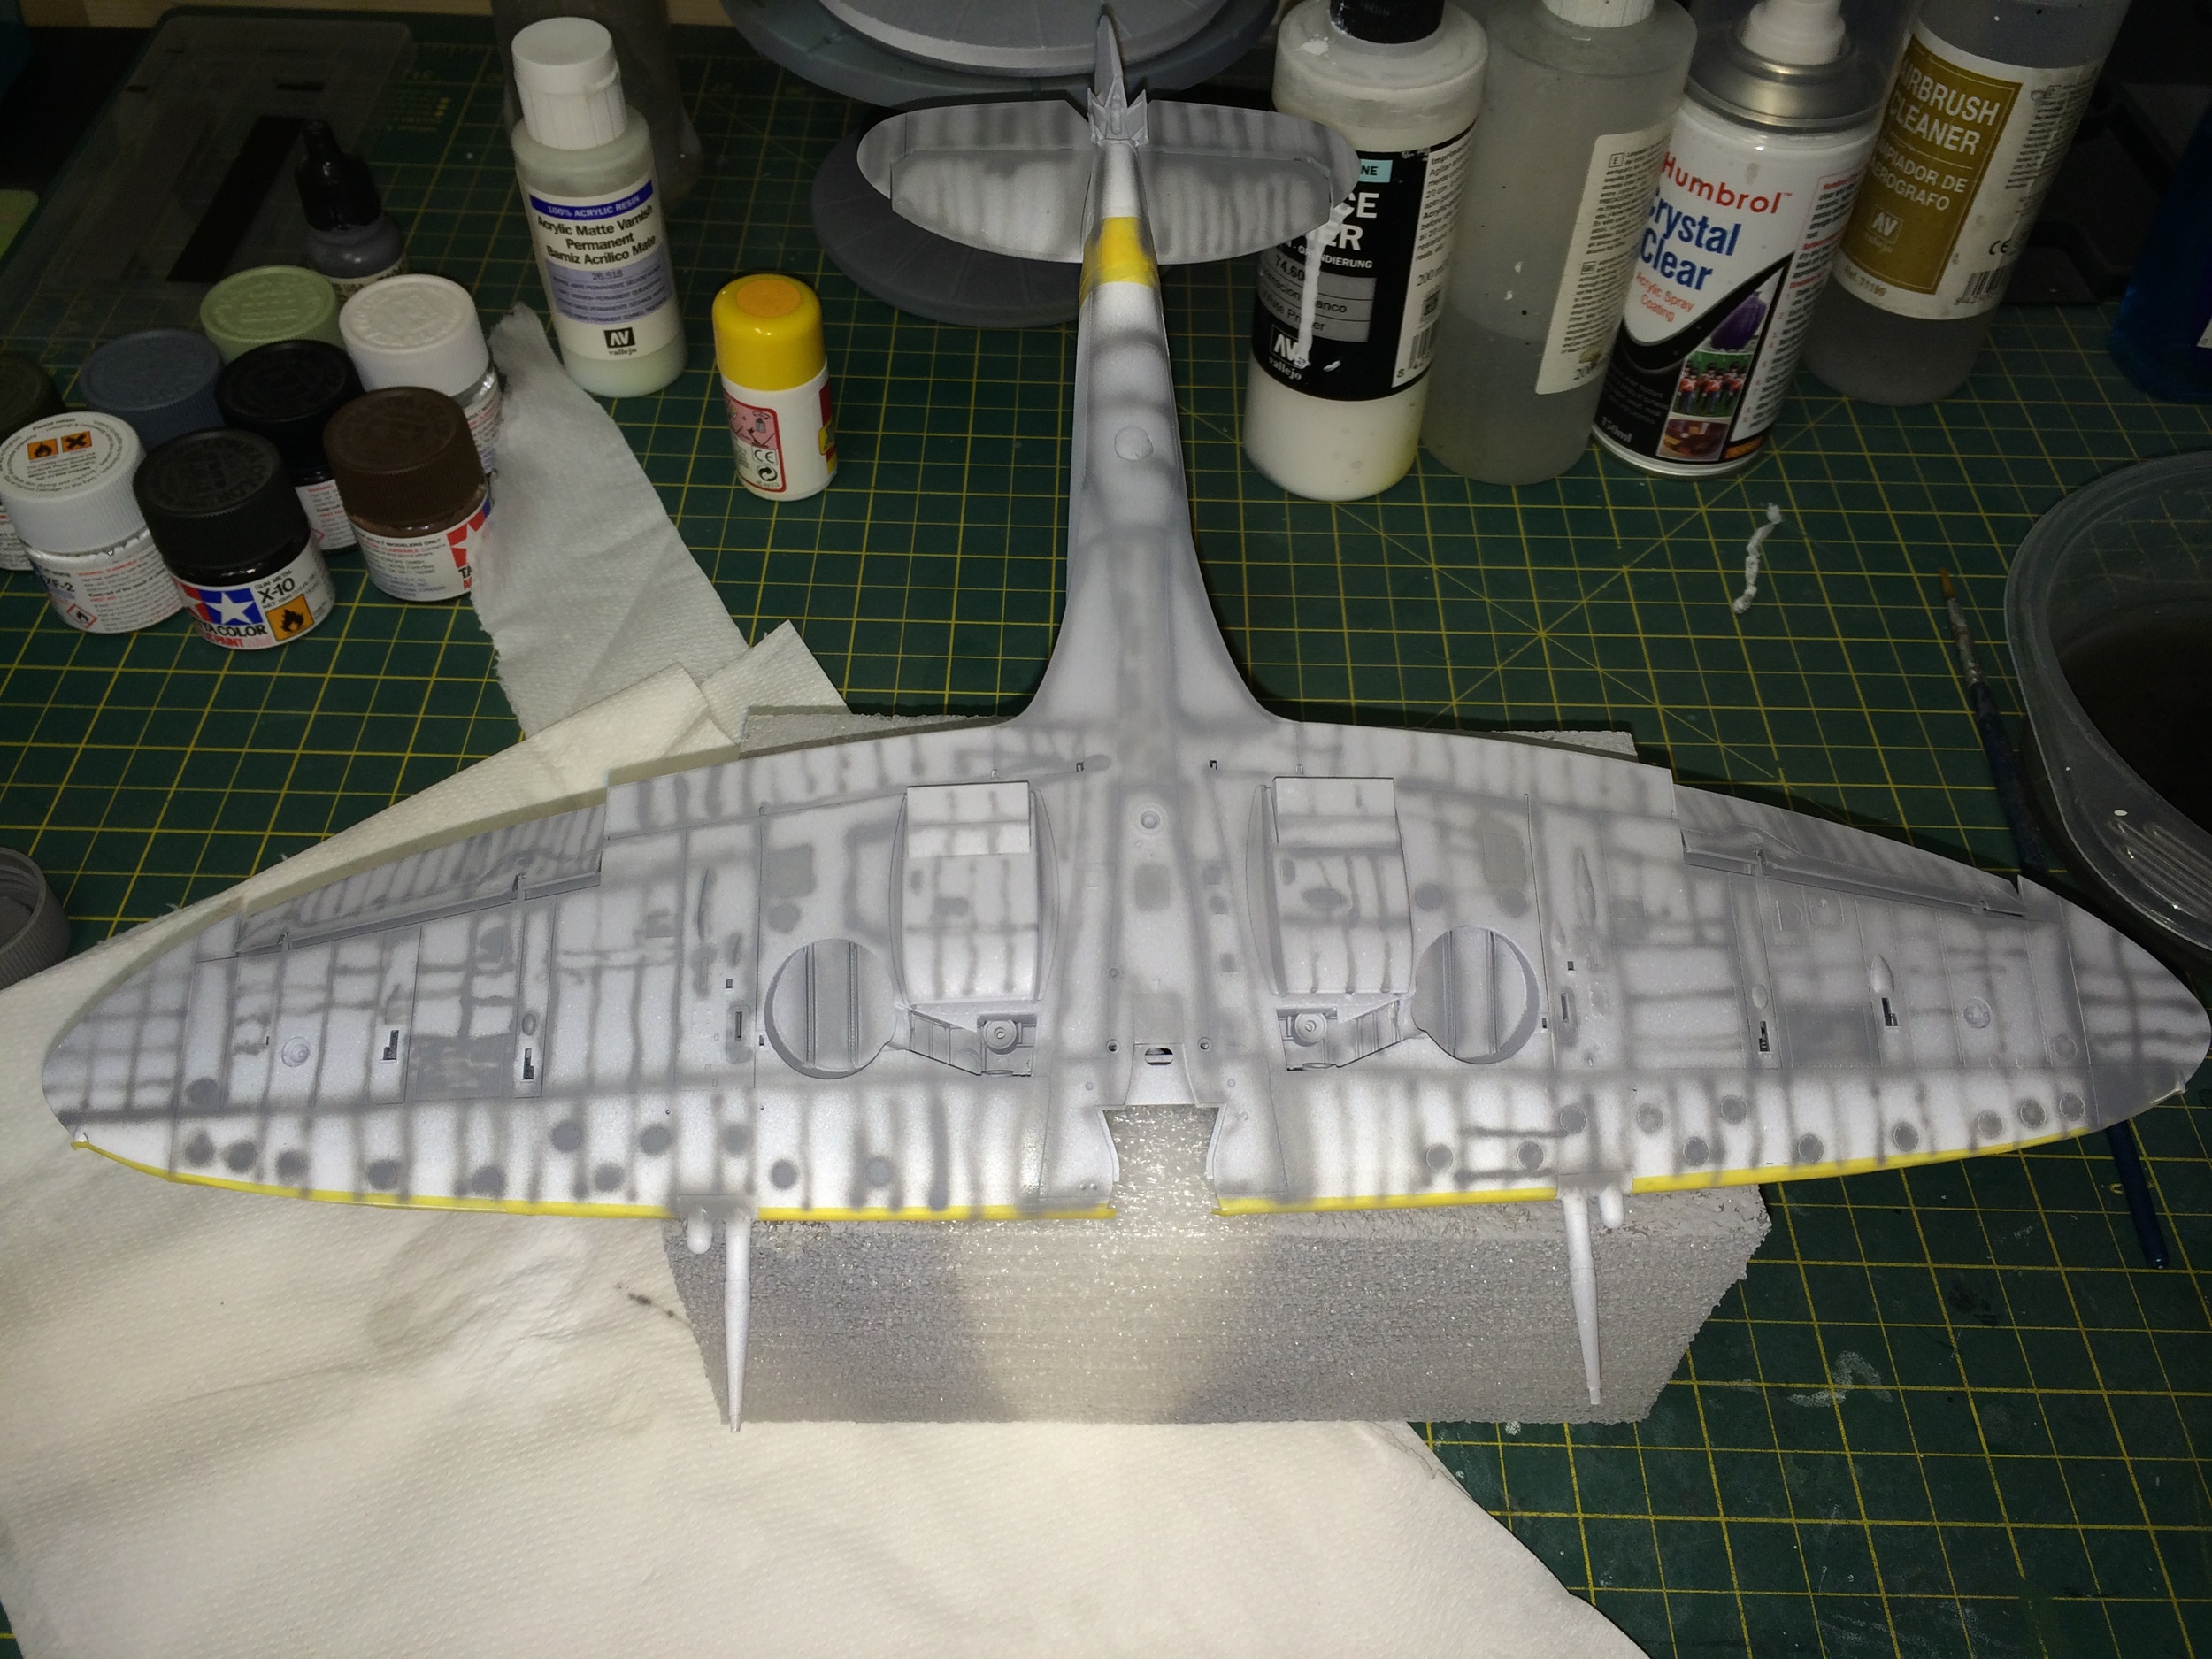
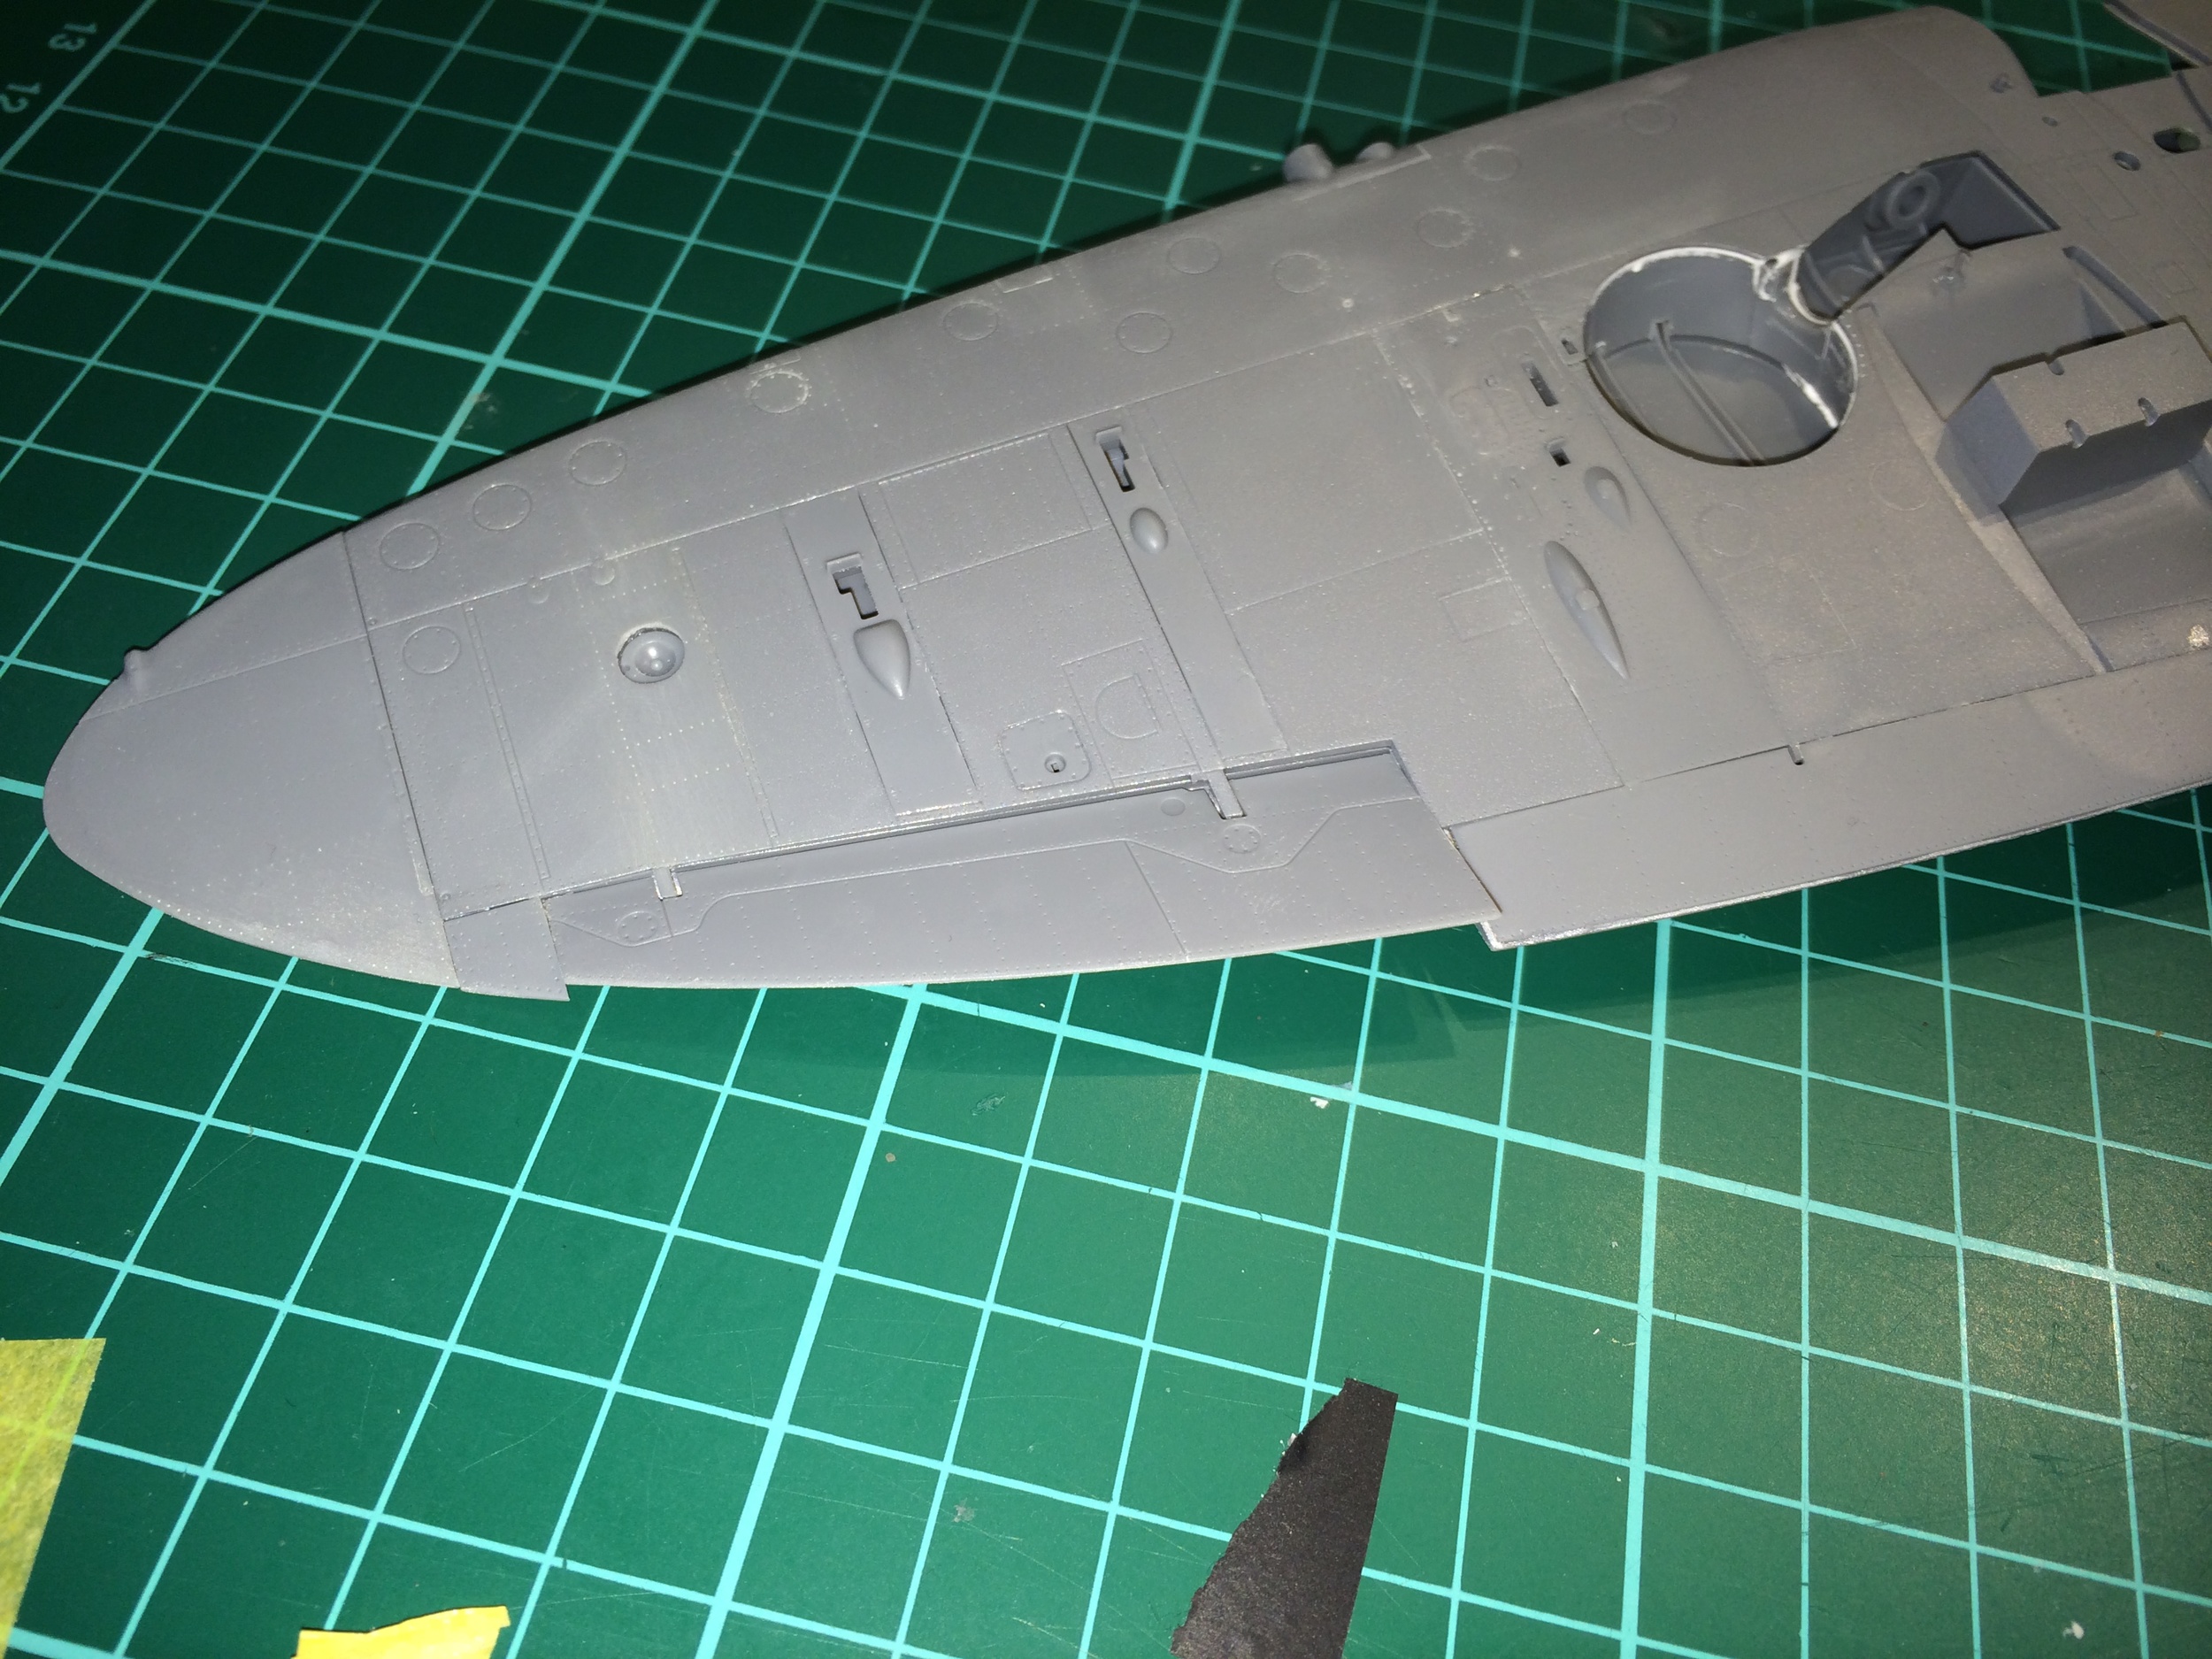
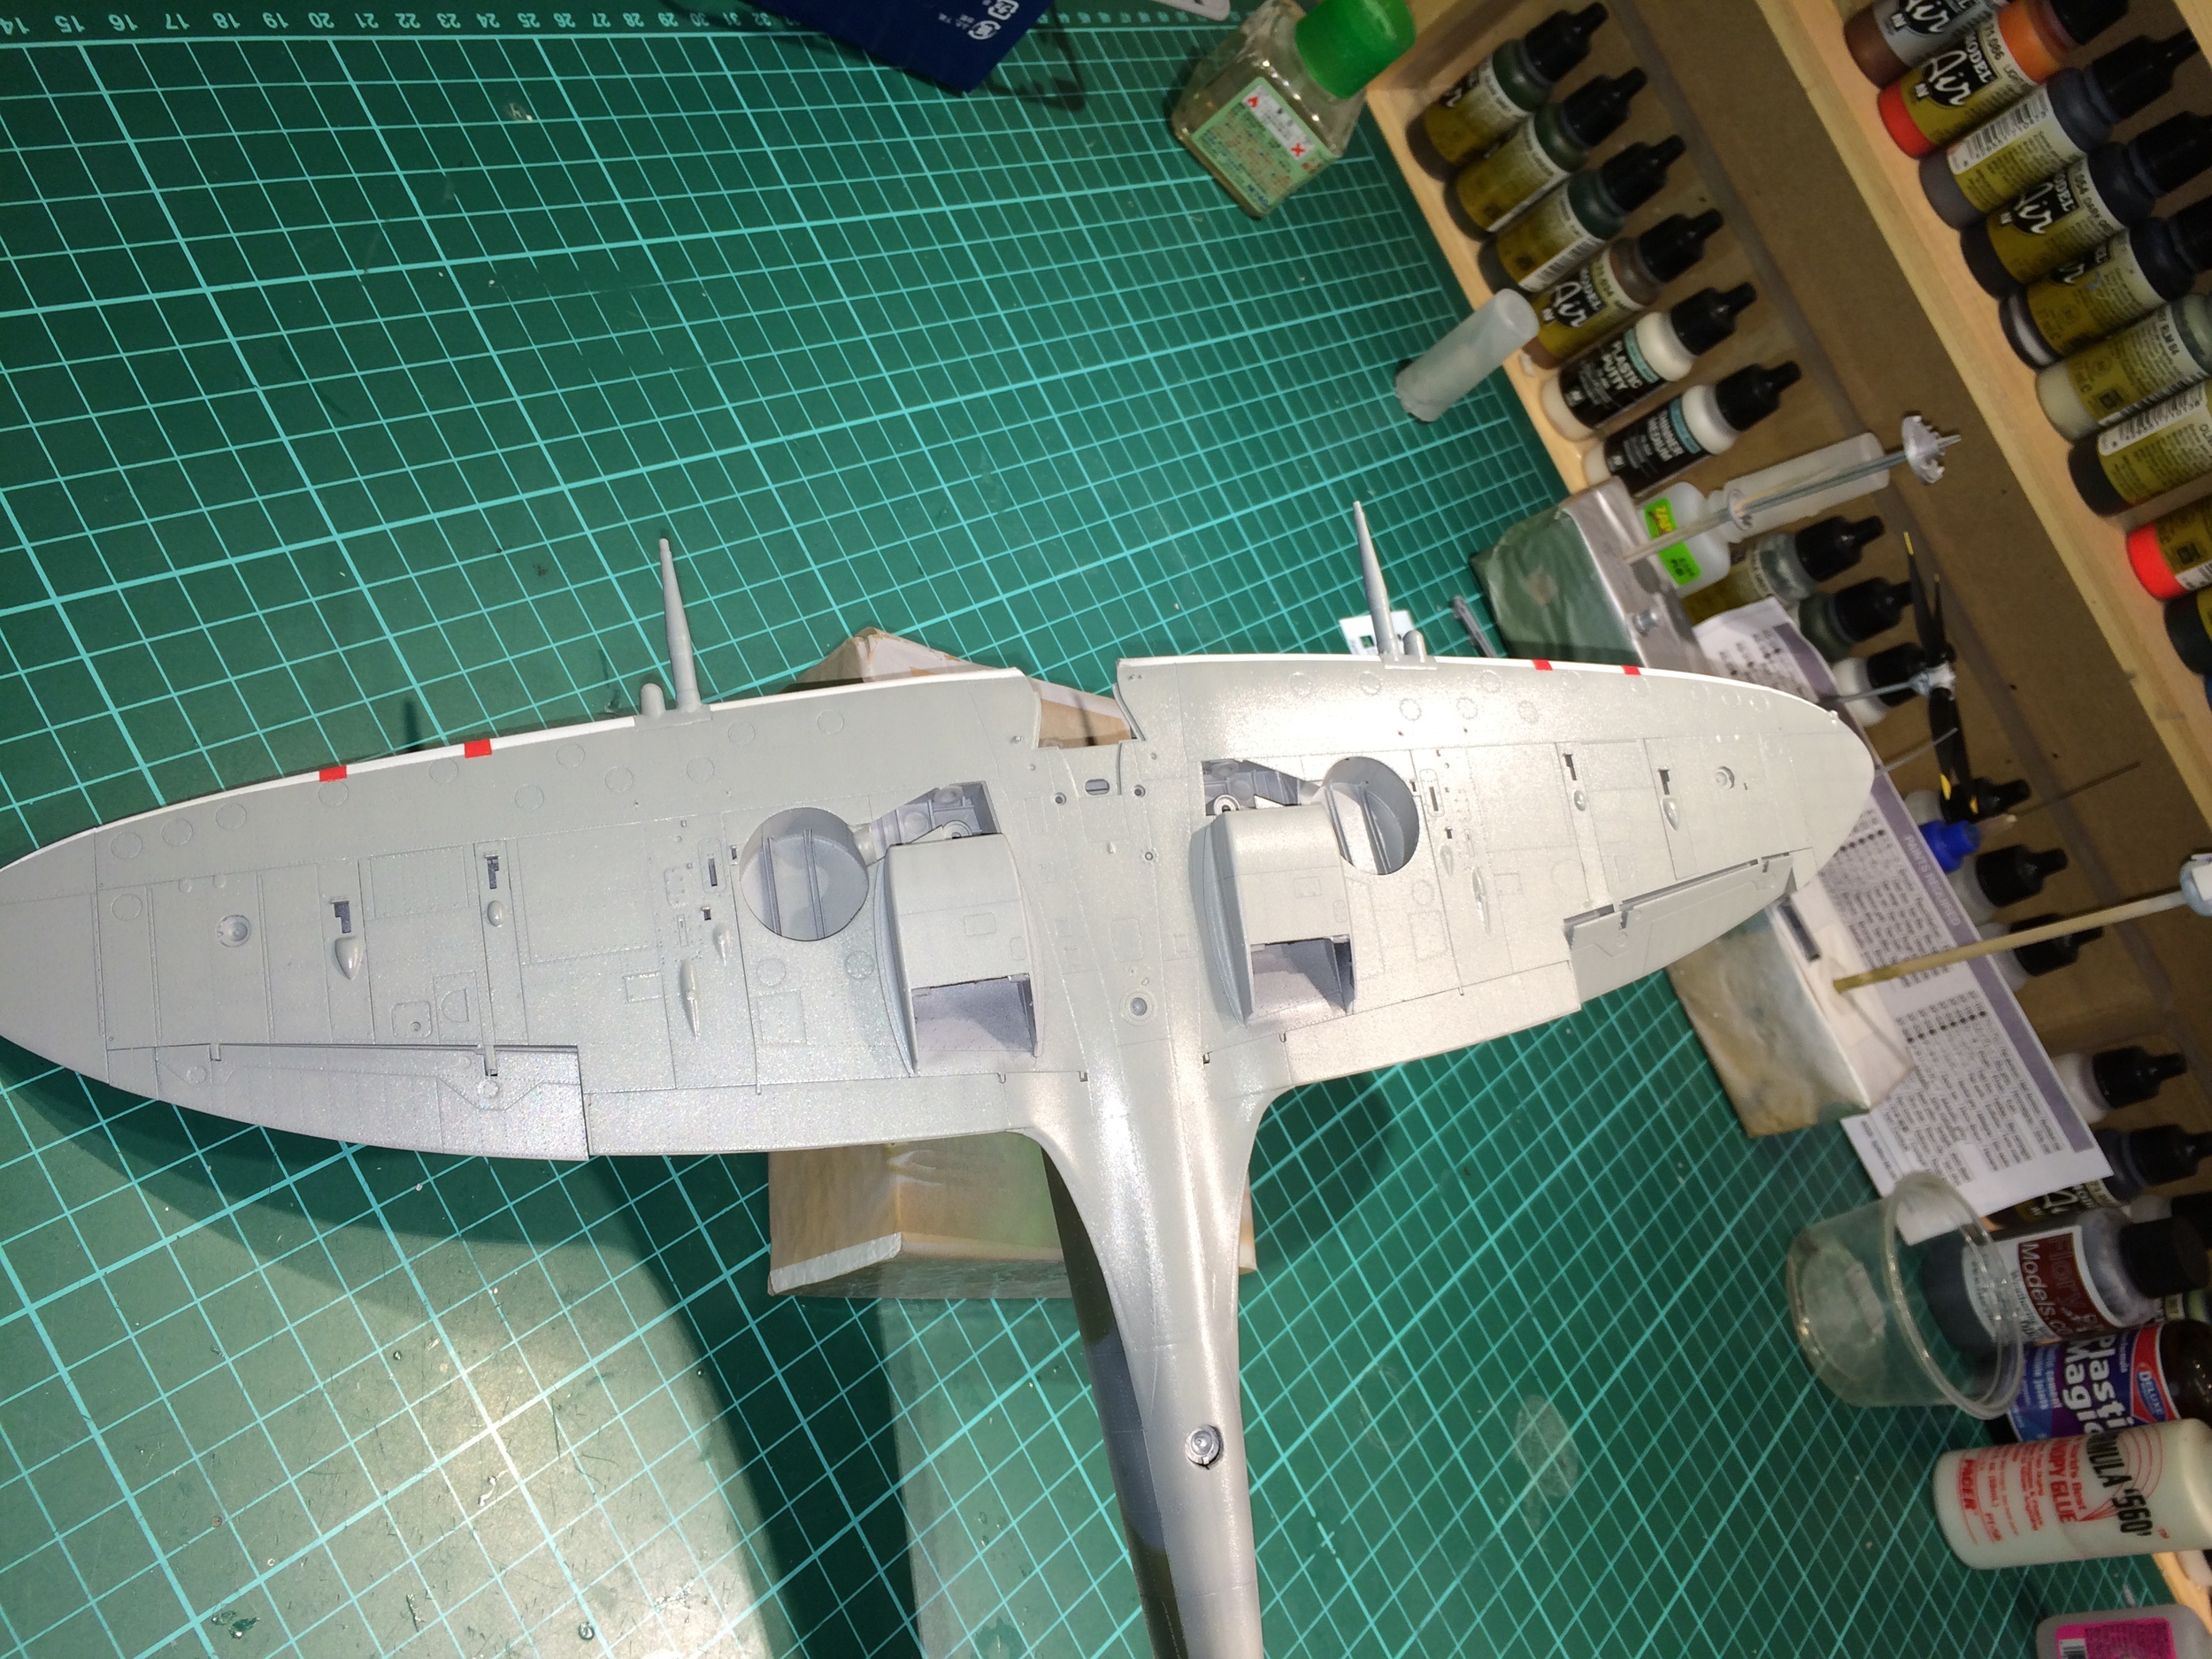
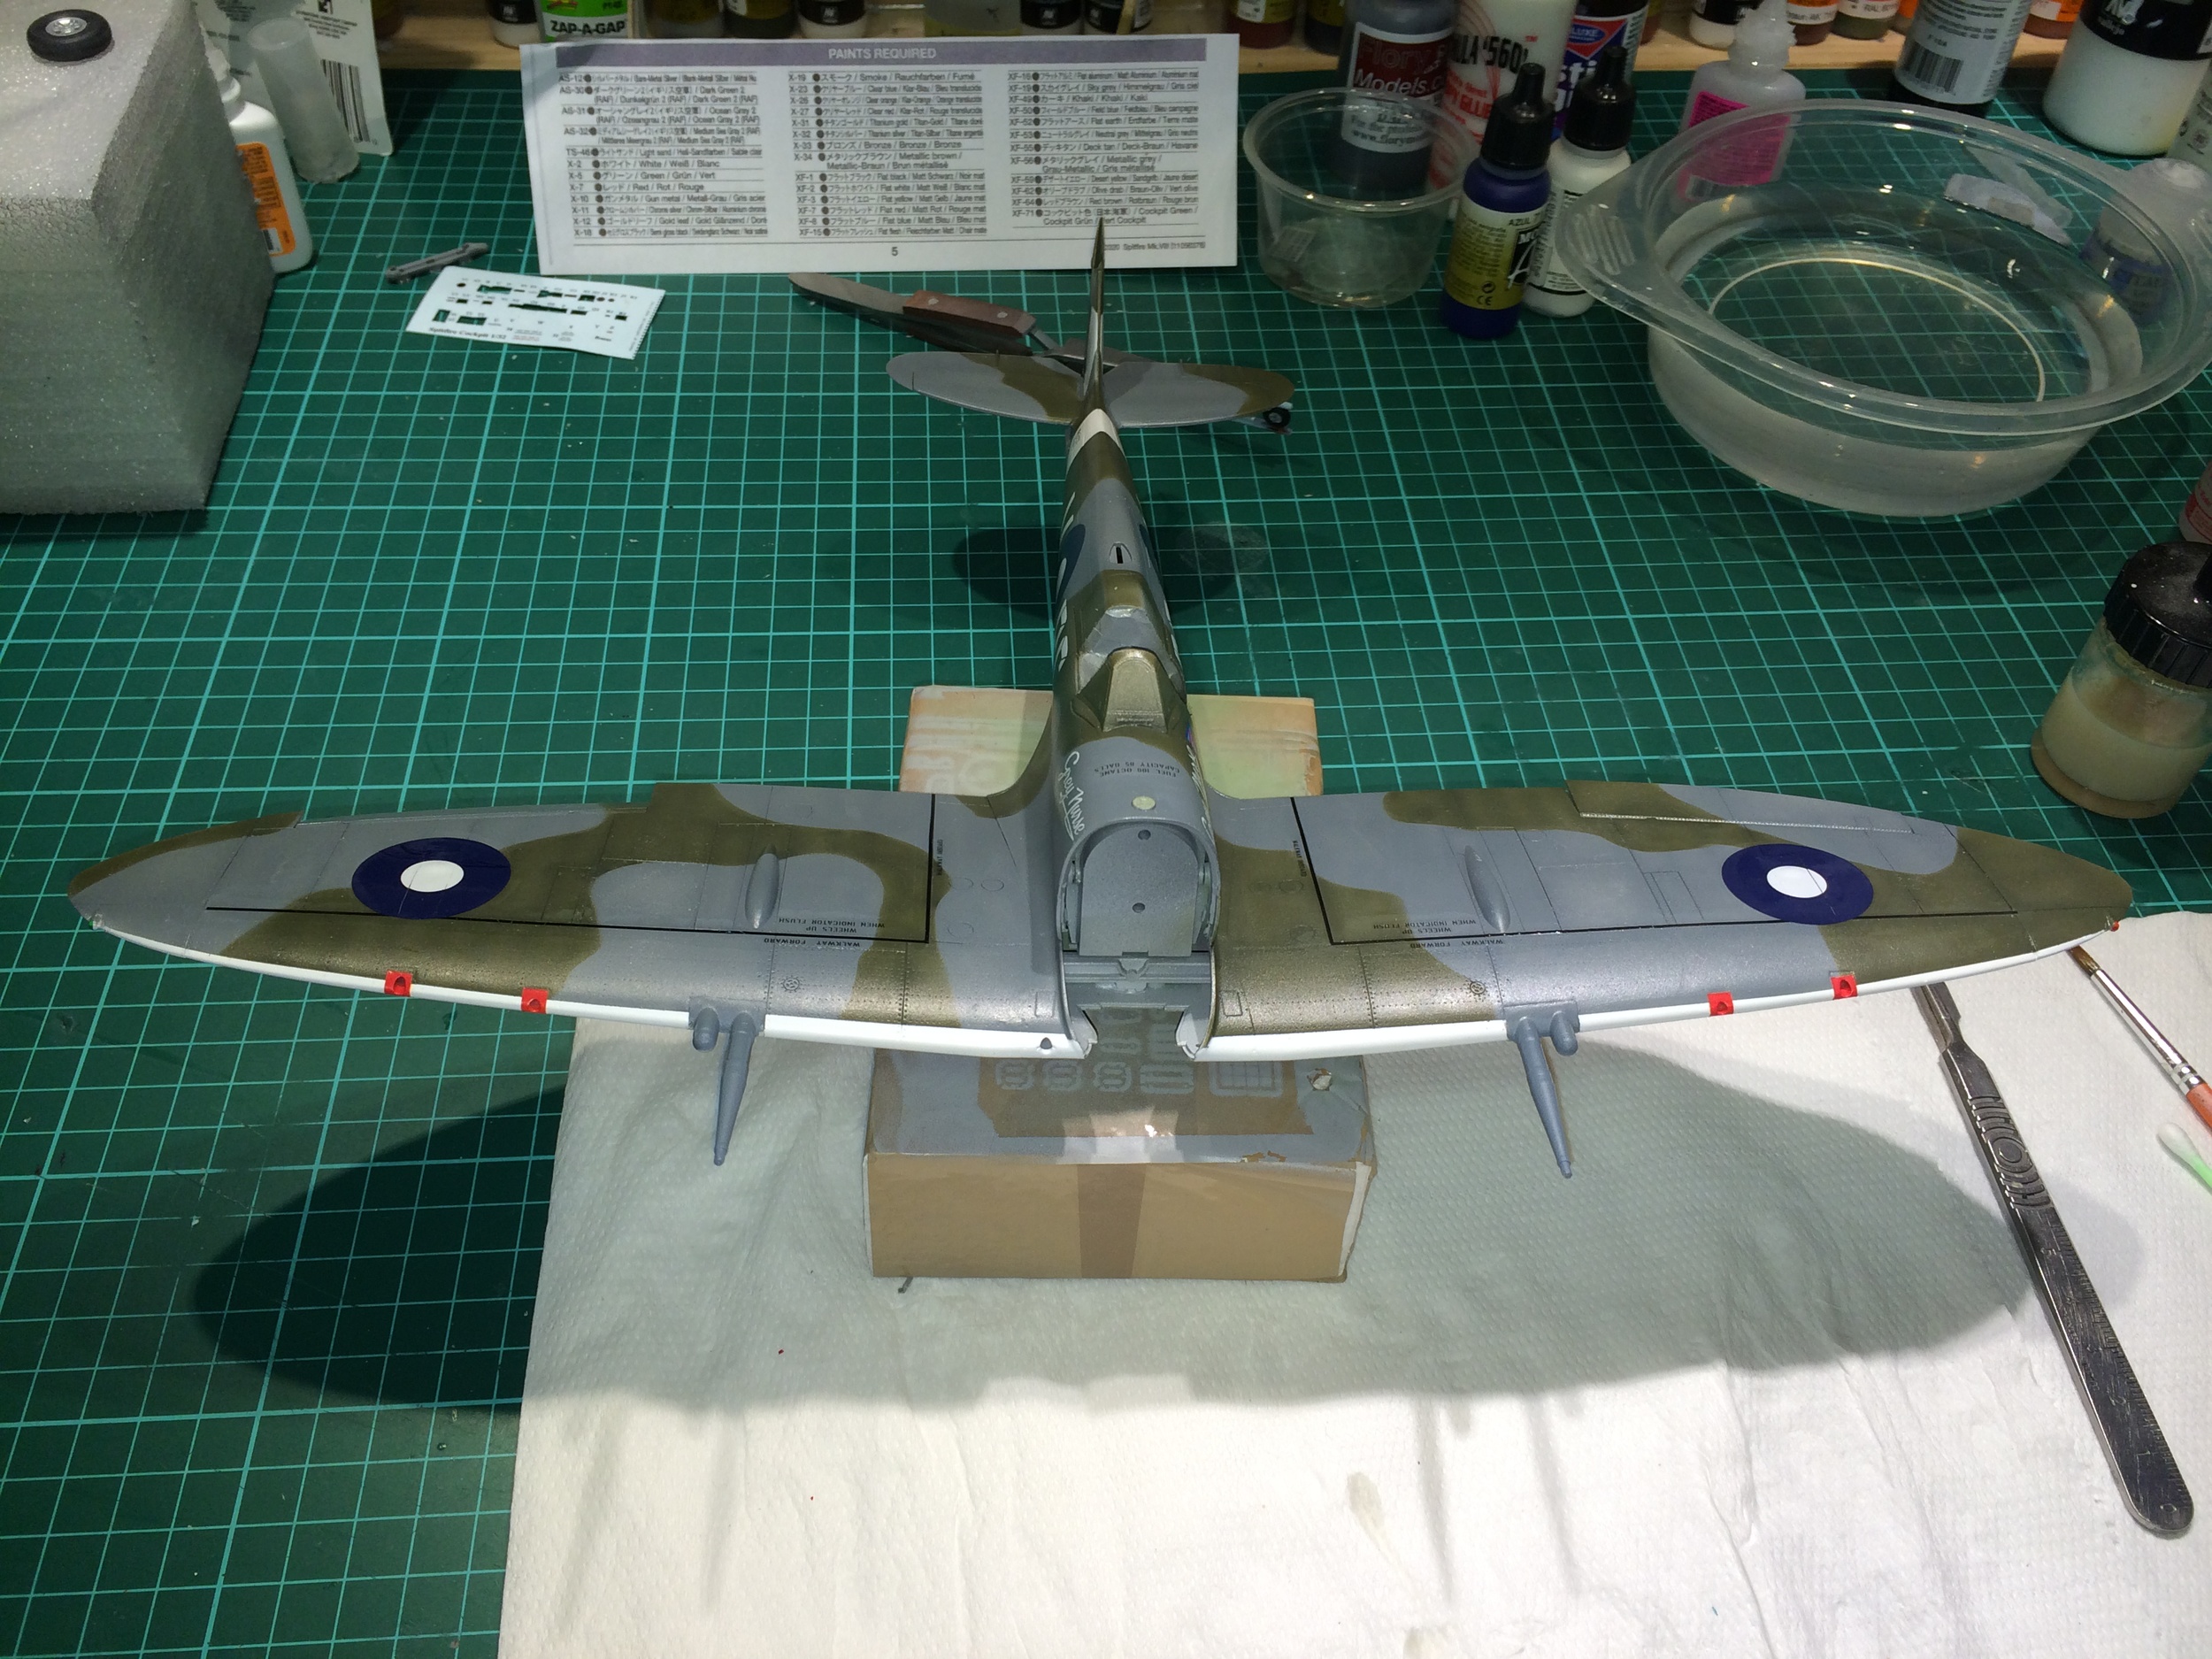
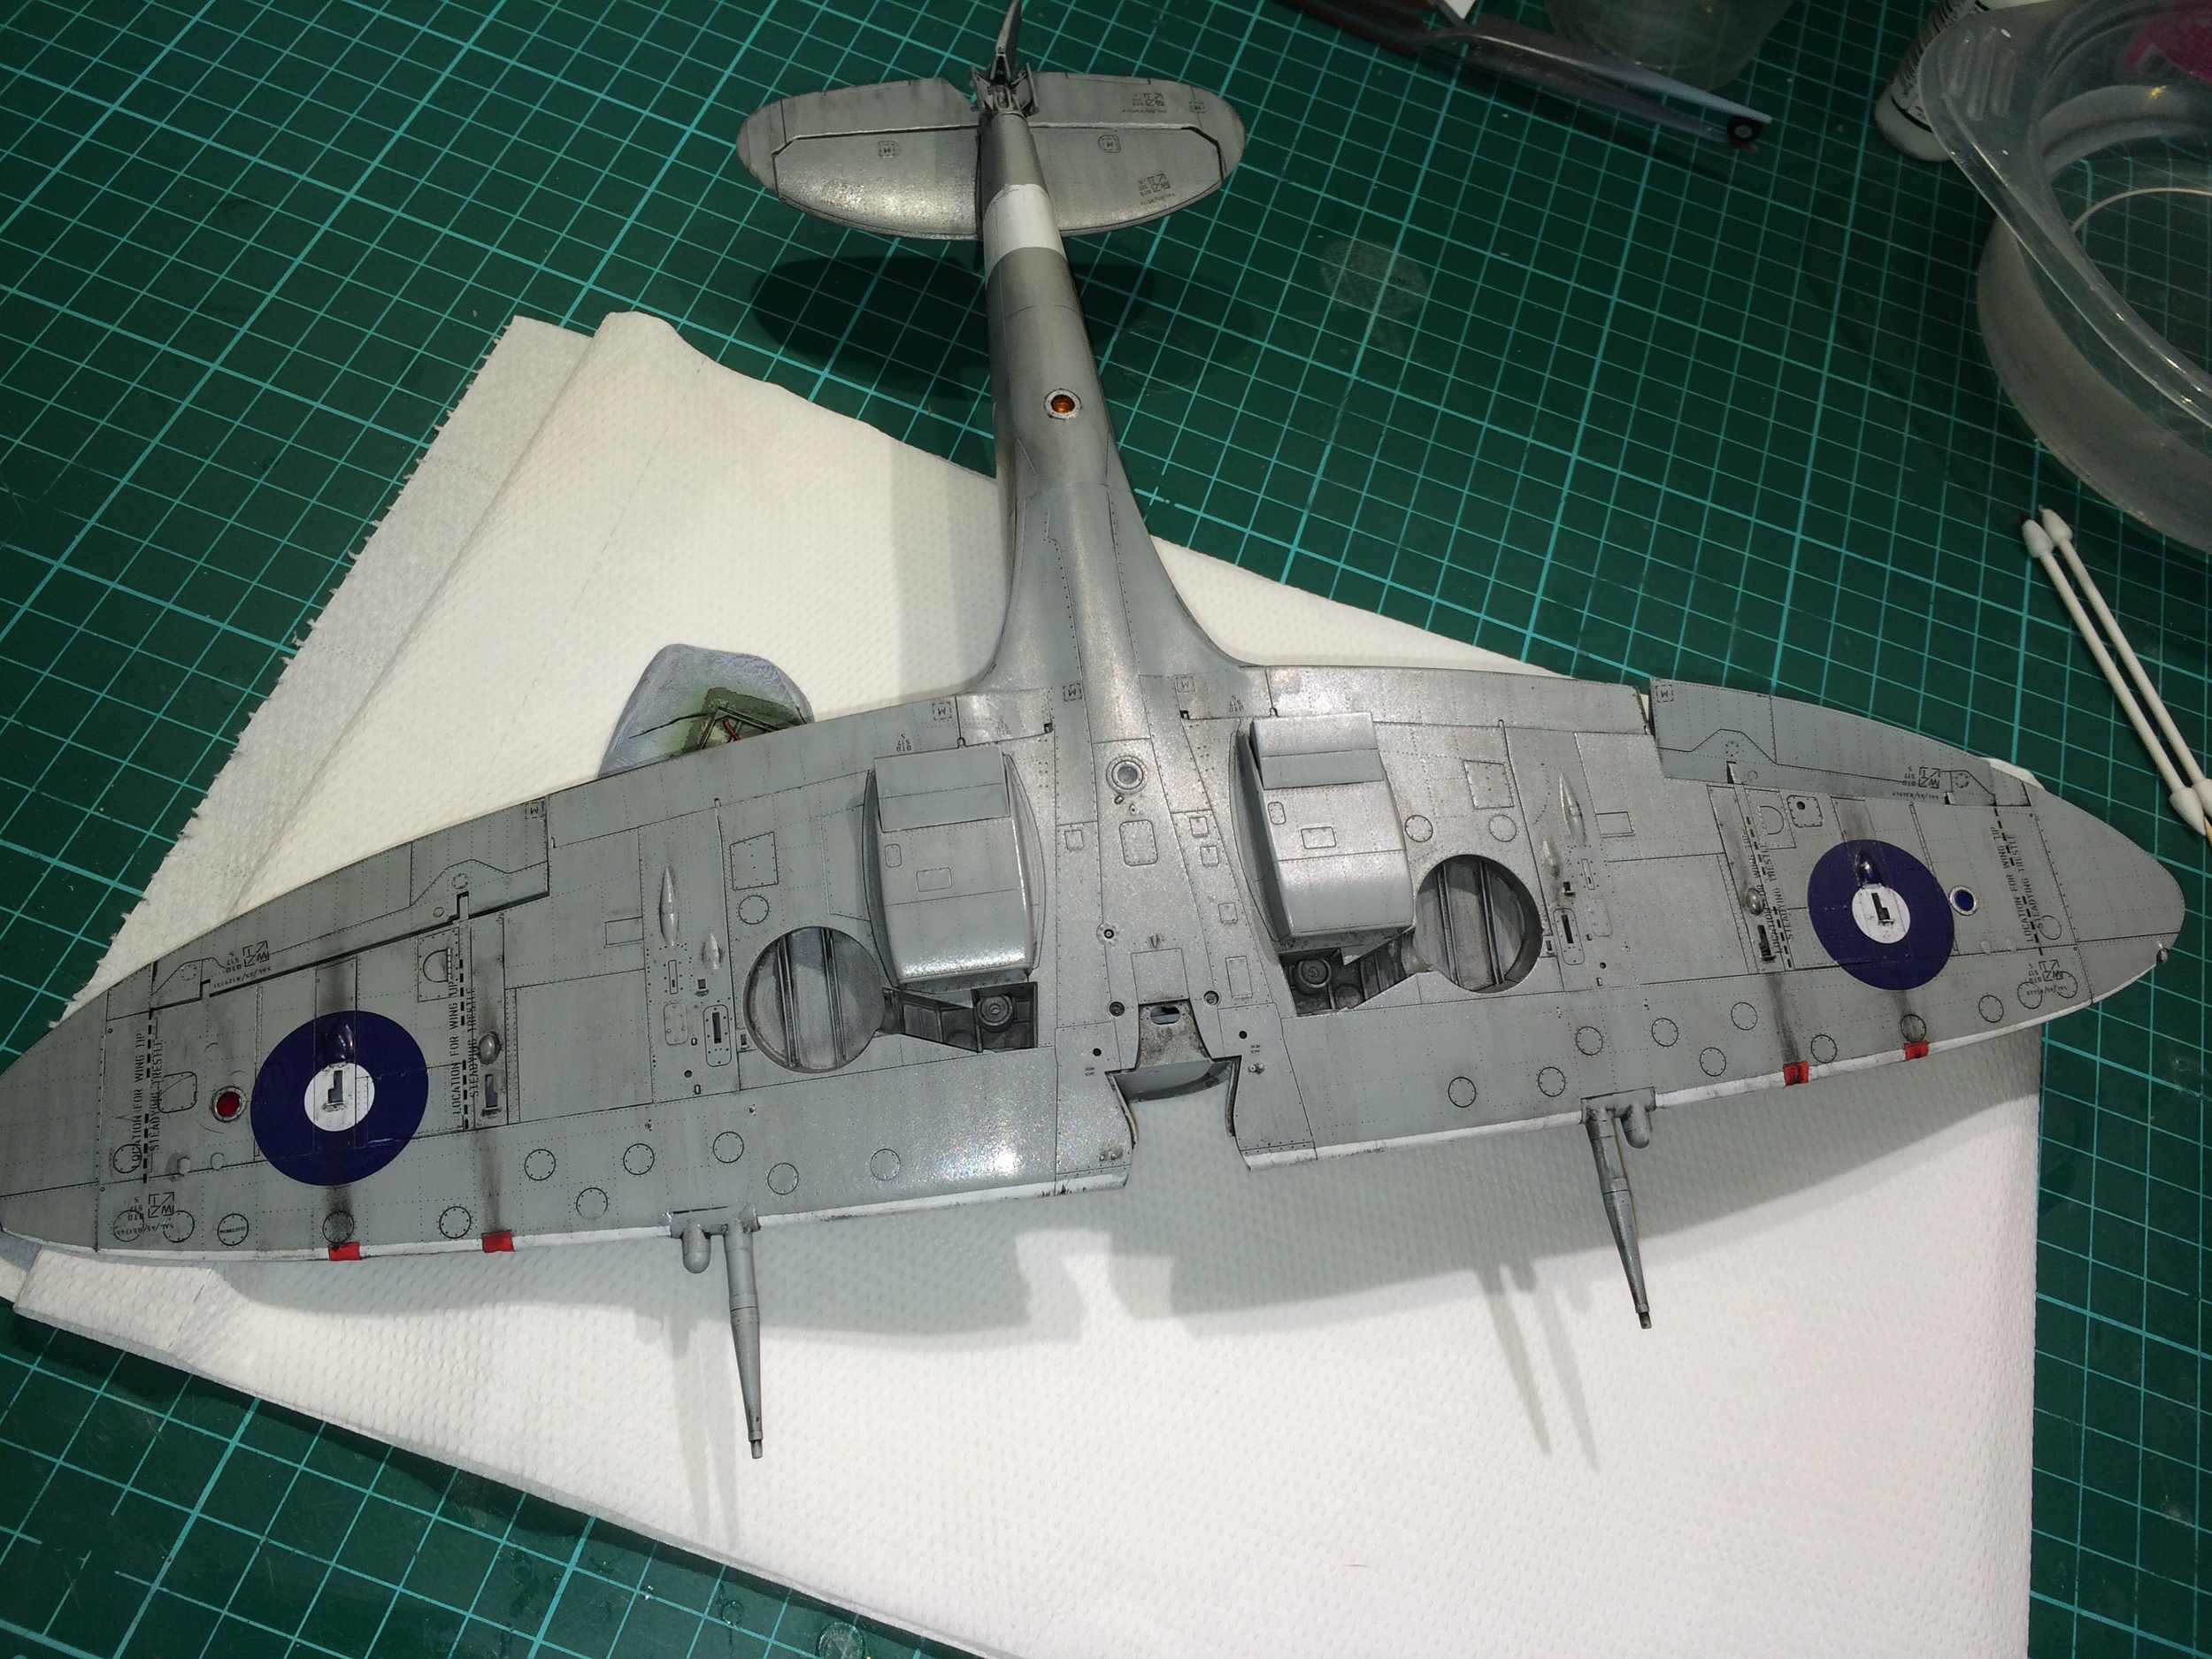
Pre shading the underside, using a very light shade of Tamiya sea grey
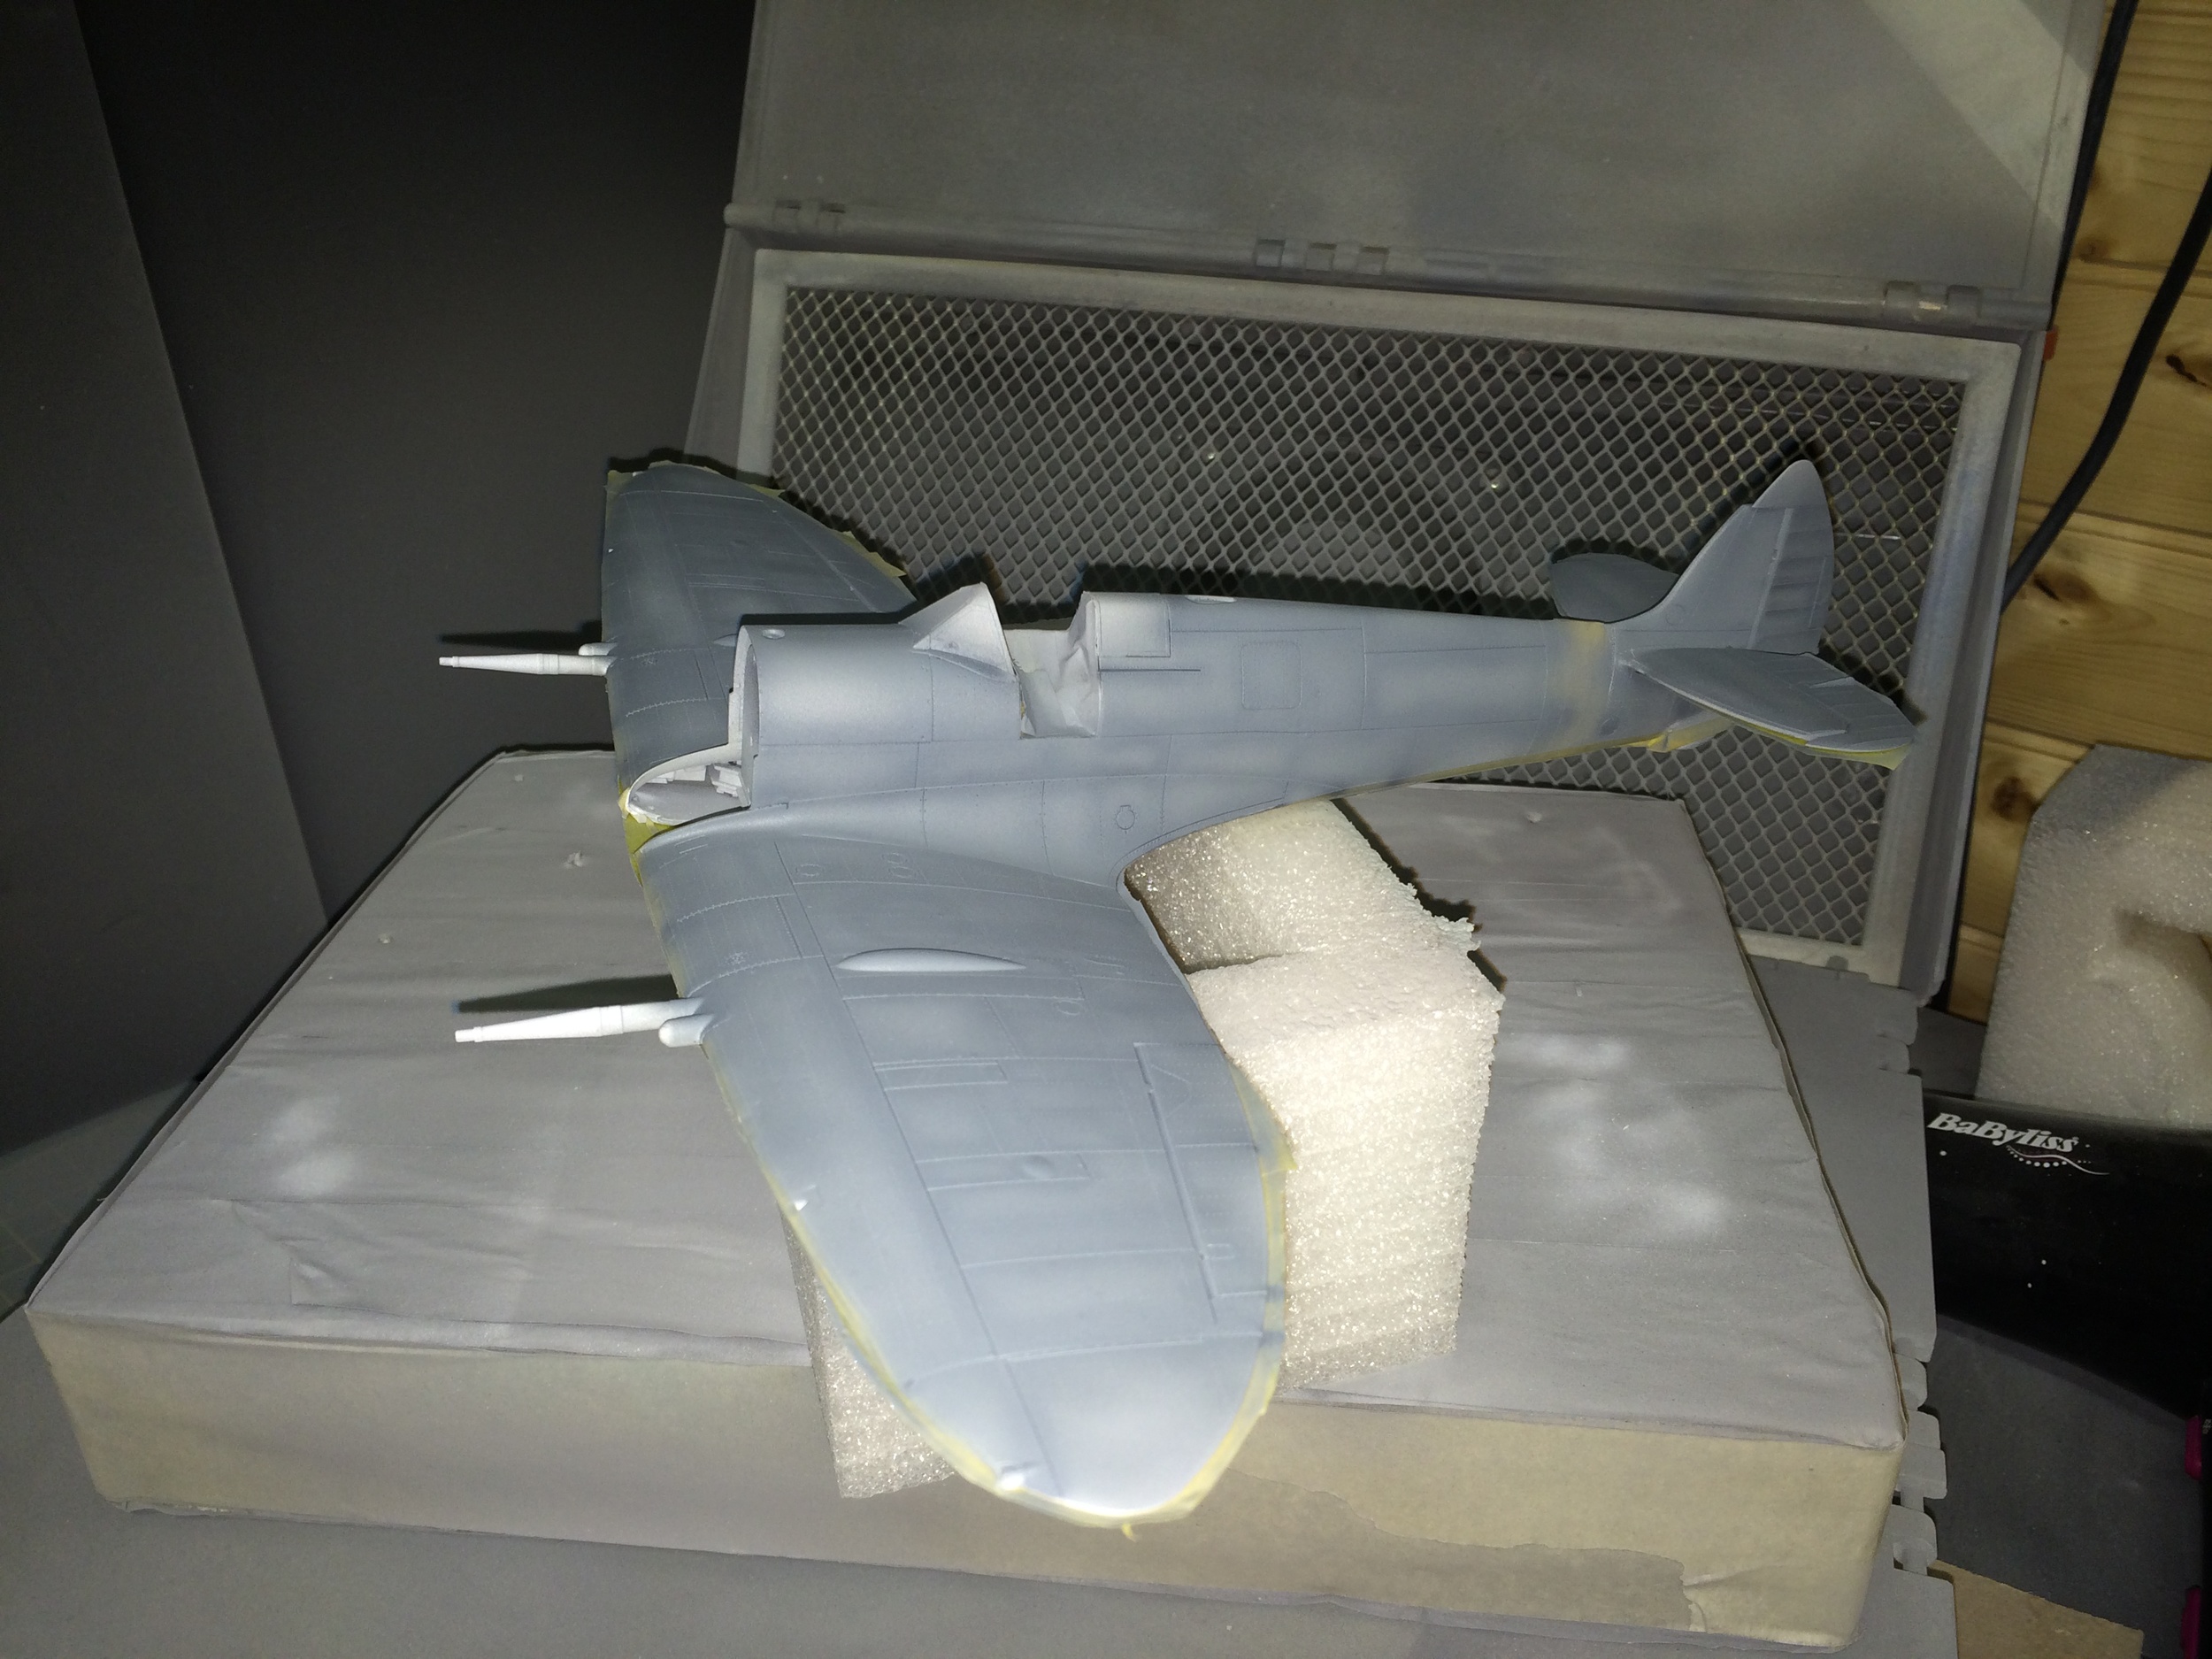
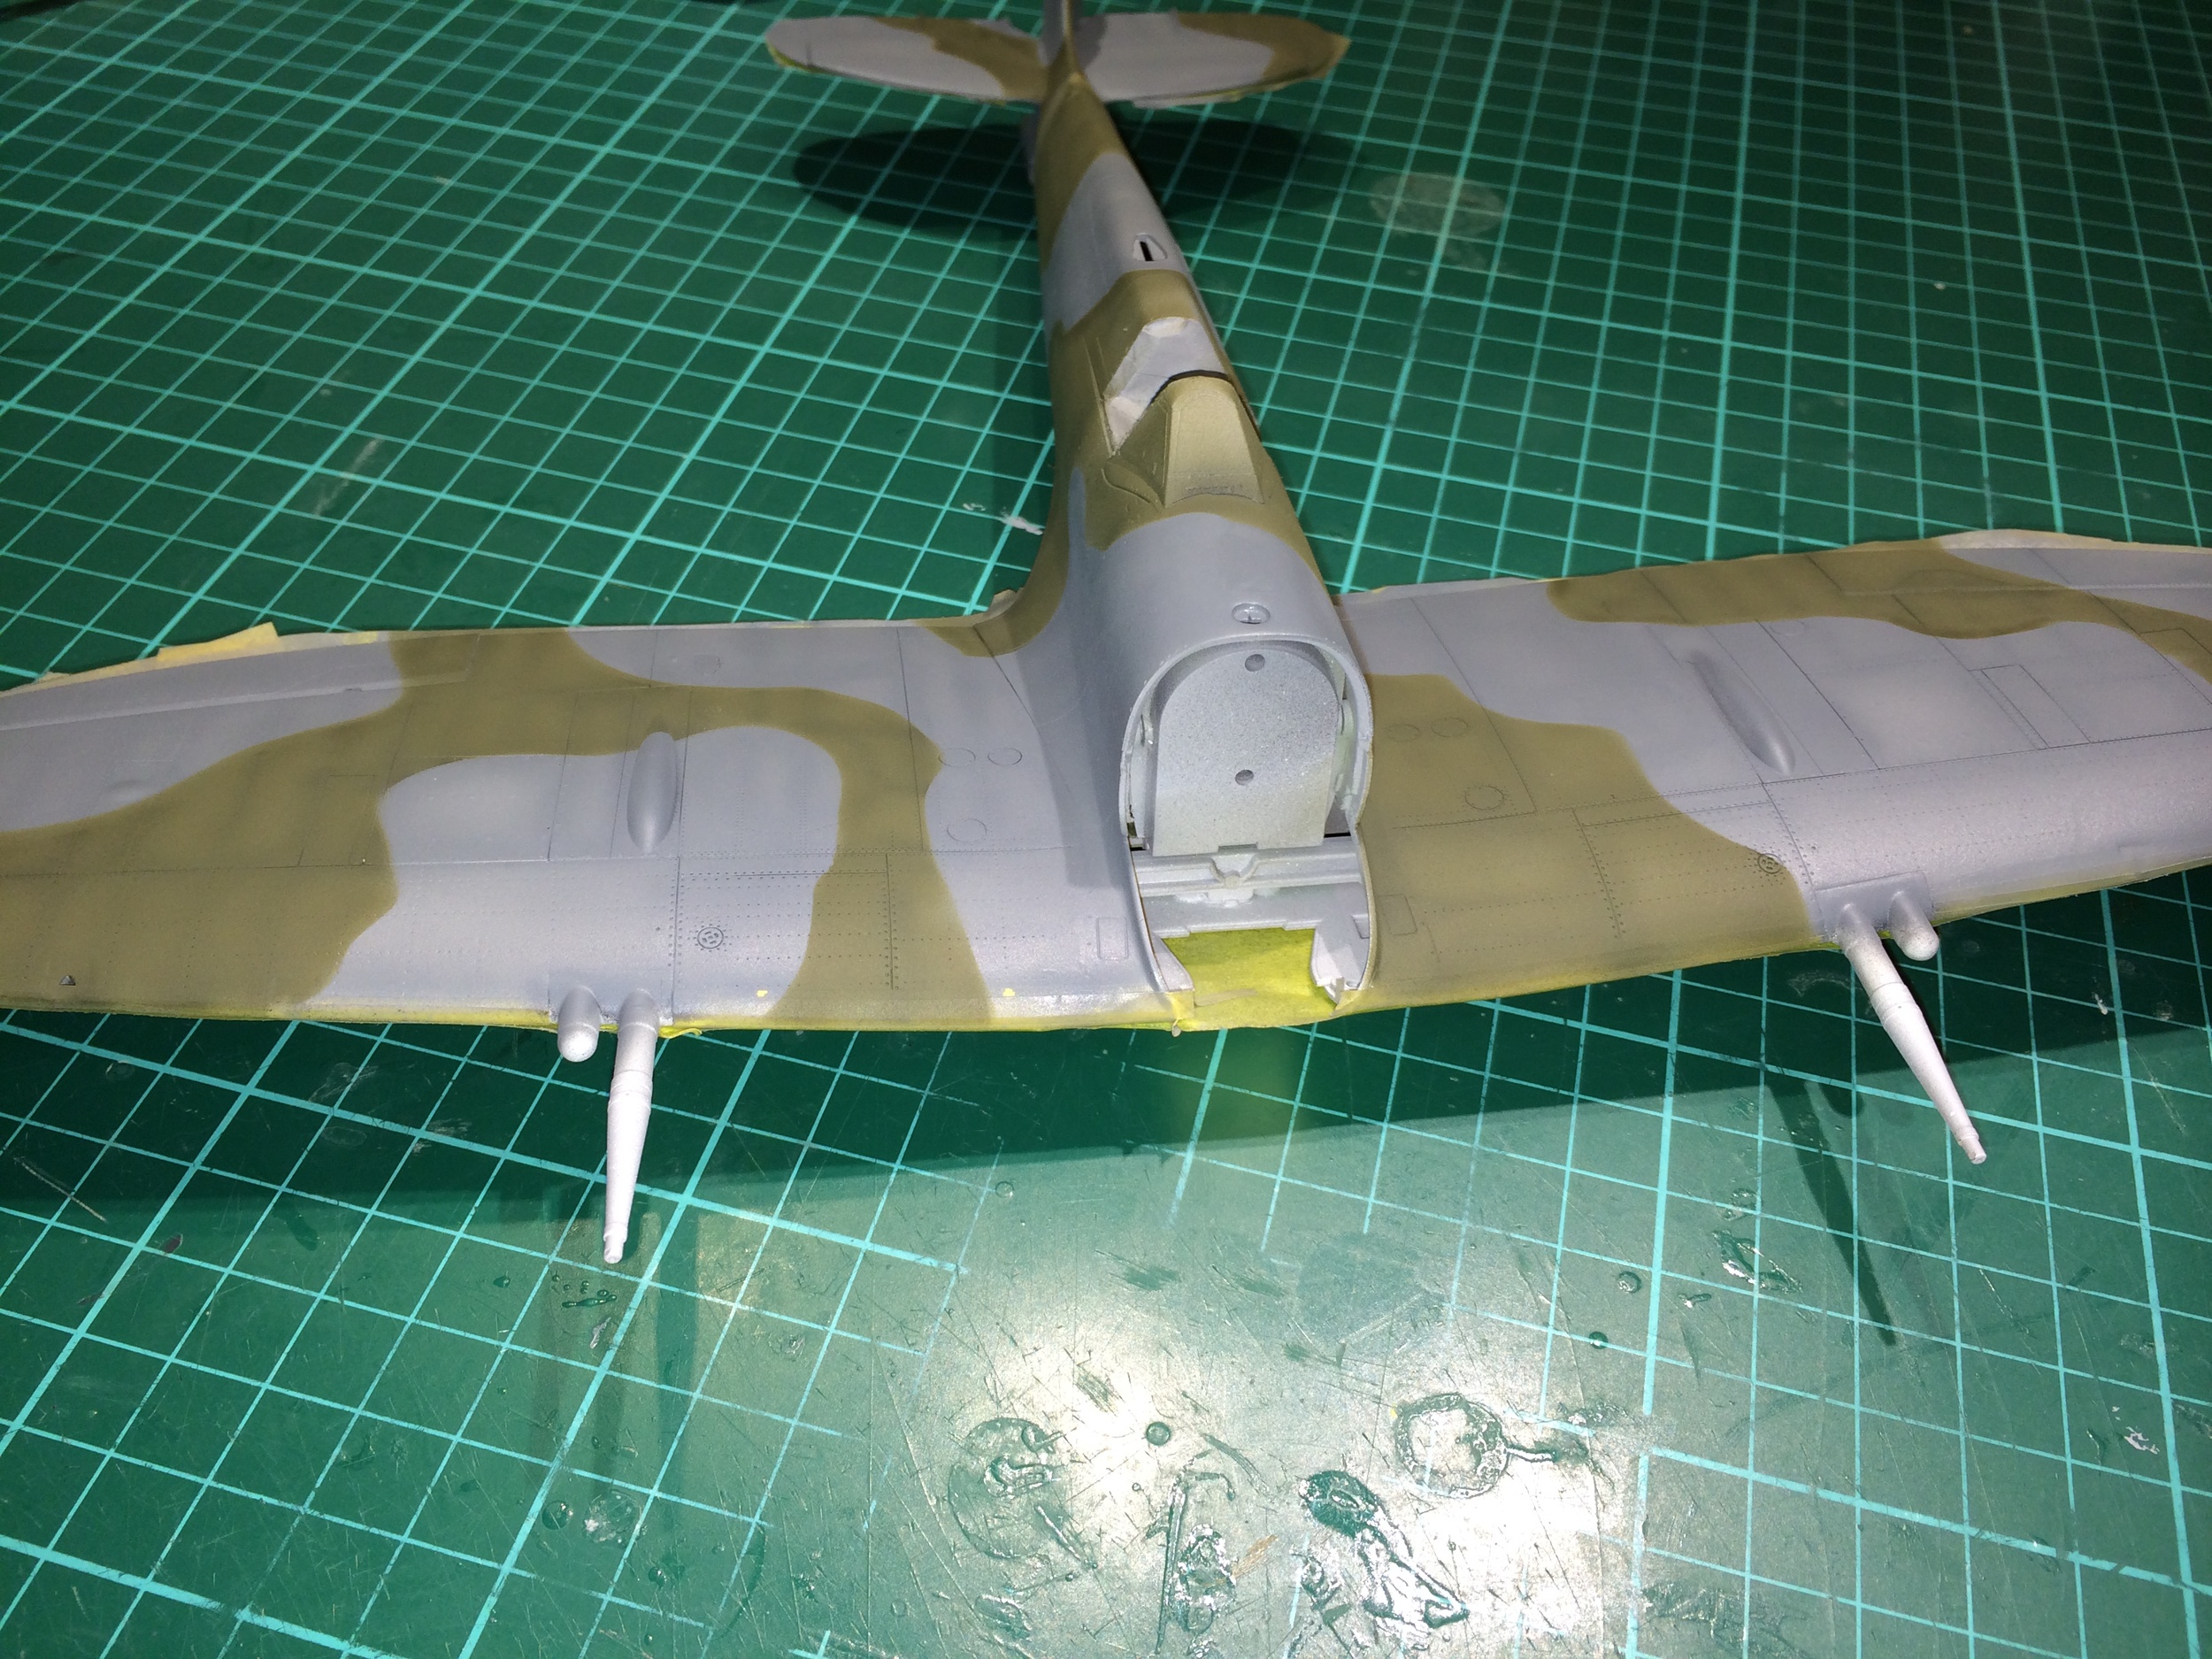
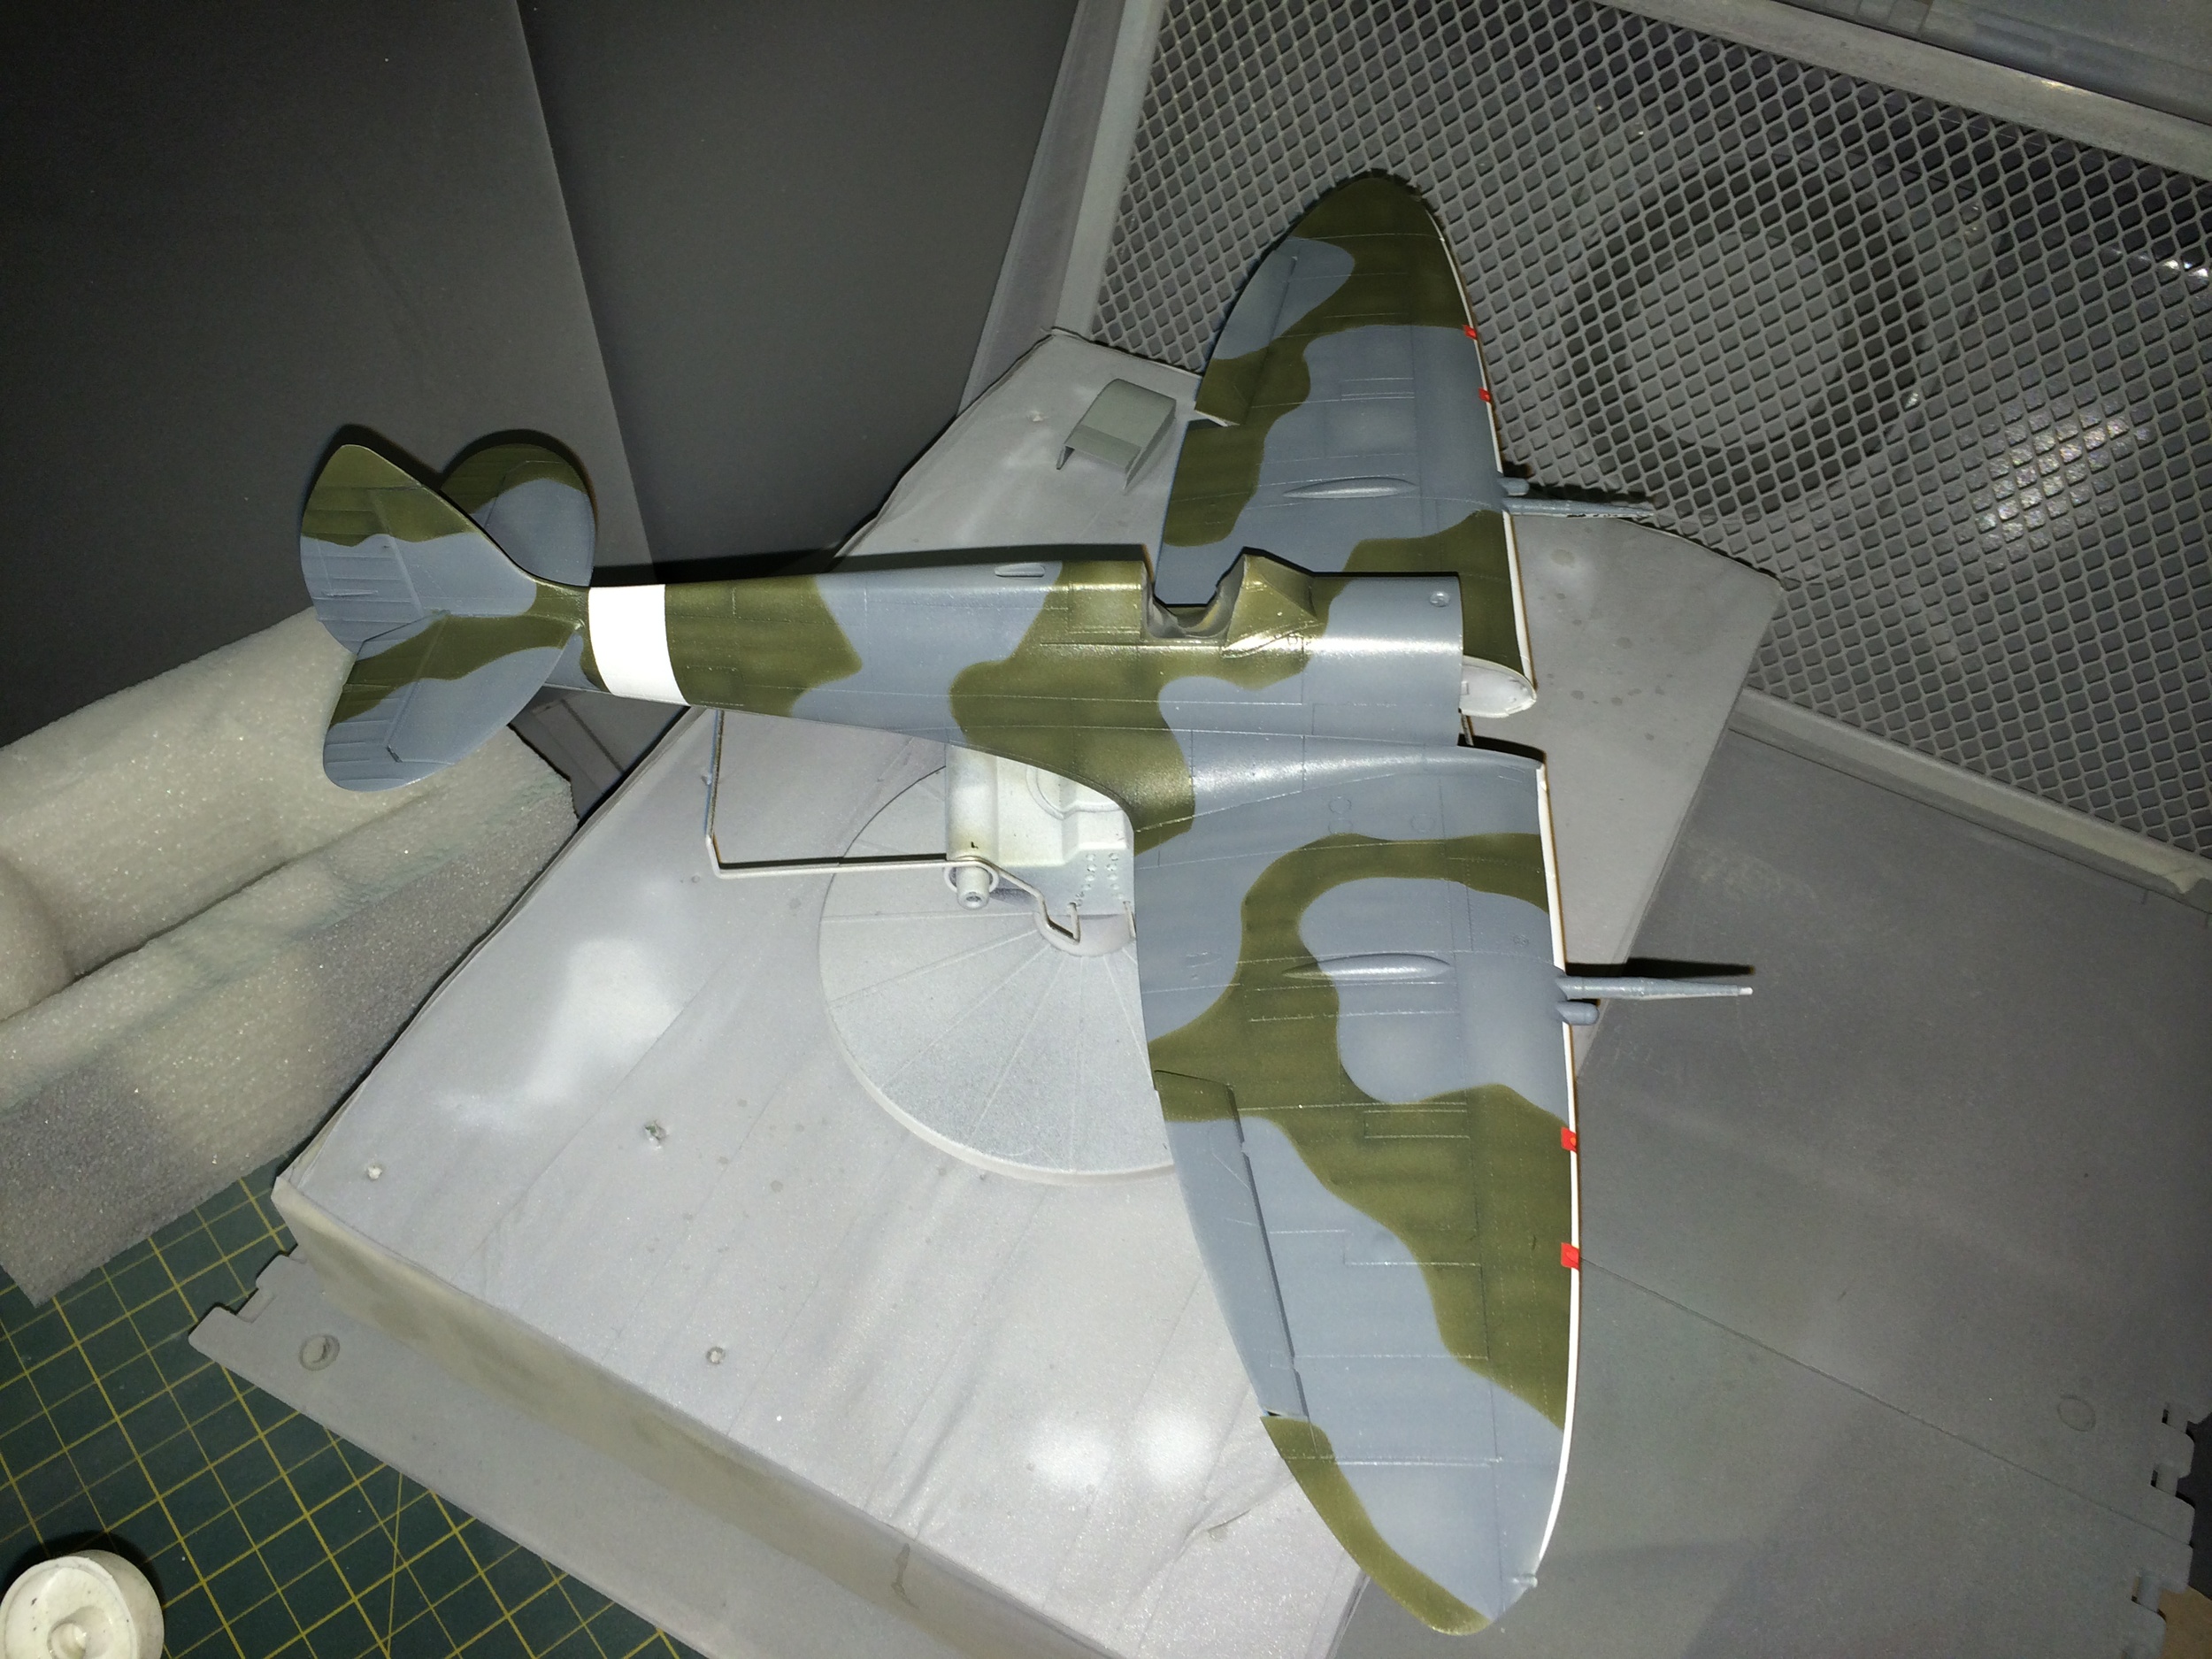
The upper surface with its coat of grey, showing the pre shading underneath
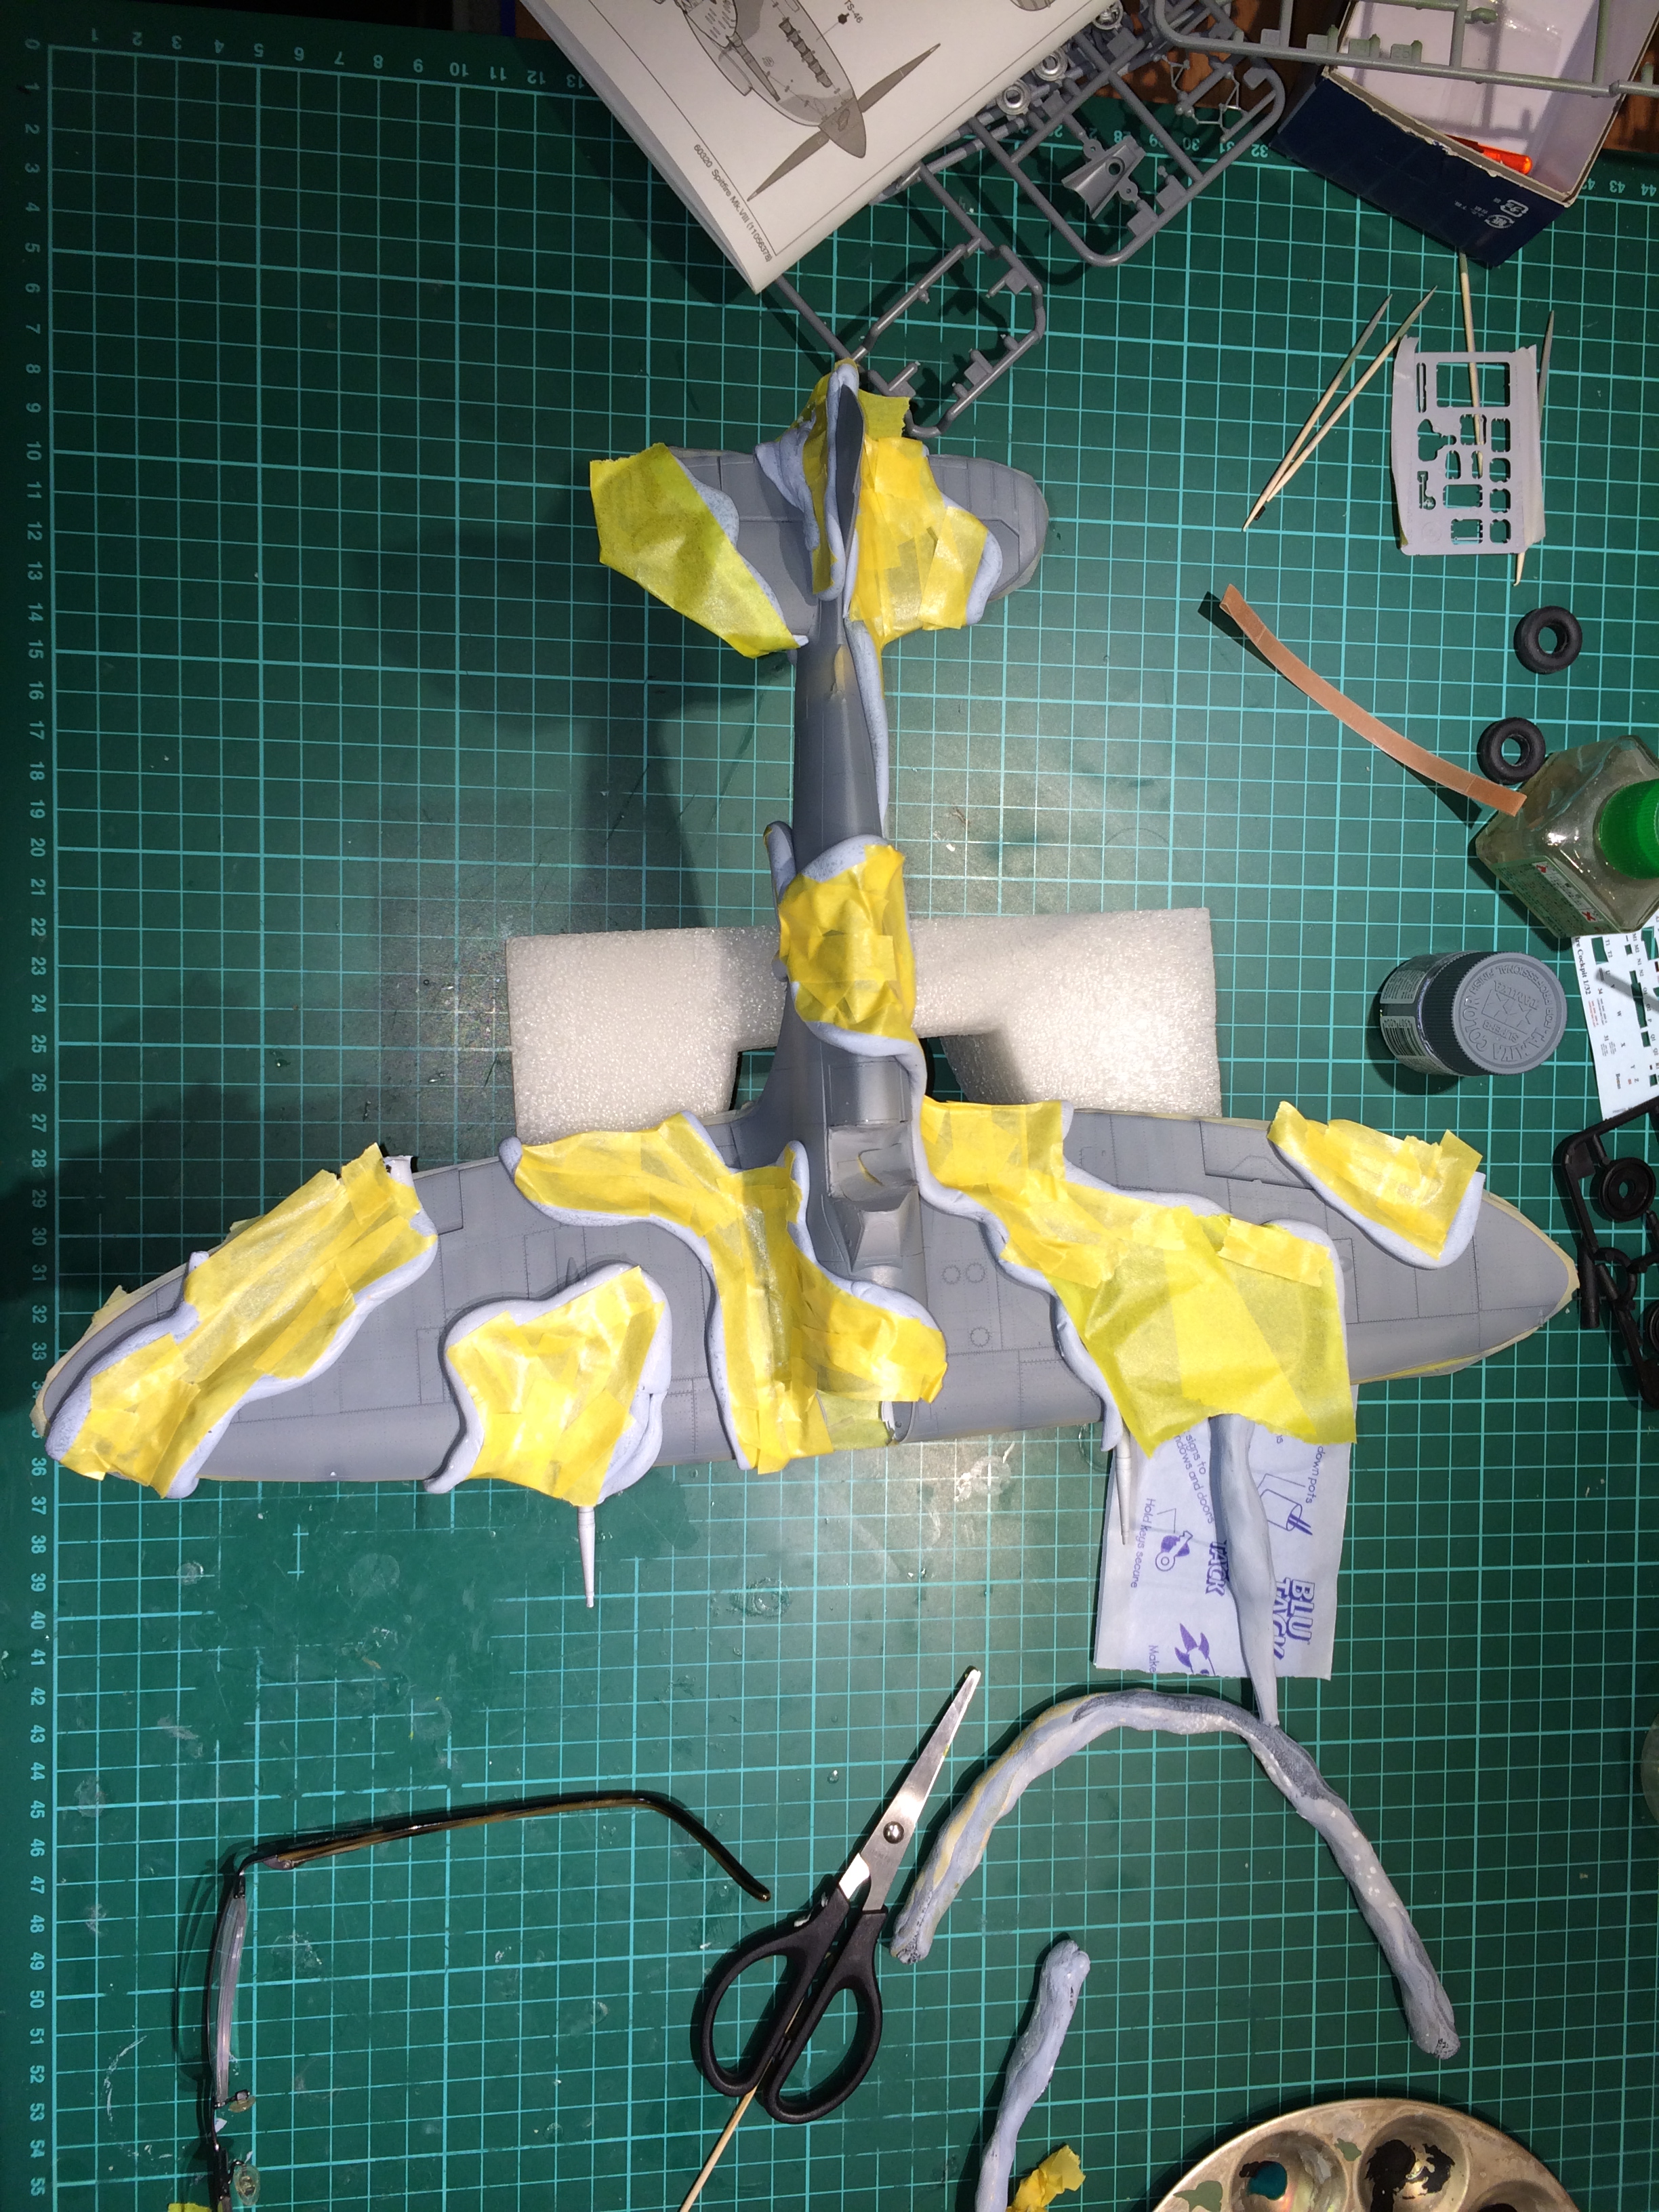
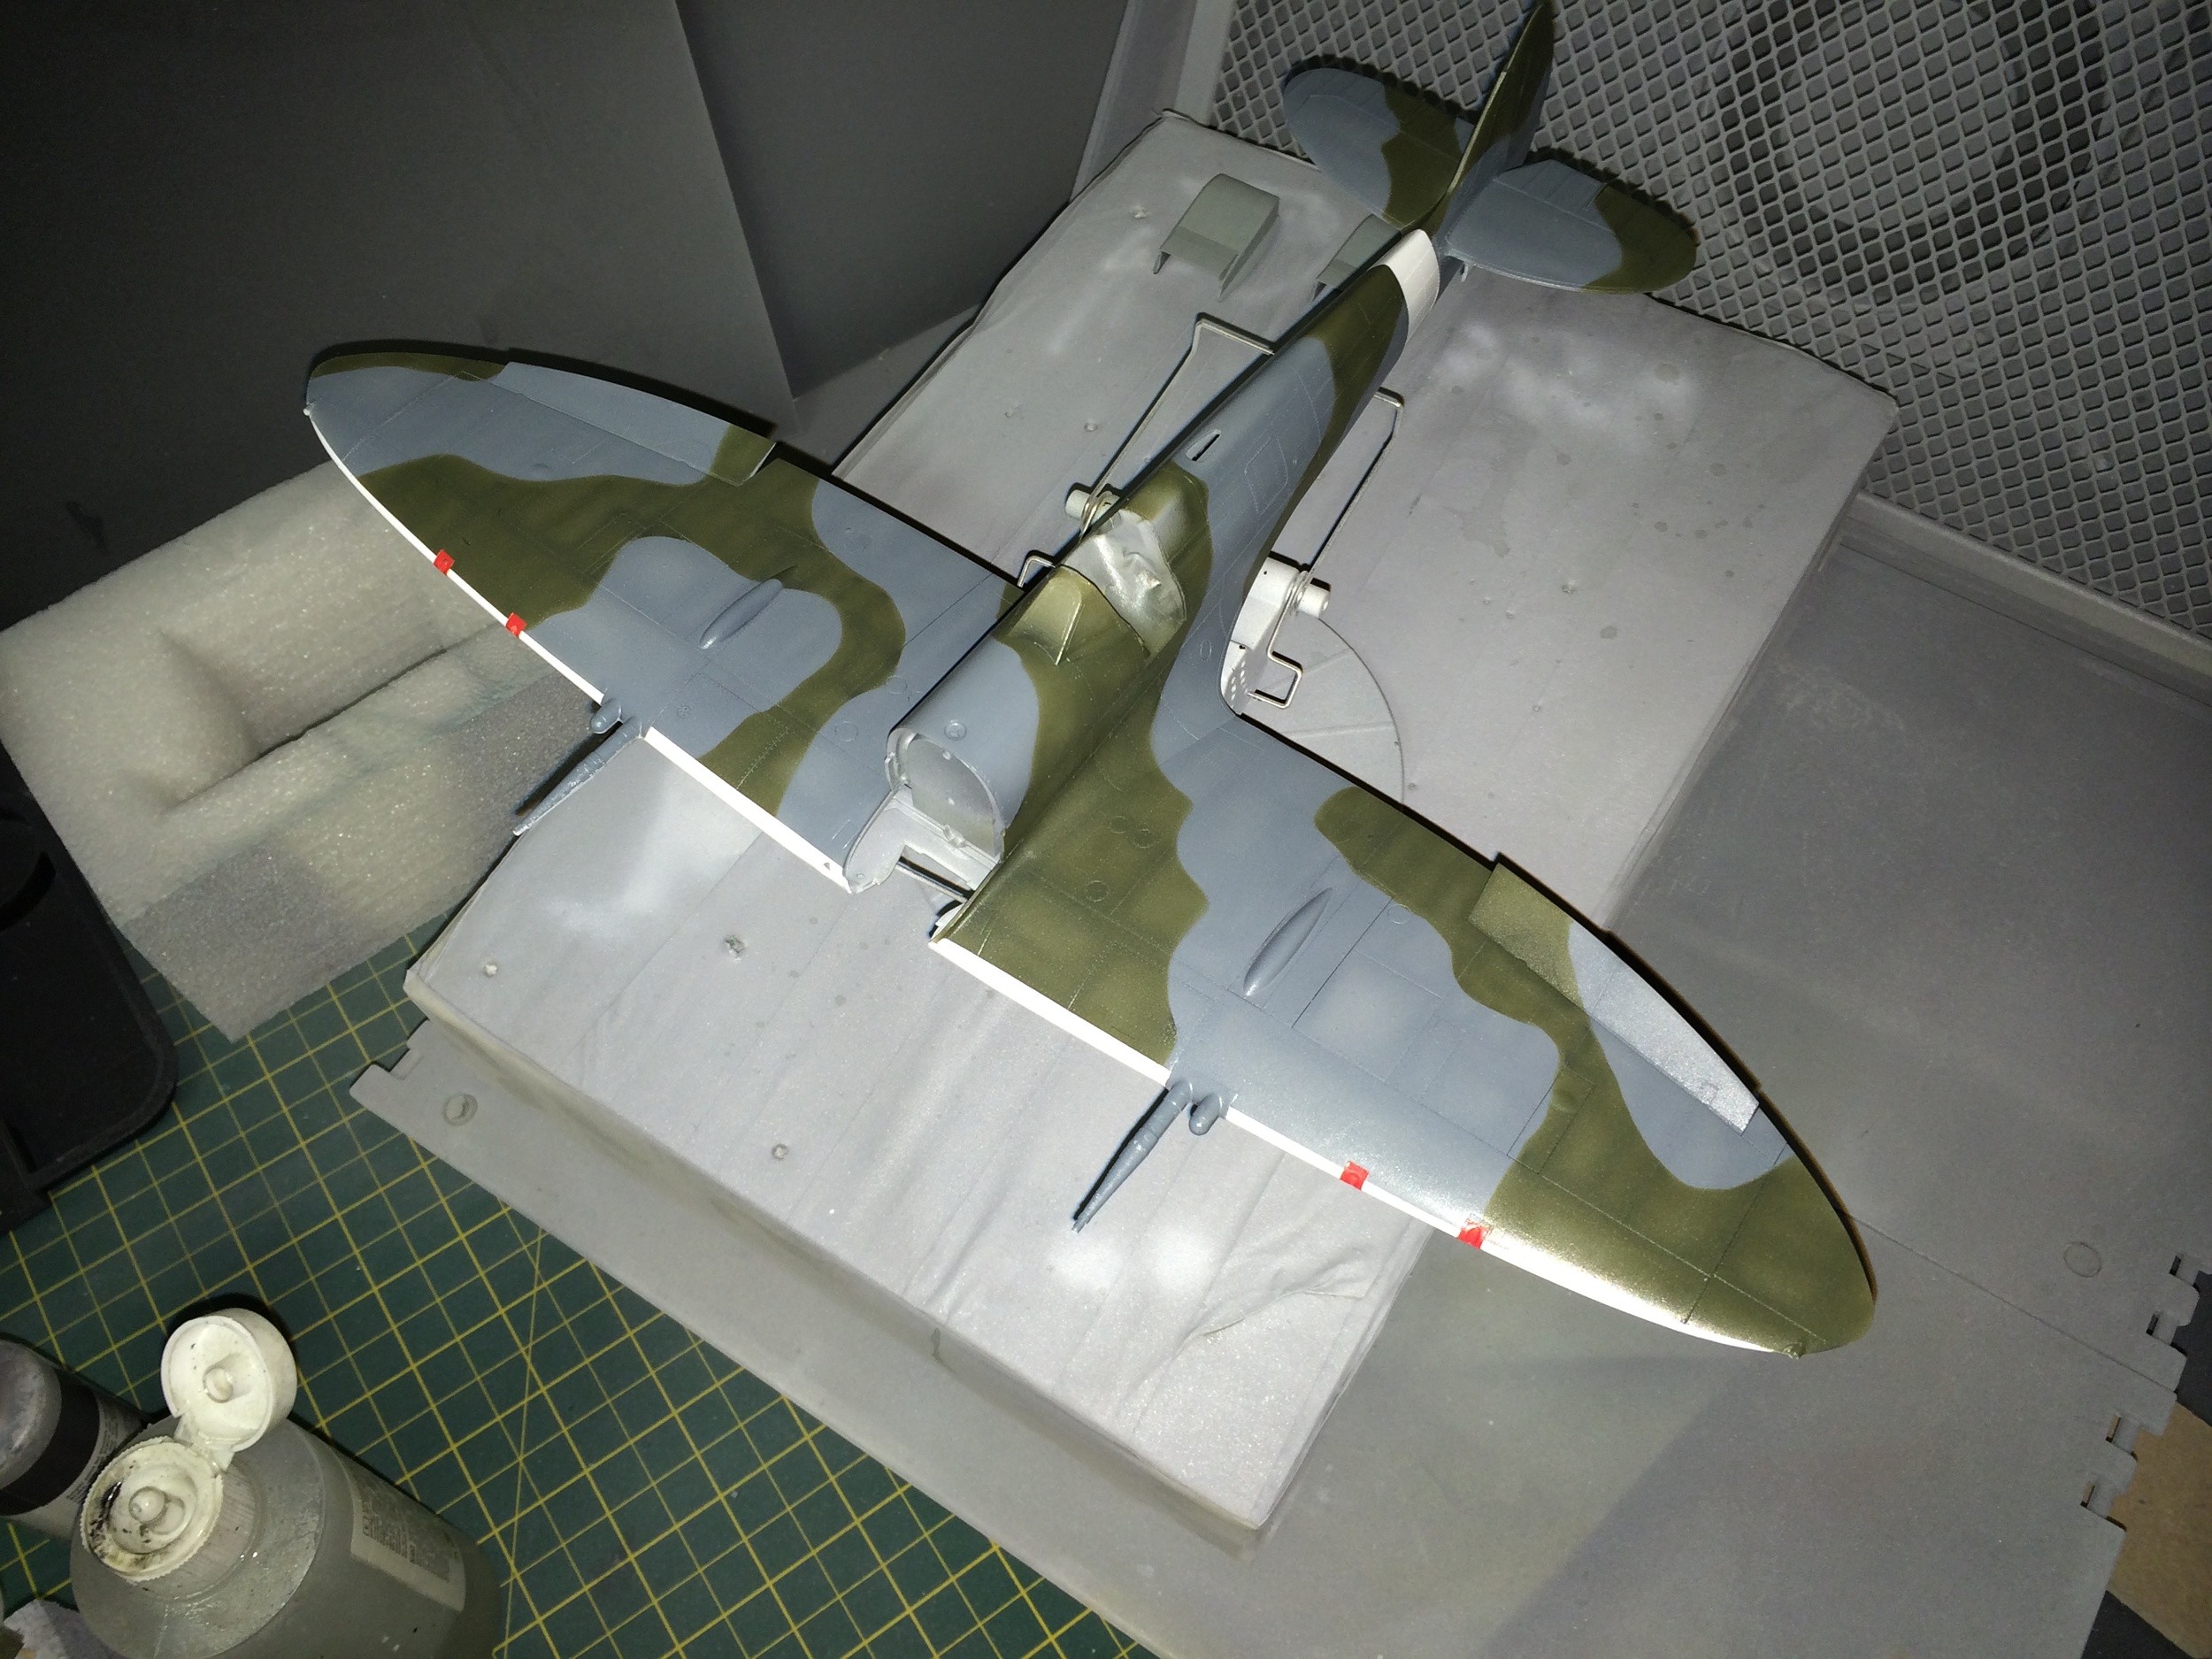
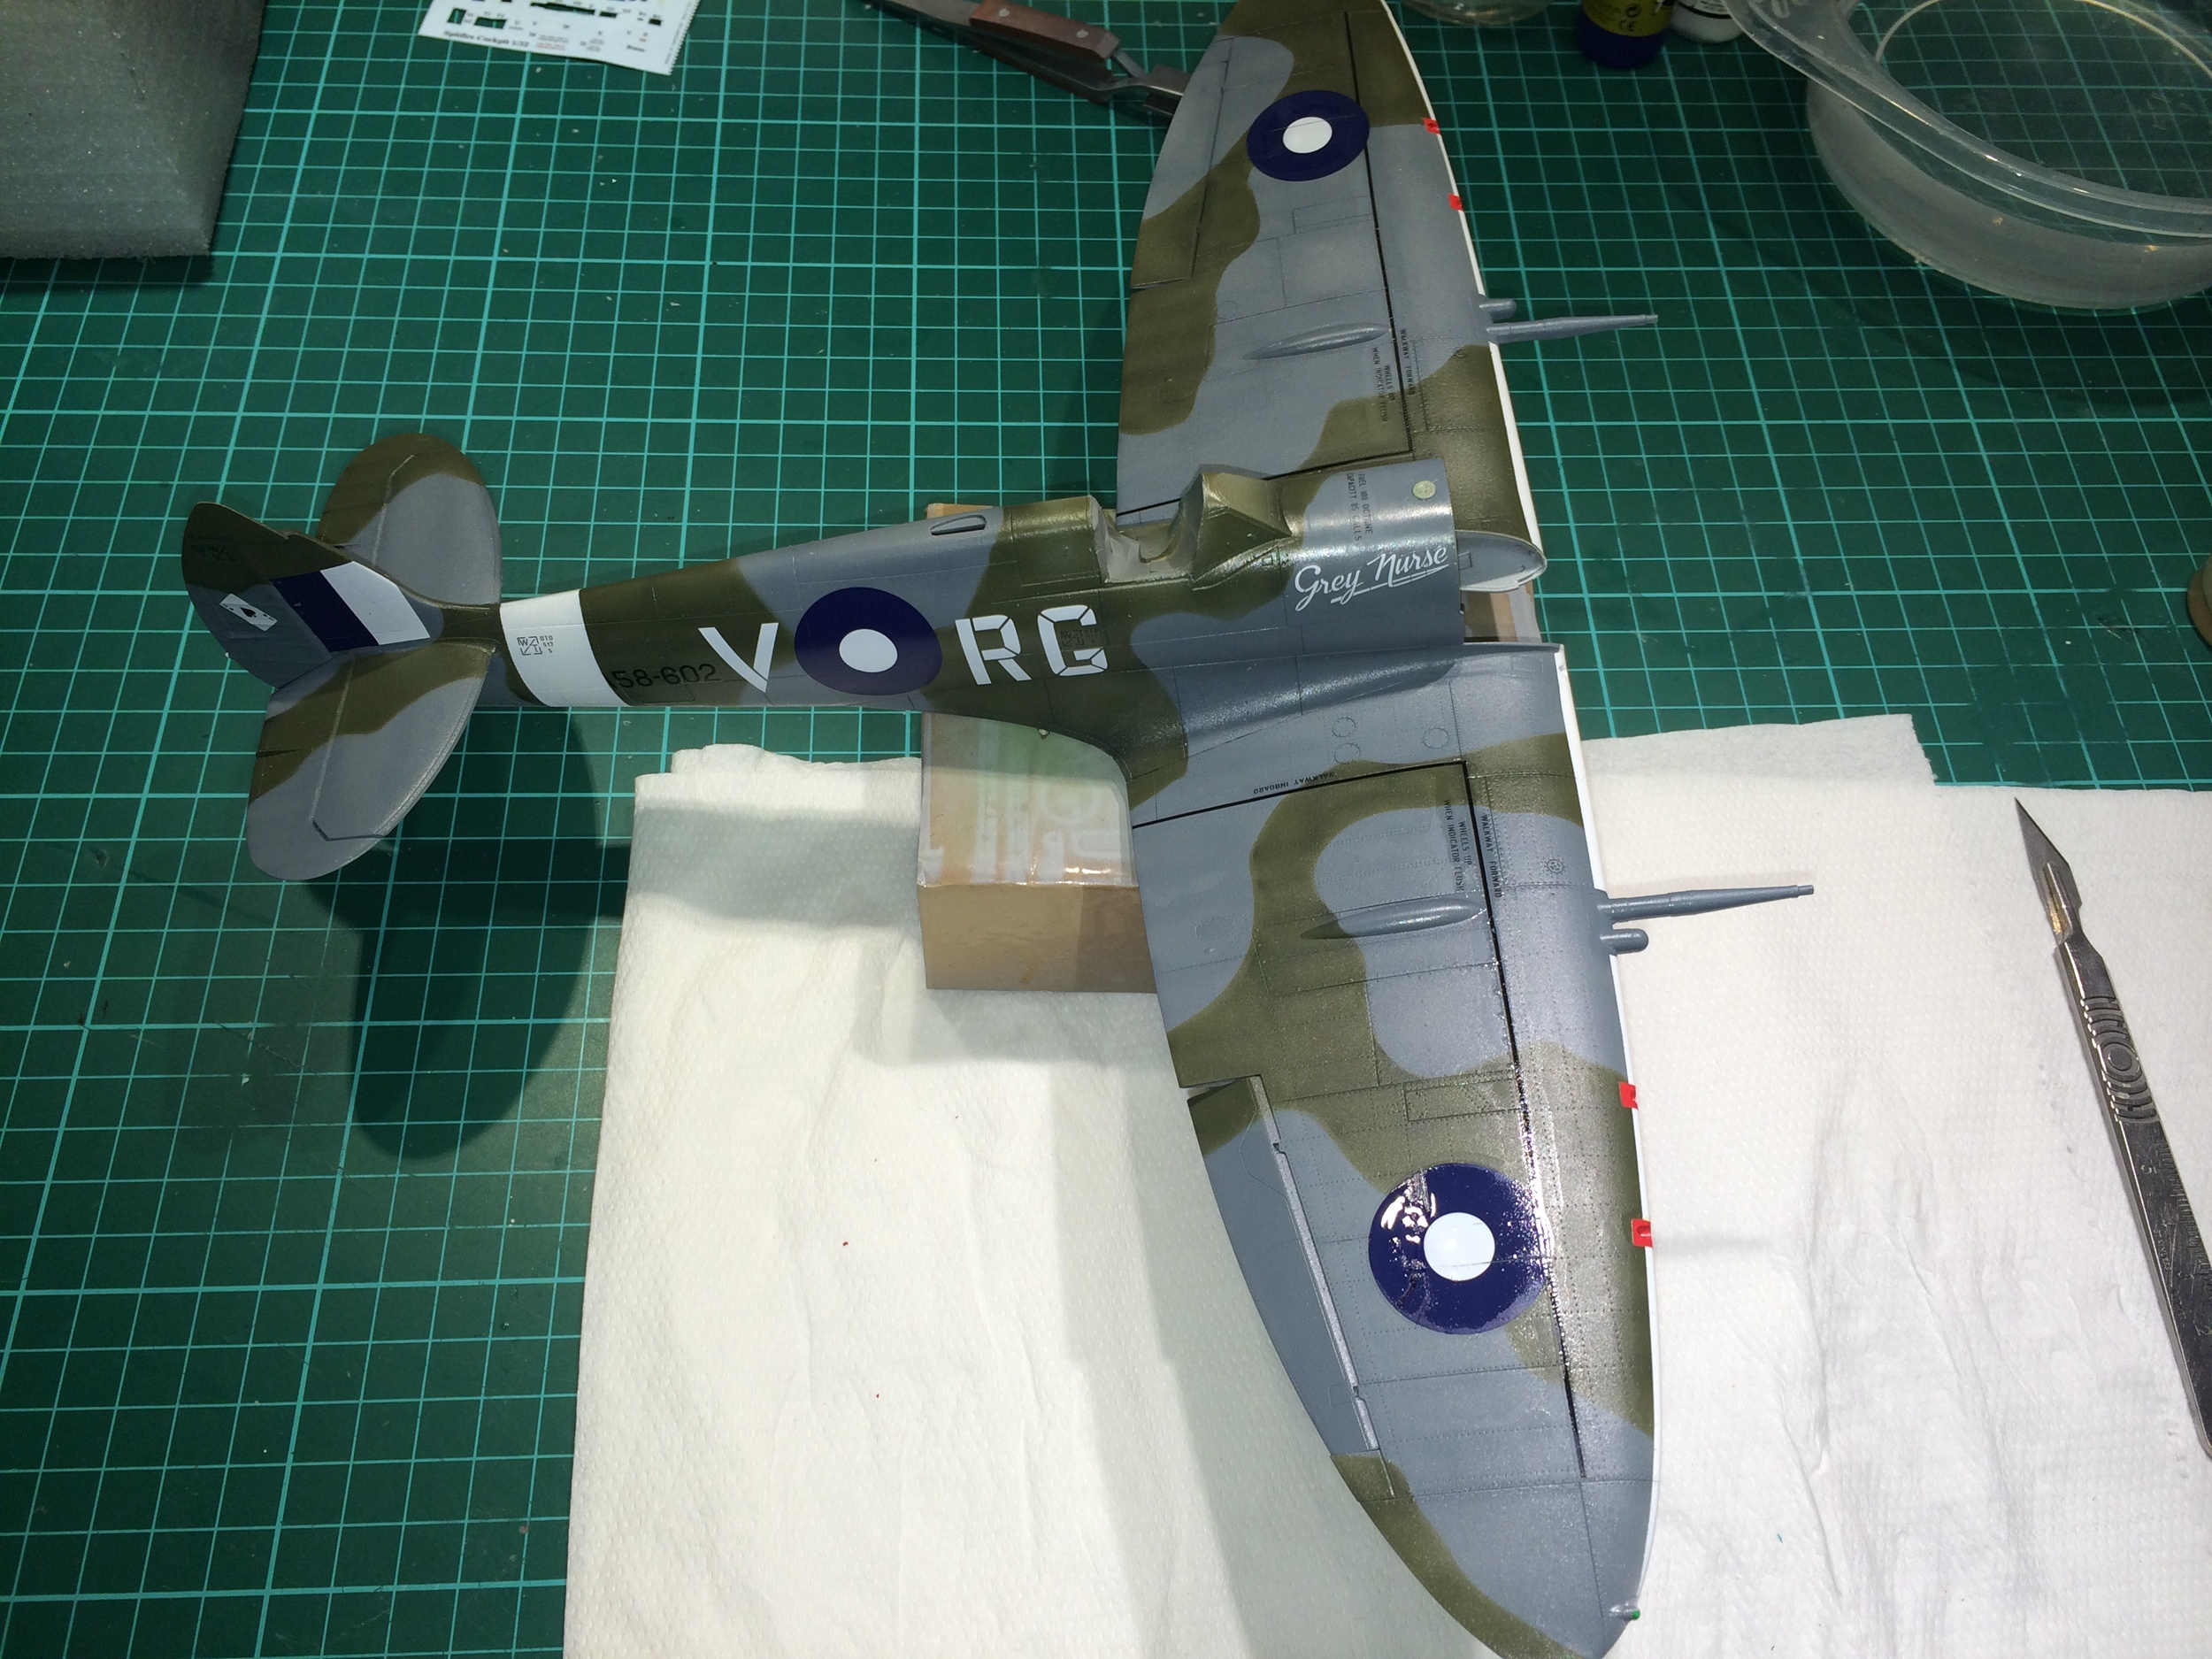
Rolled blu tack and Tamiya masking tape applied for the green pattern
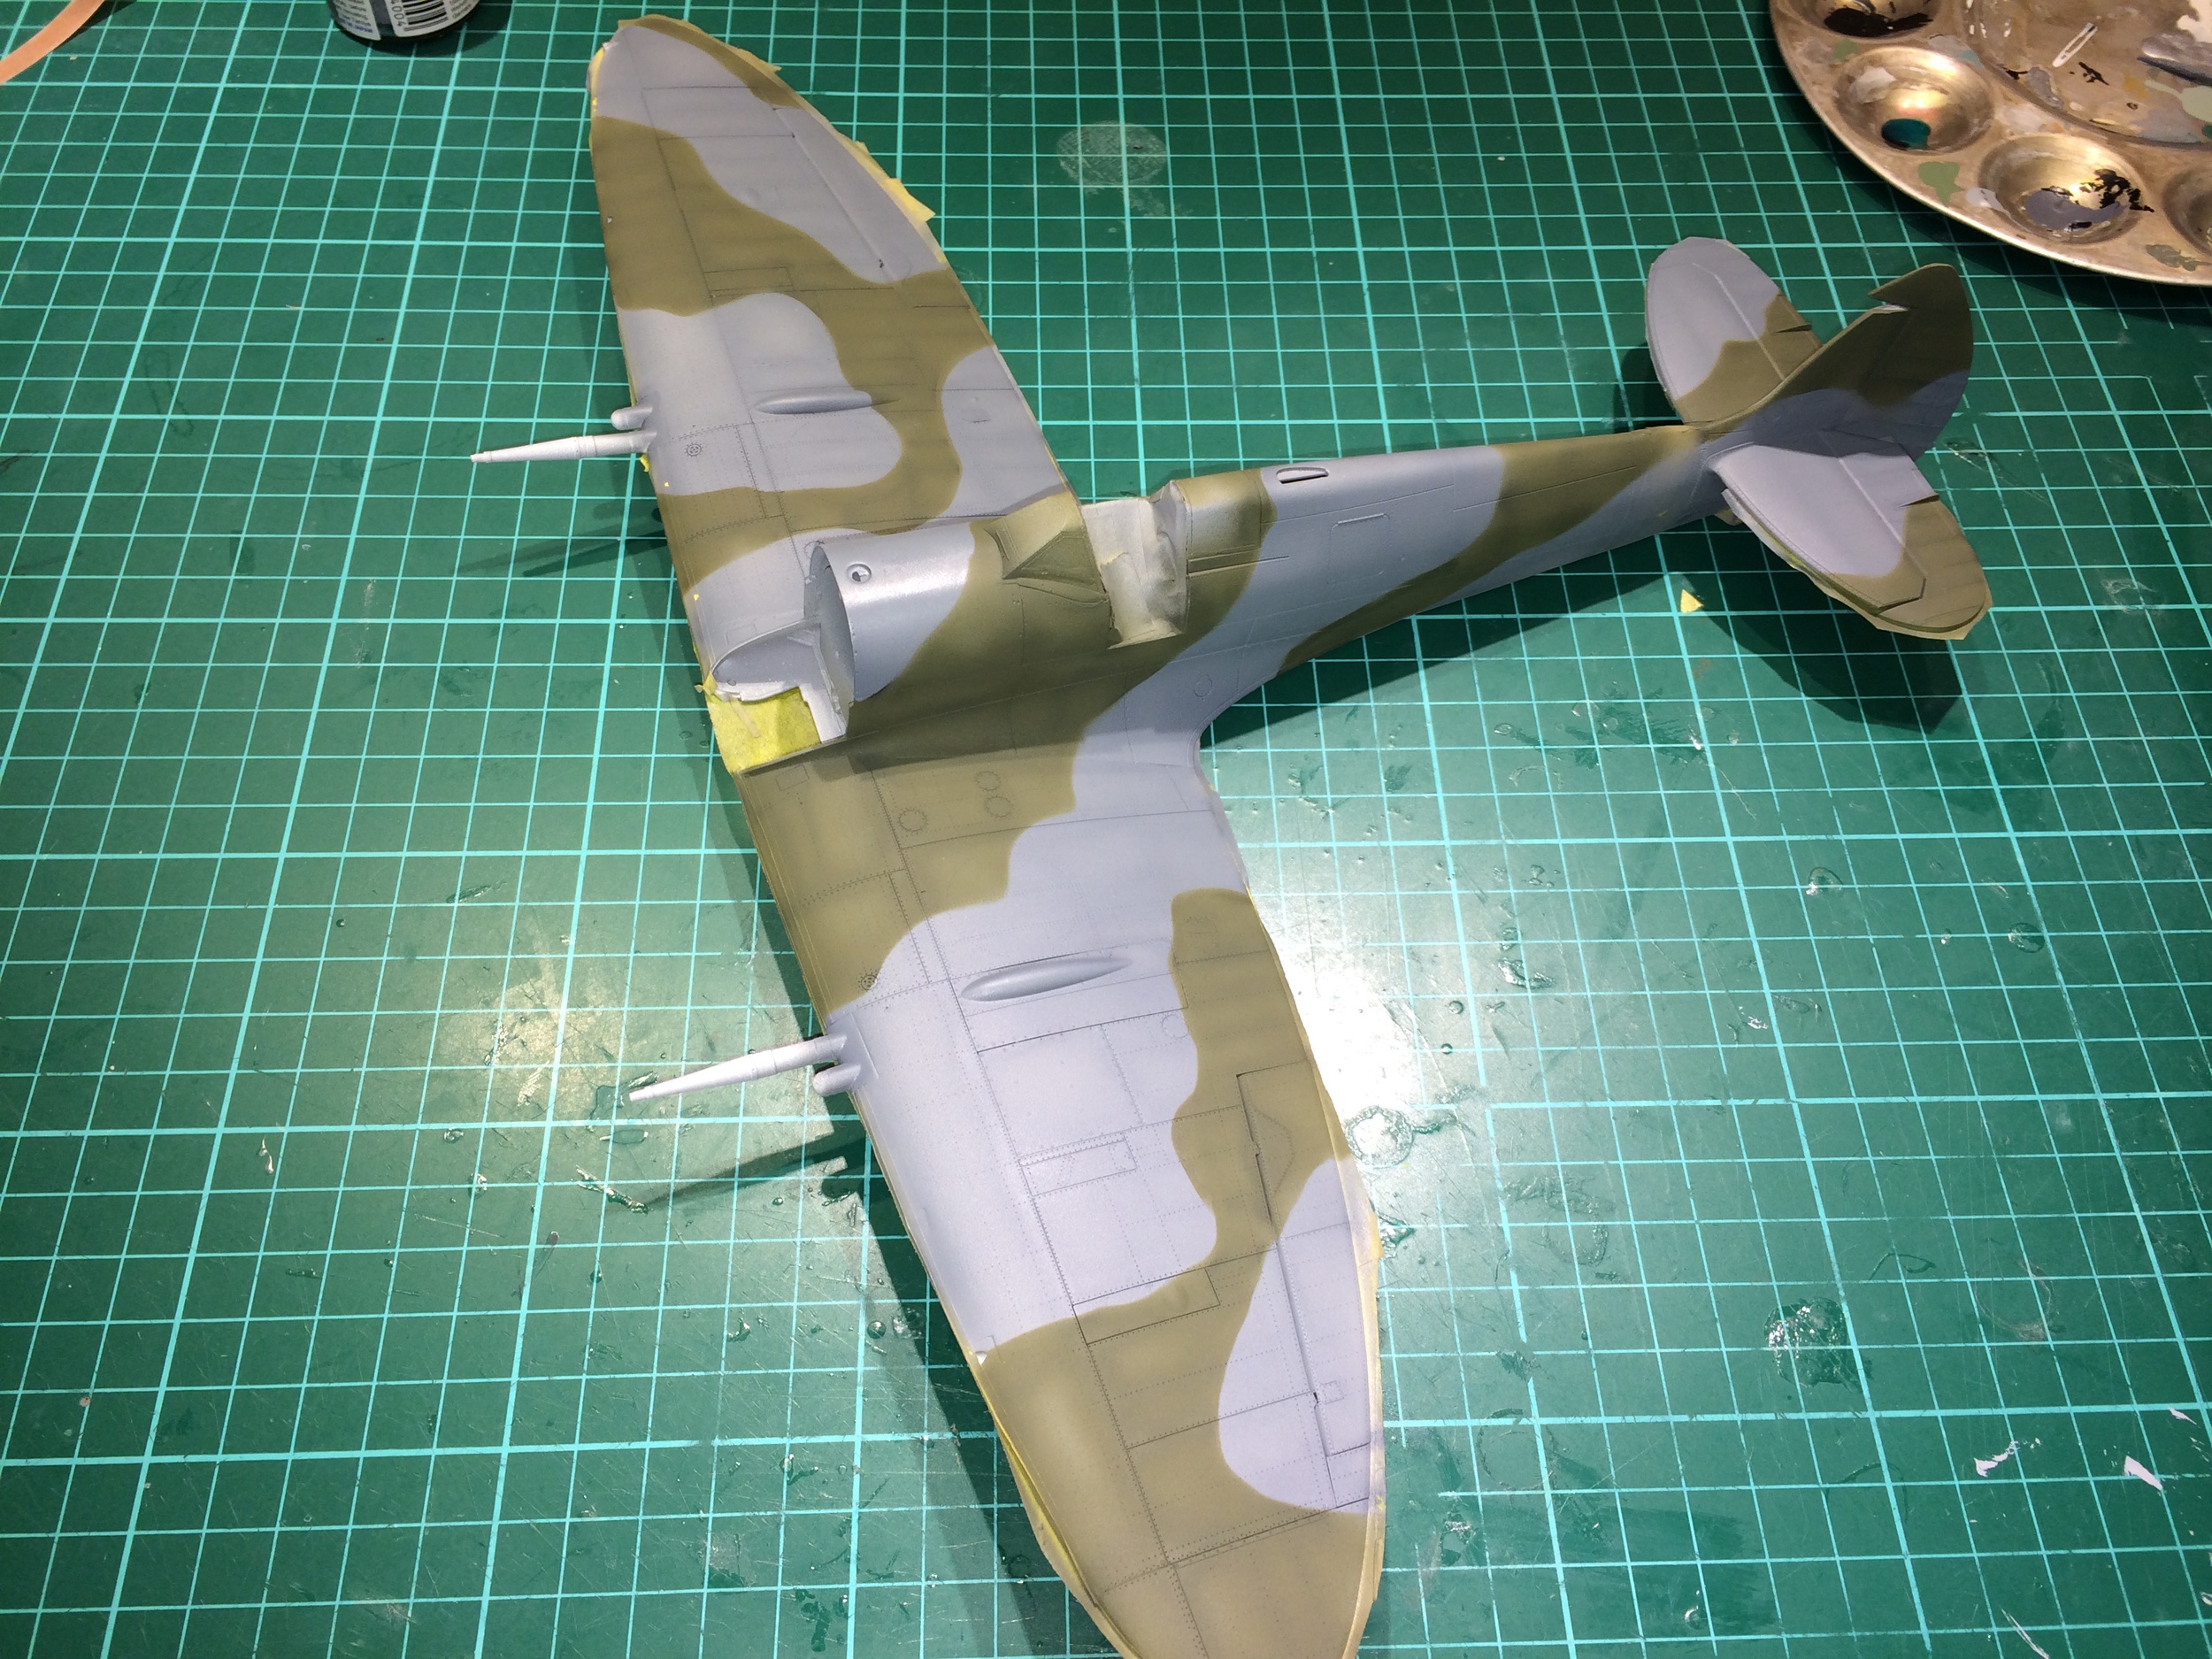
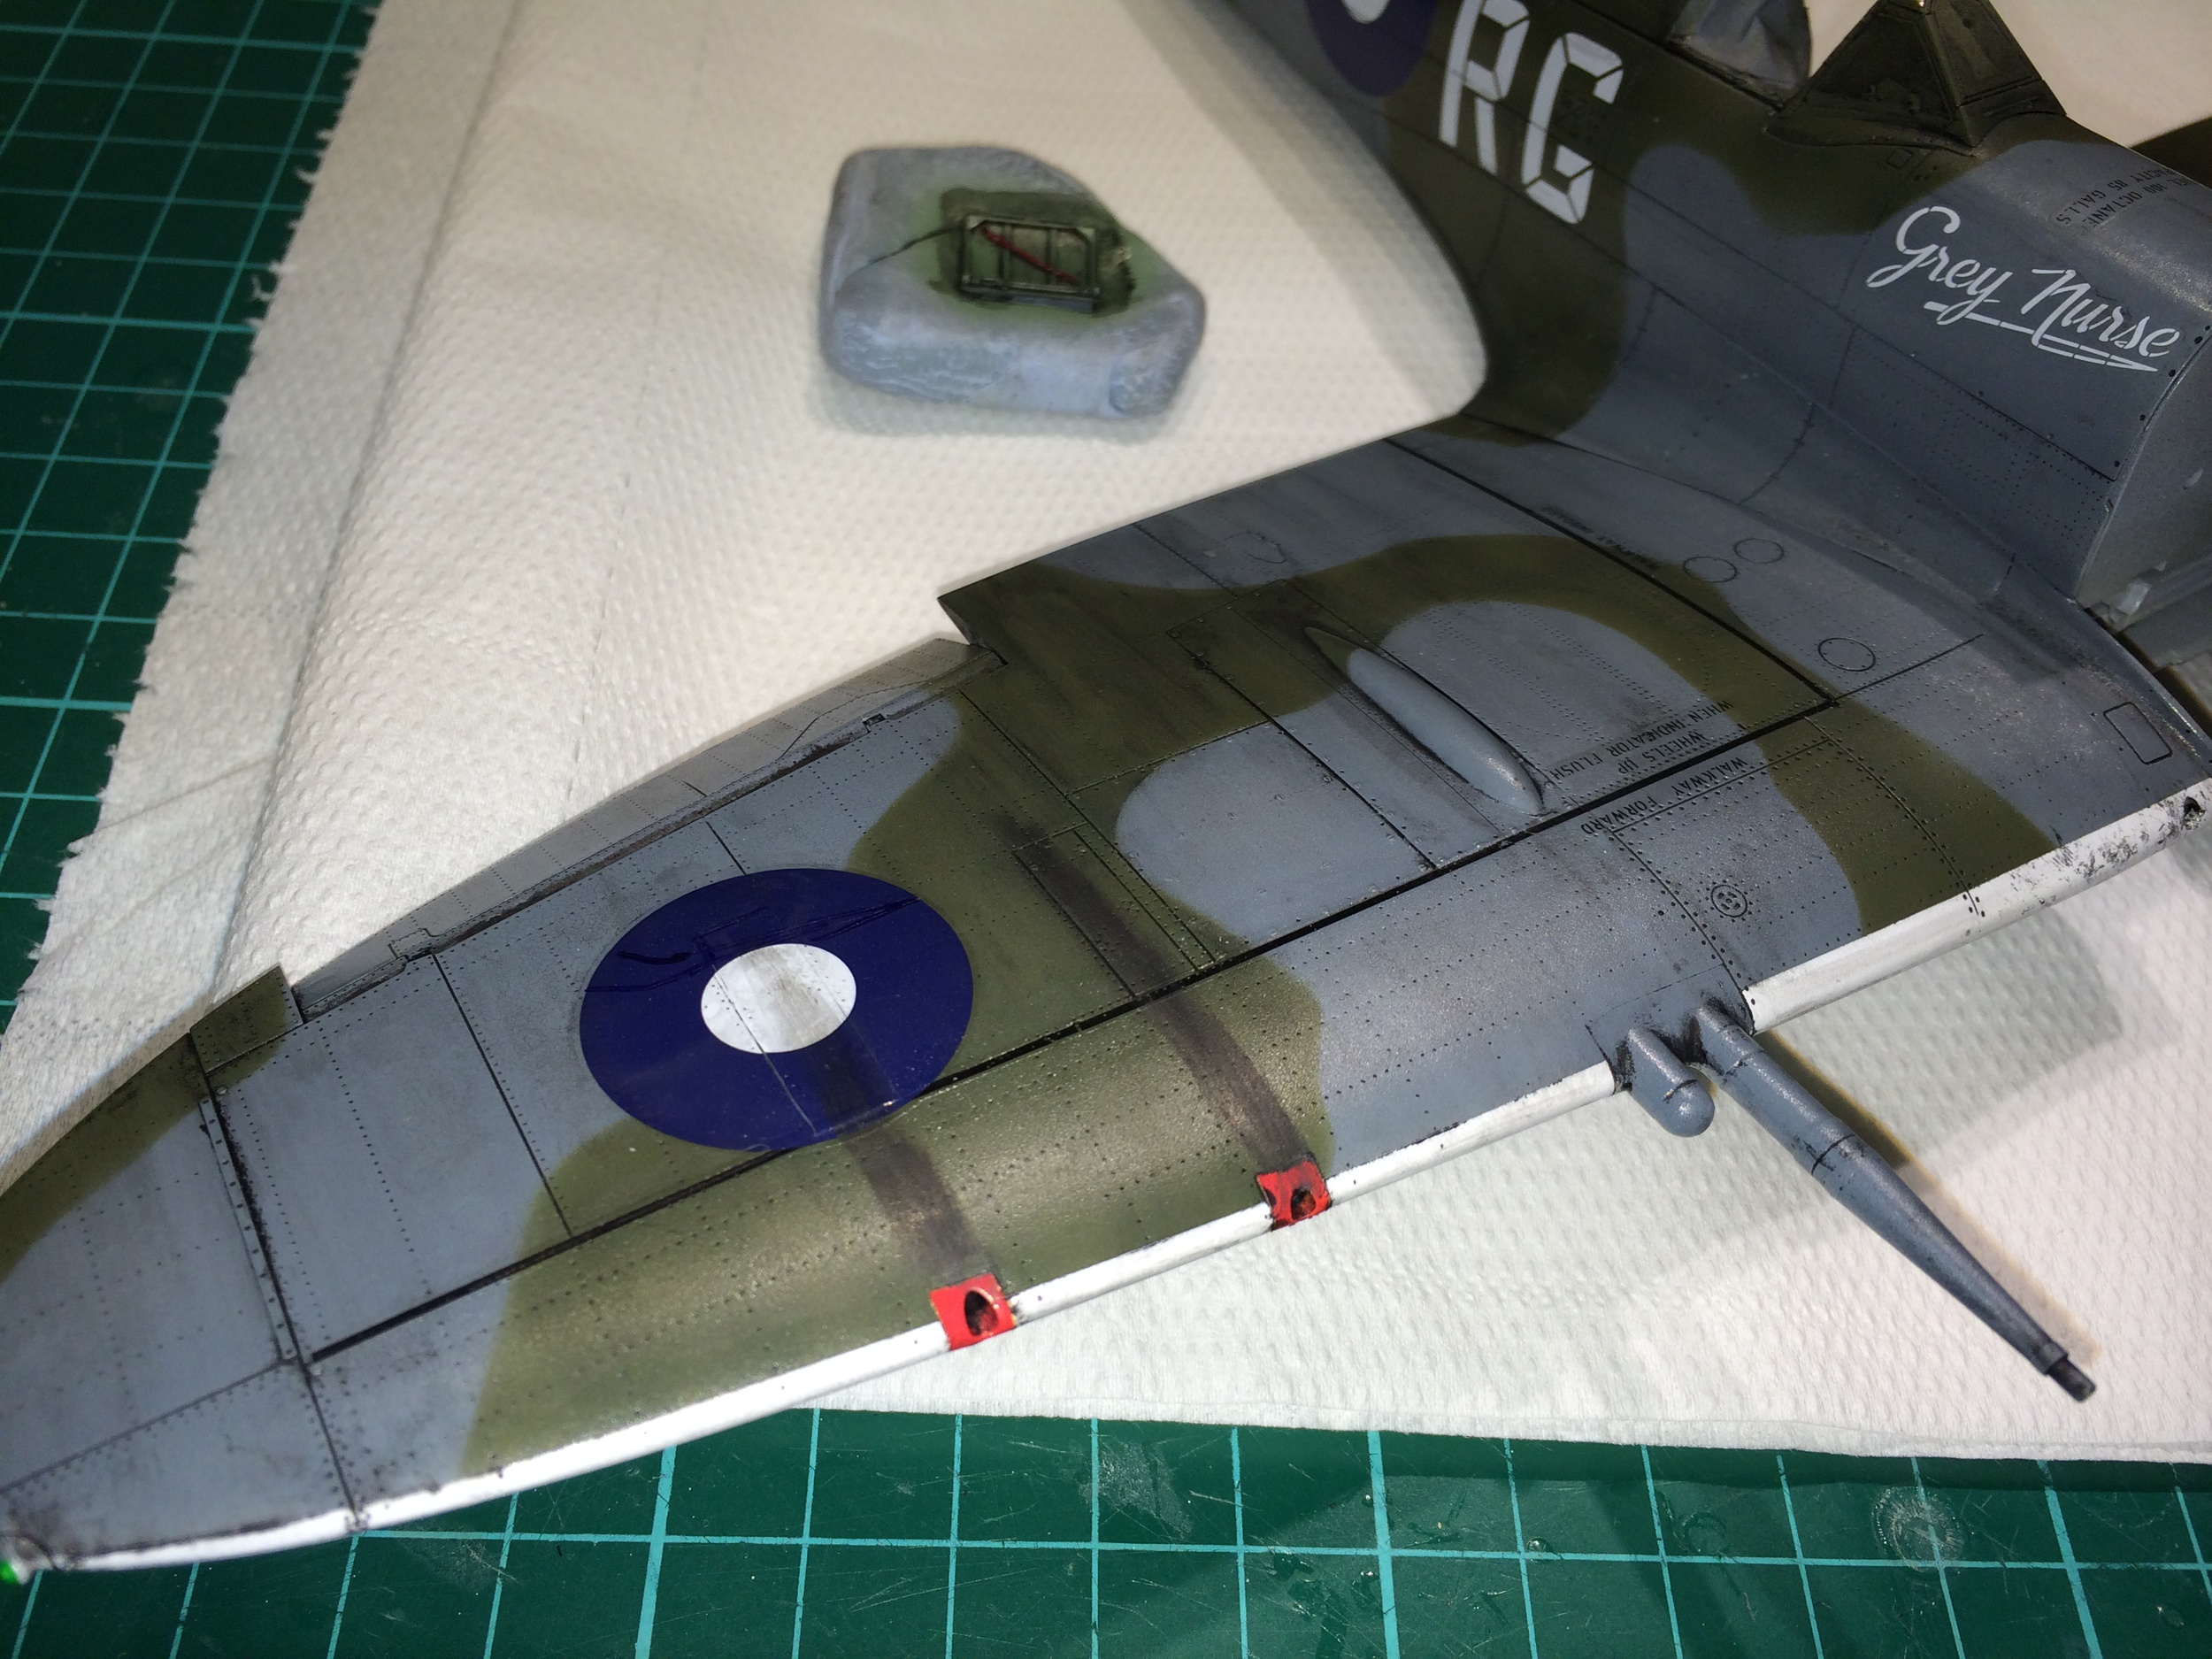
Here you can see the different tonal colour’s in the green and grey, light areas and dark areas

Gun ports are painted
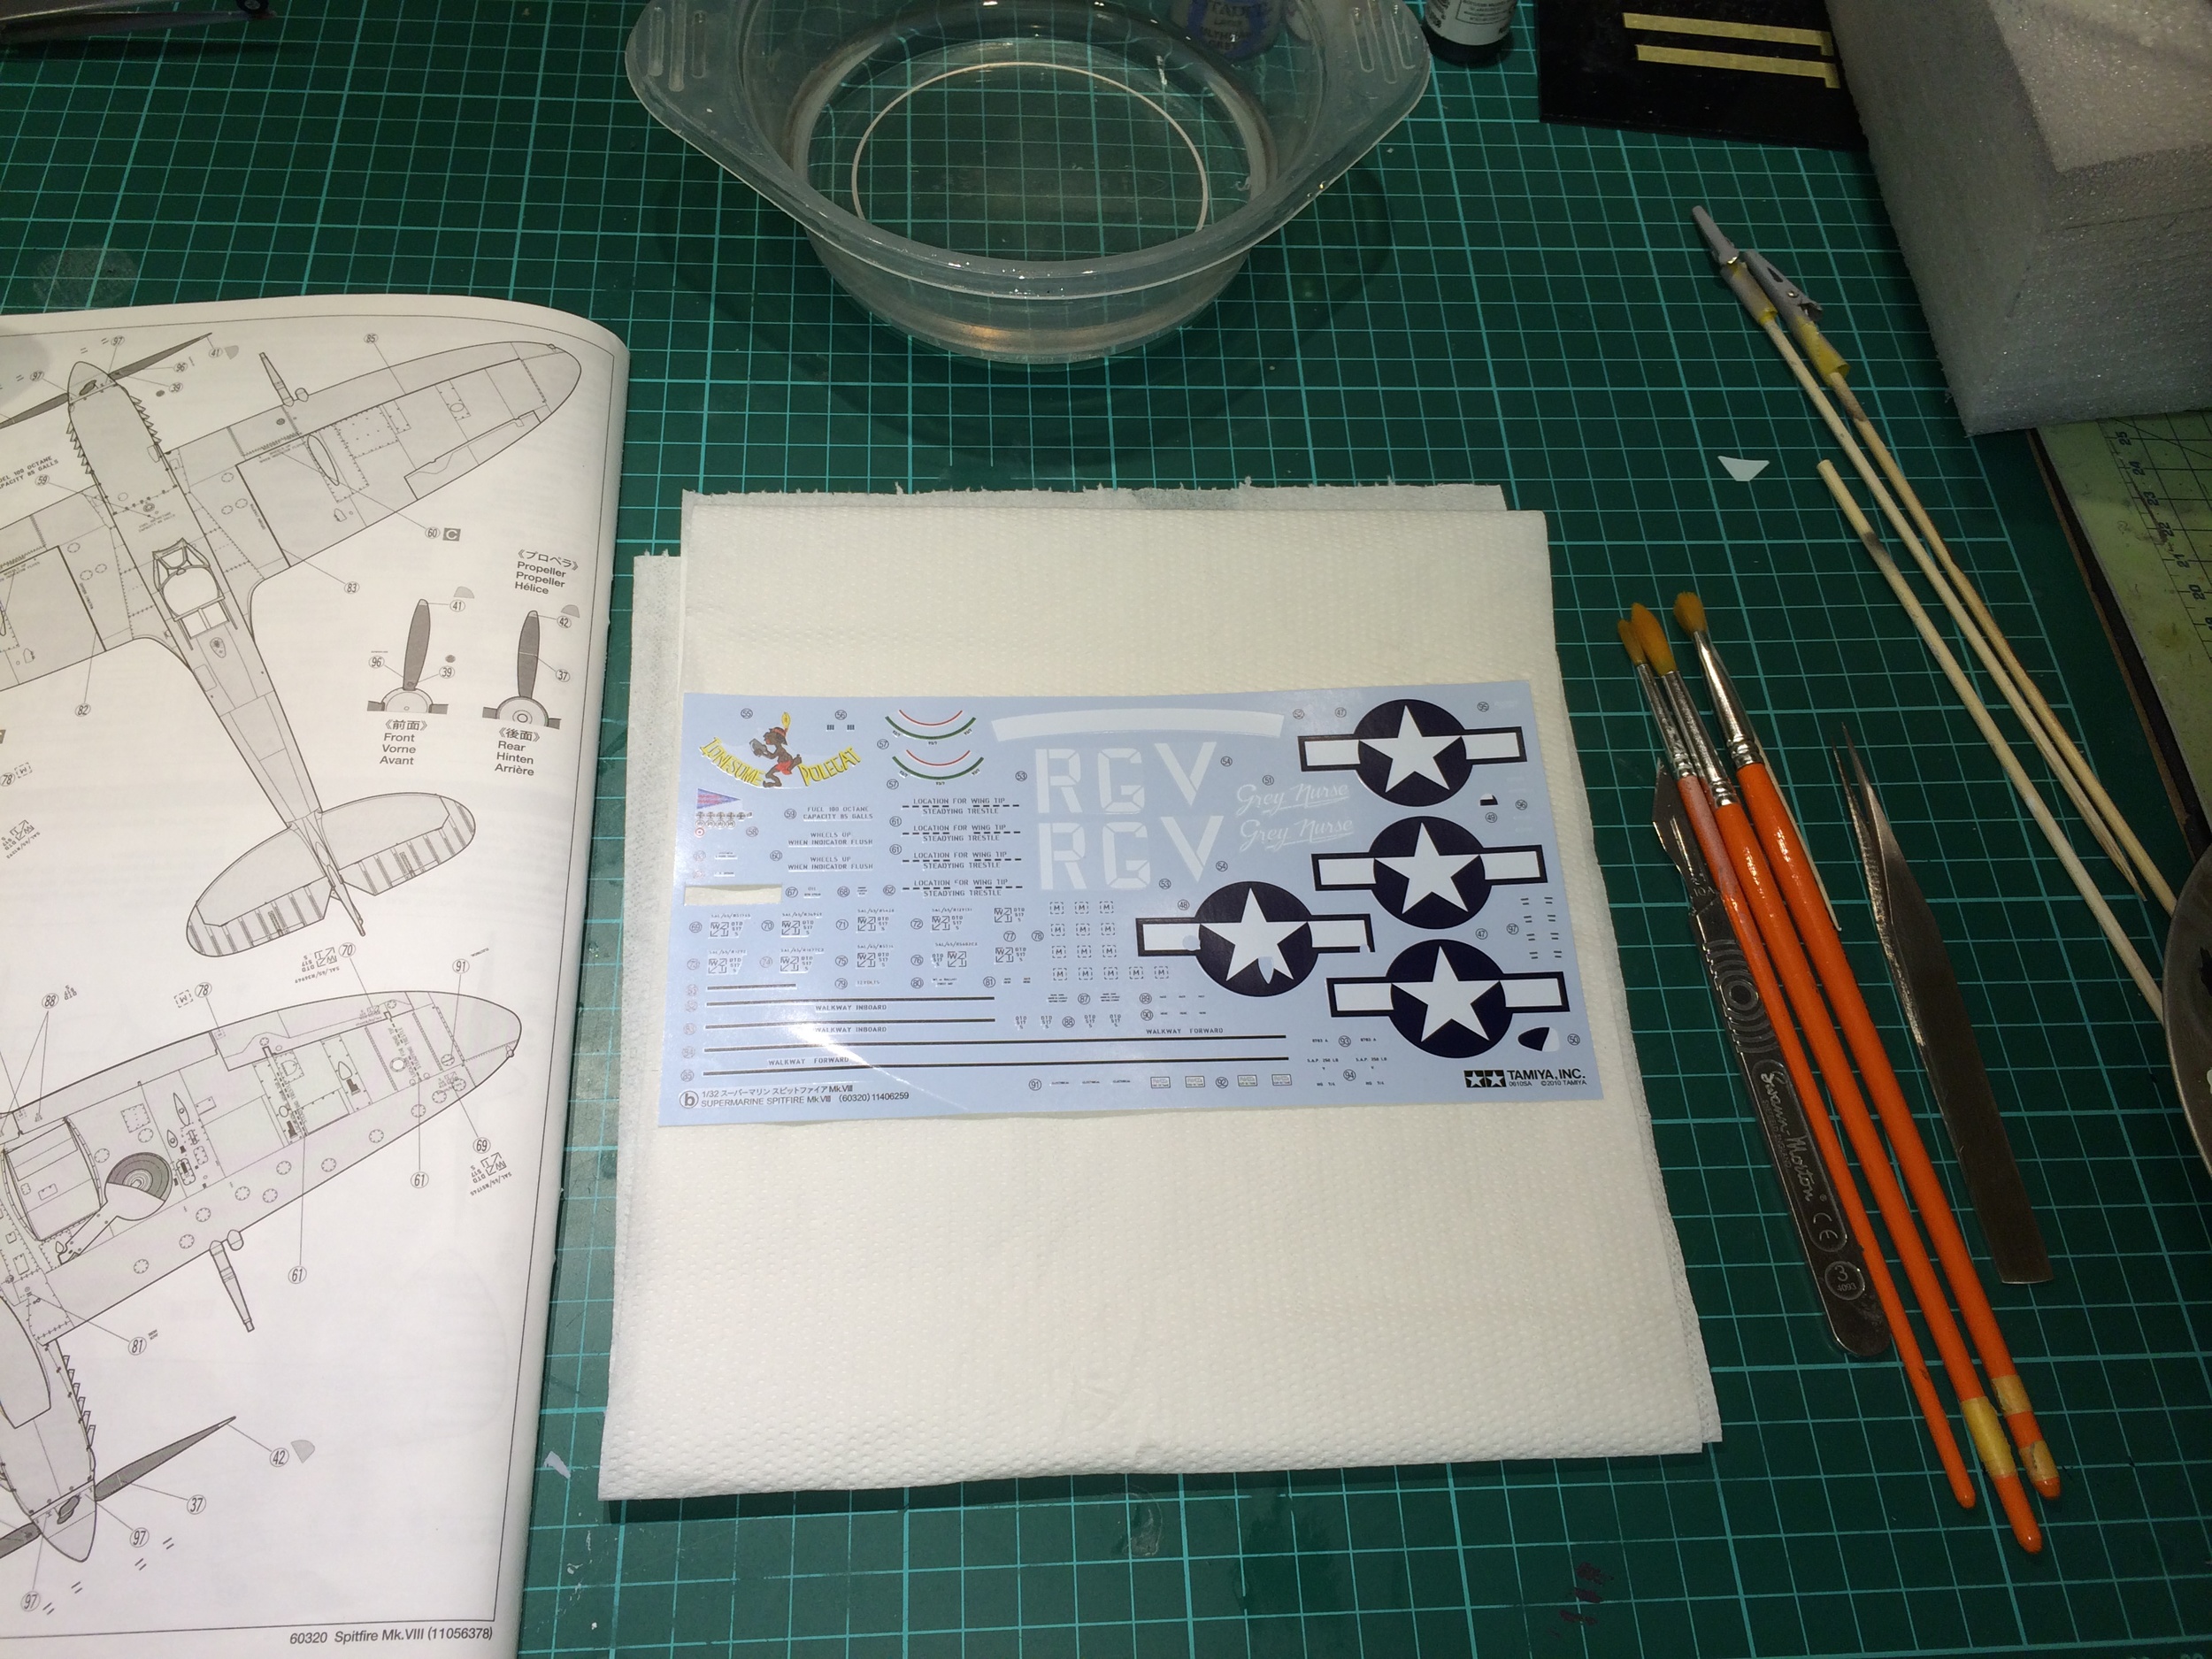
Decals are started
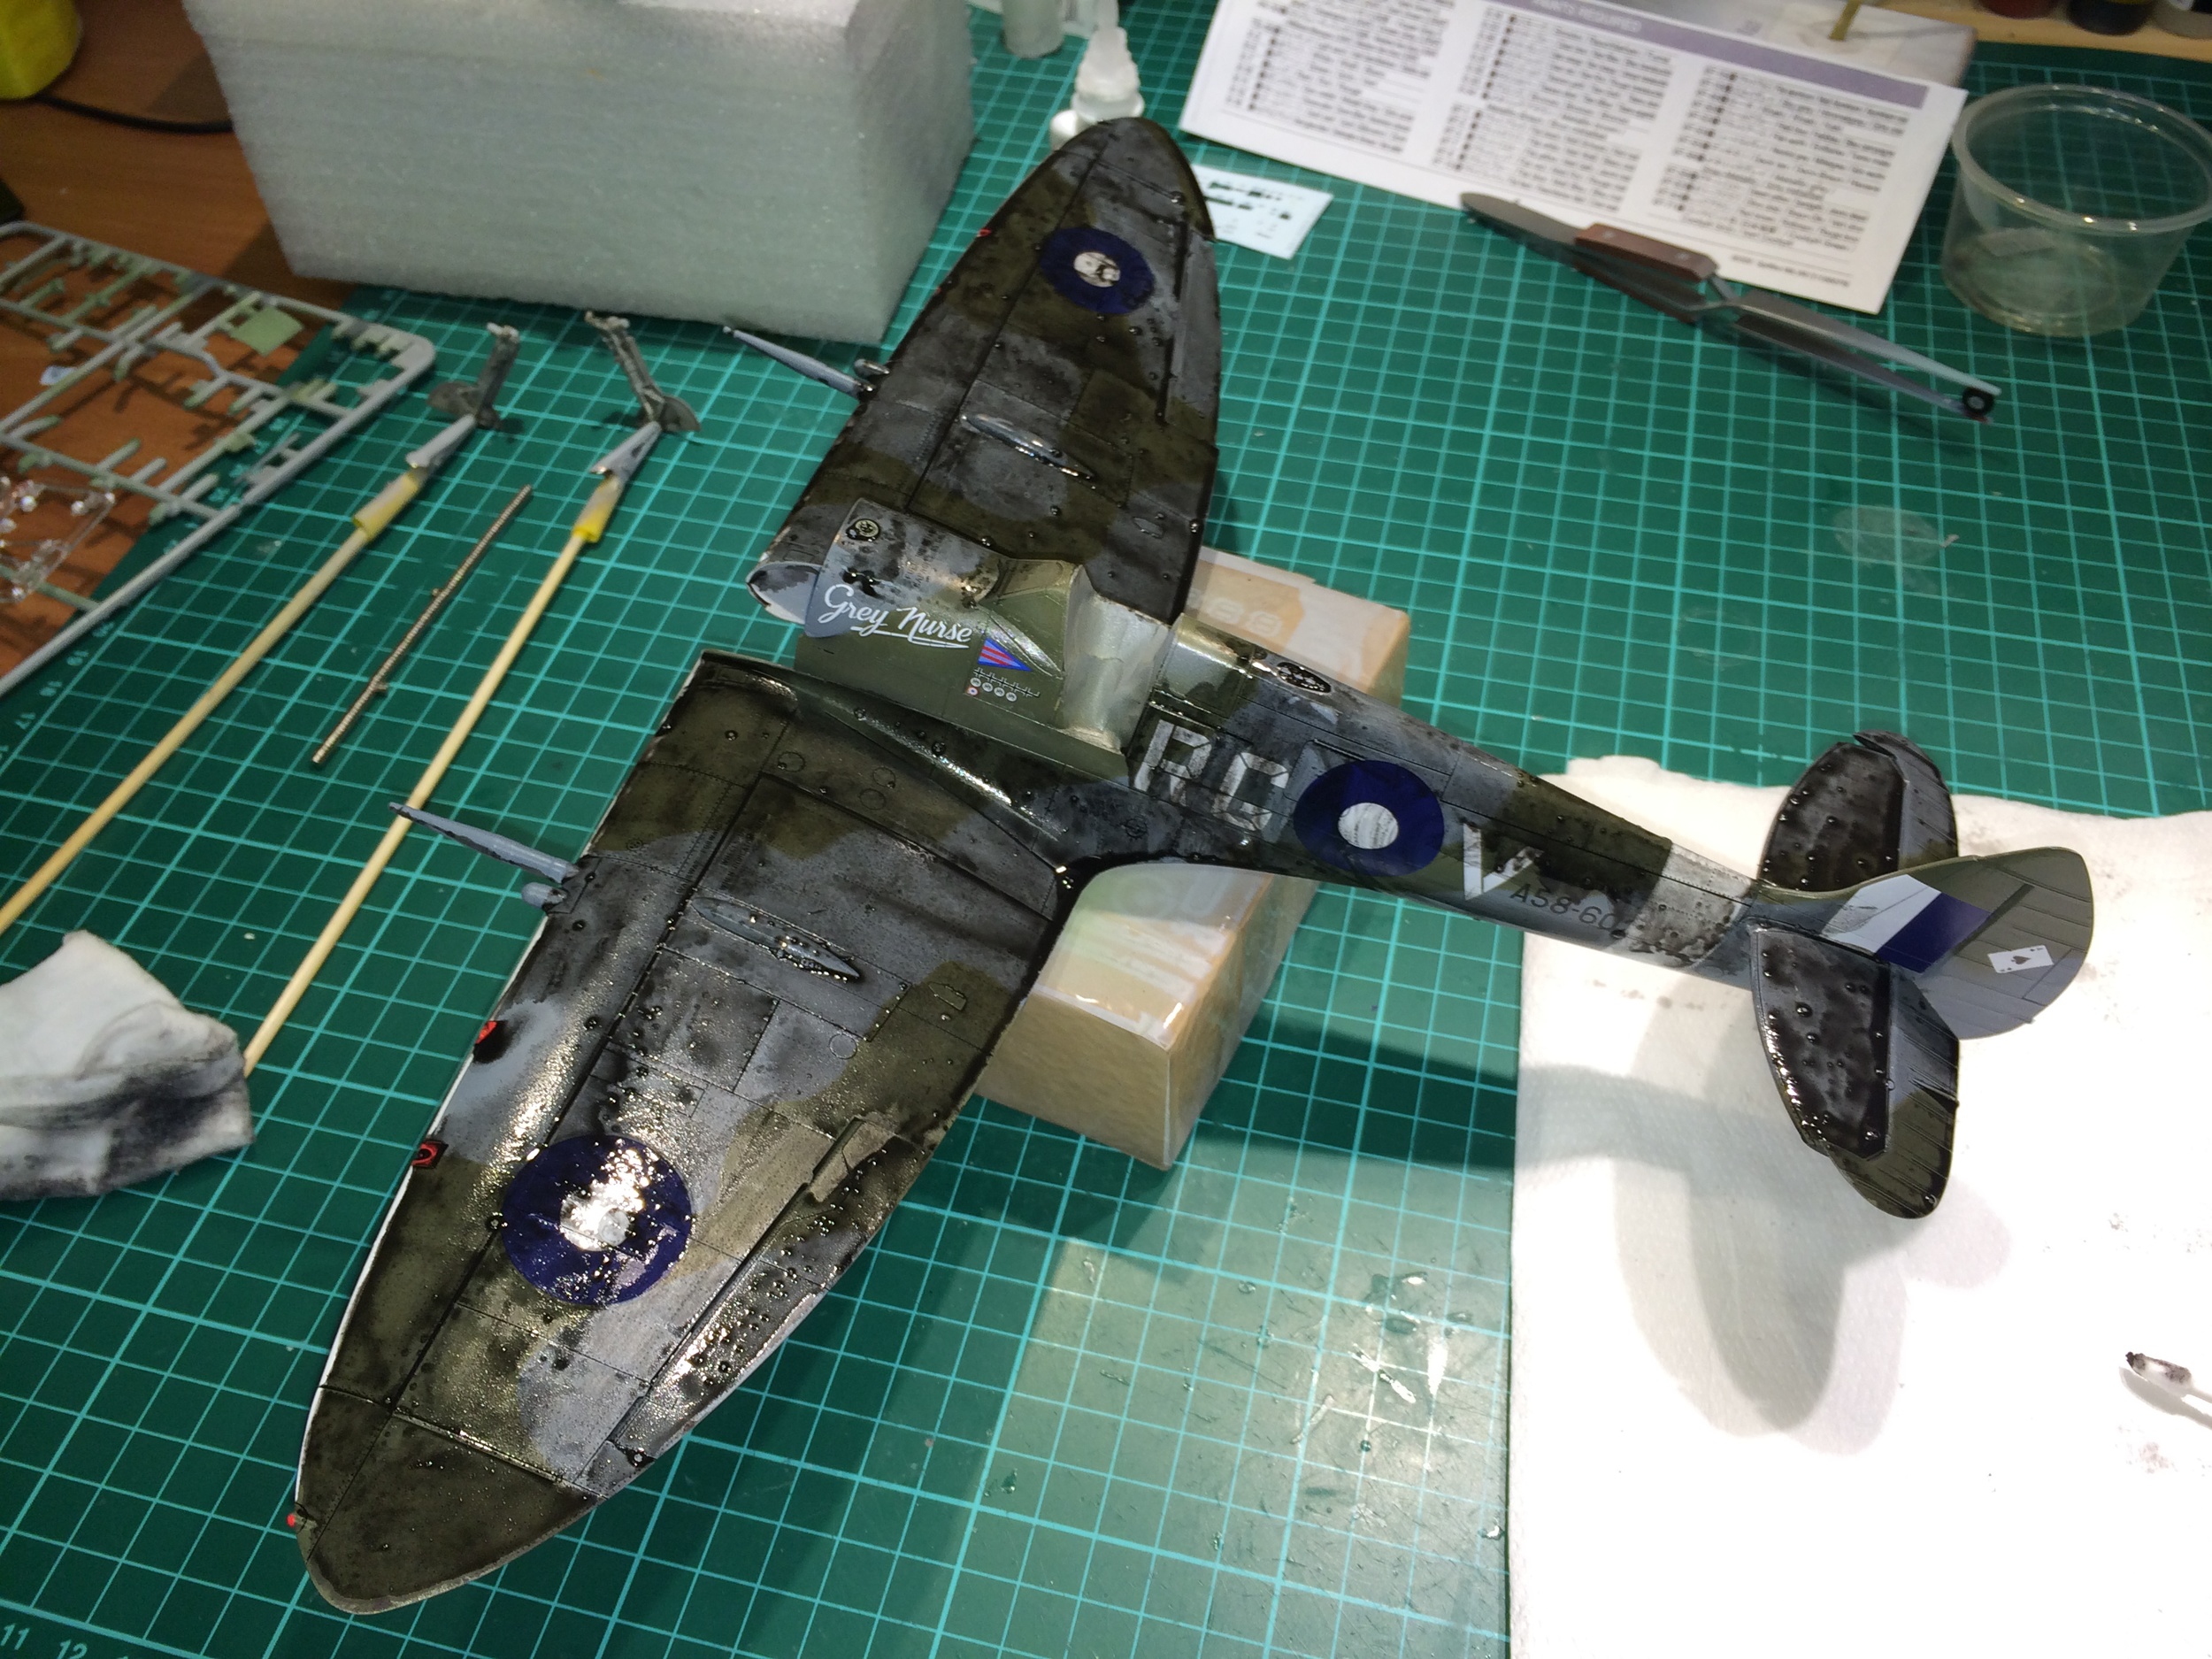
Dark dirt wash applied and left to dry
Rubbed down and cleaned, I have also added the smoke trail from the gun ports
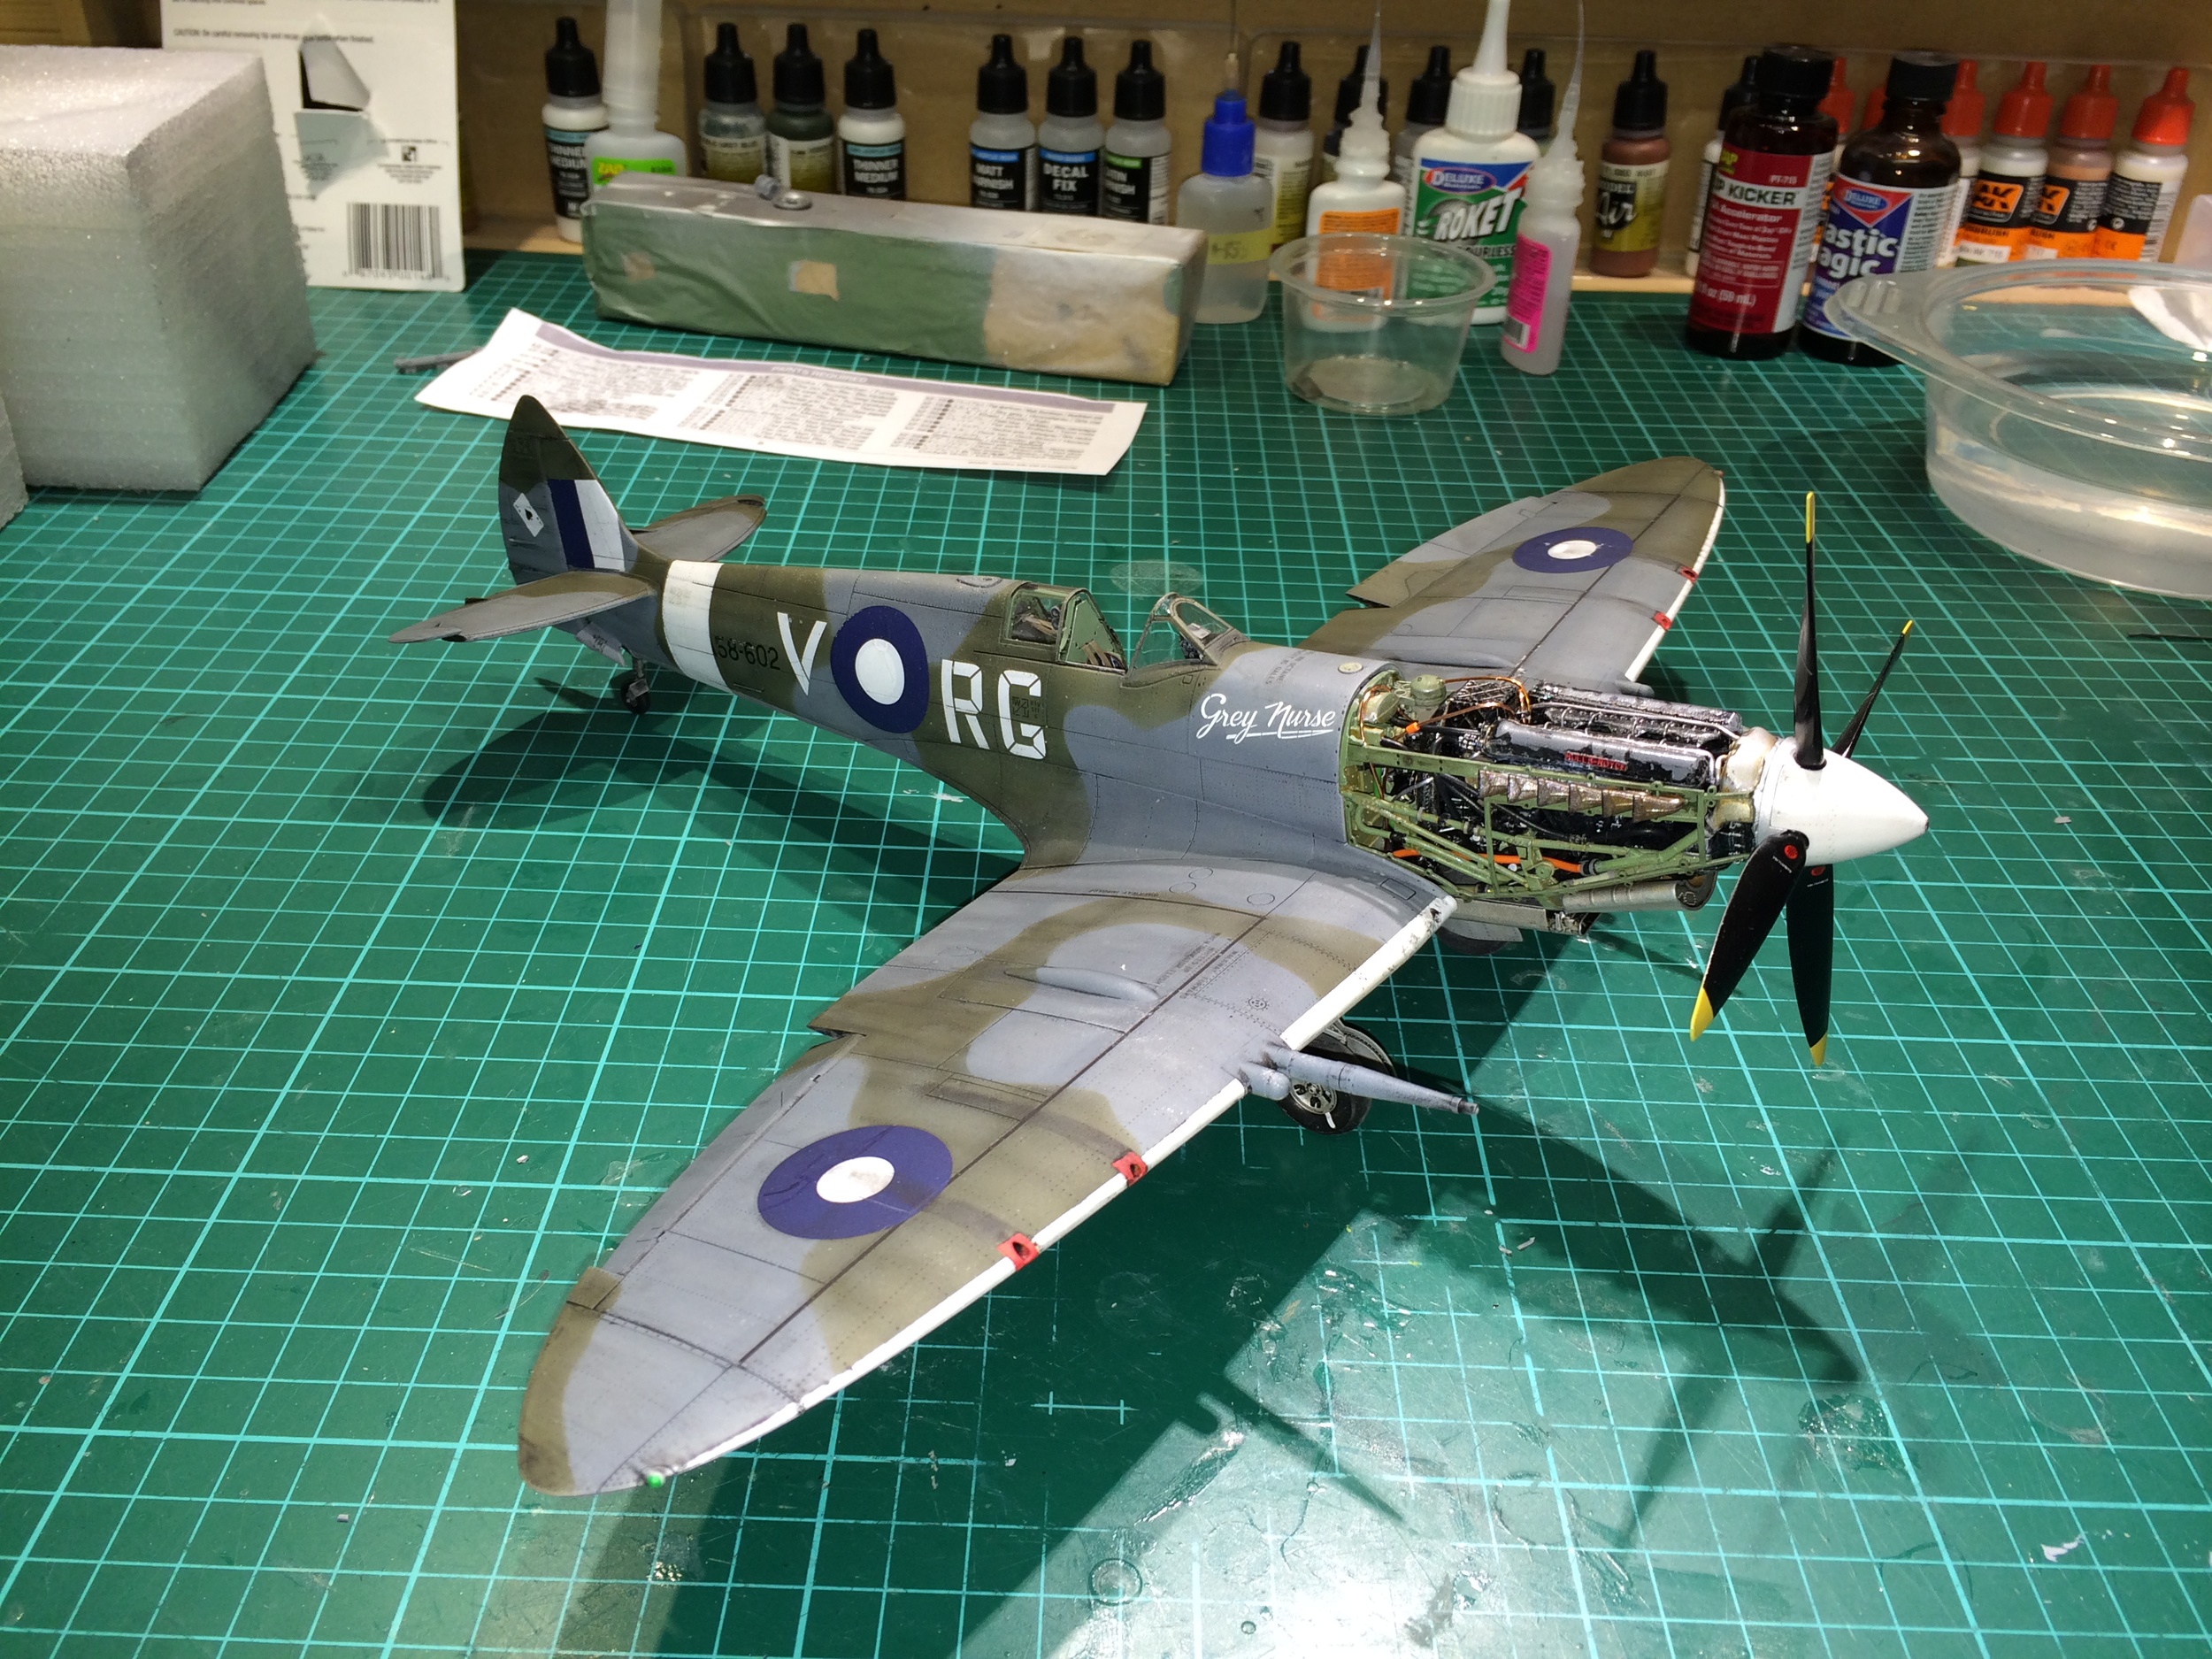
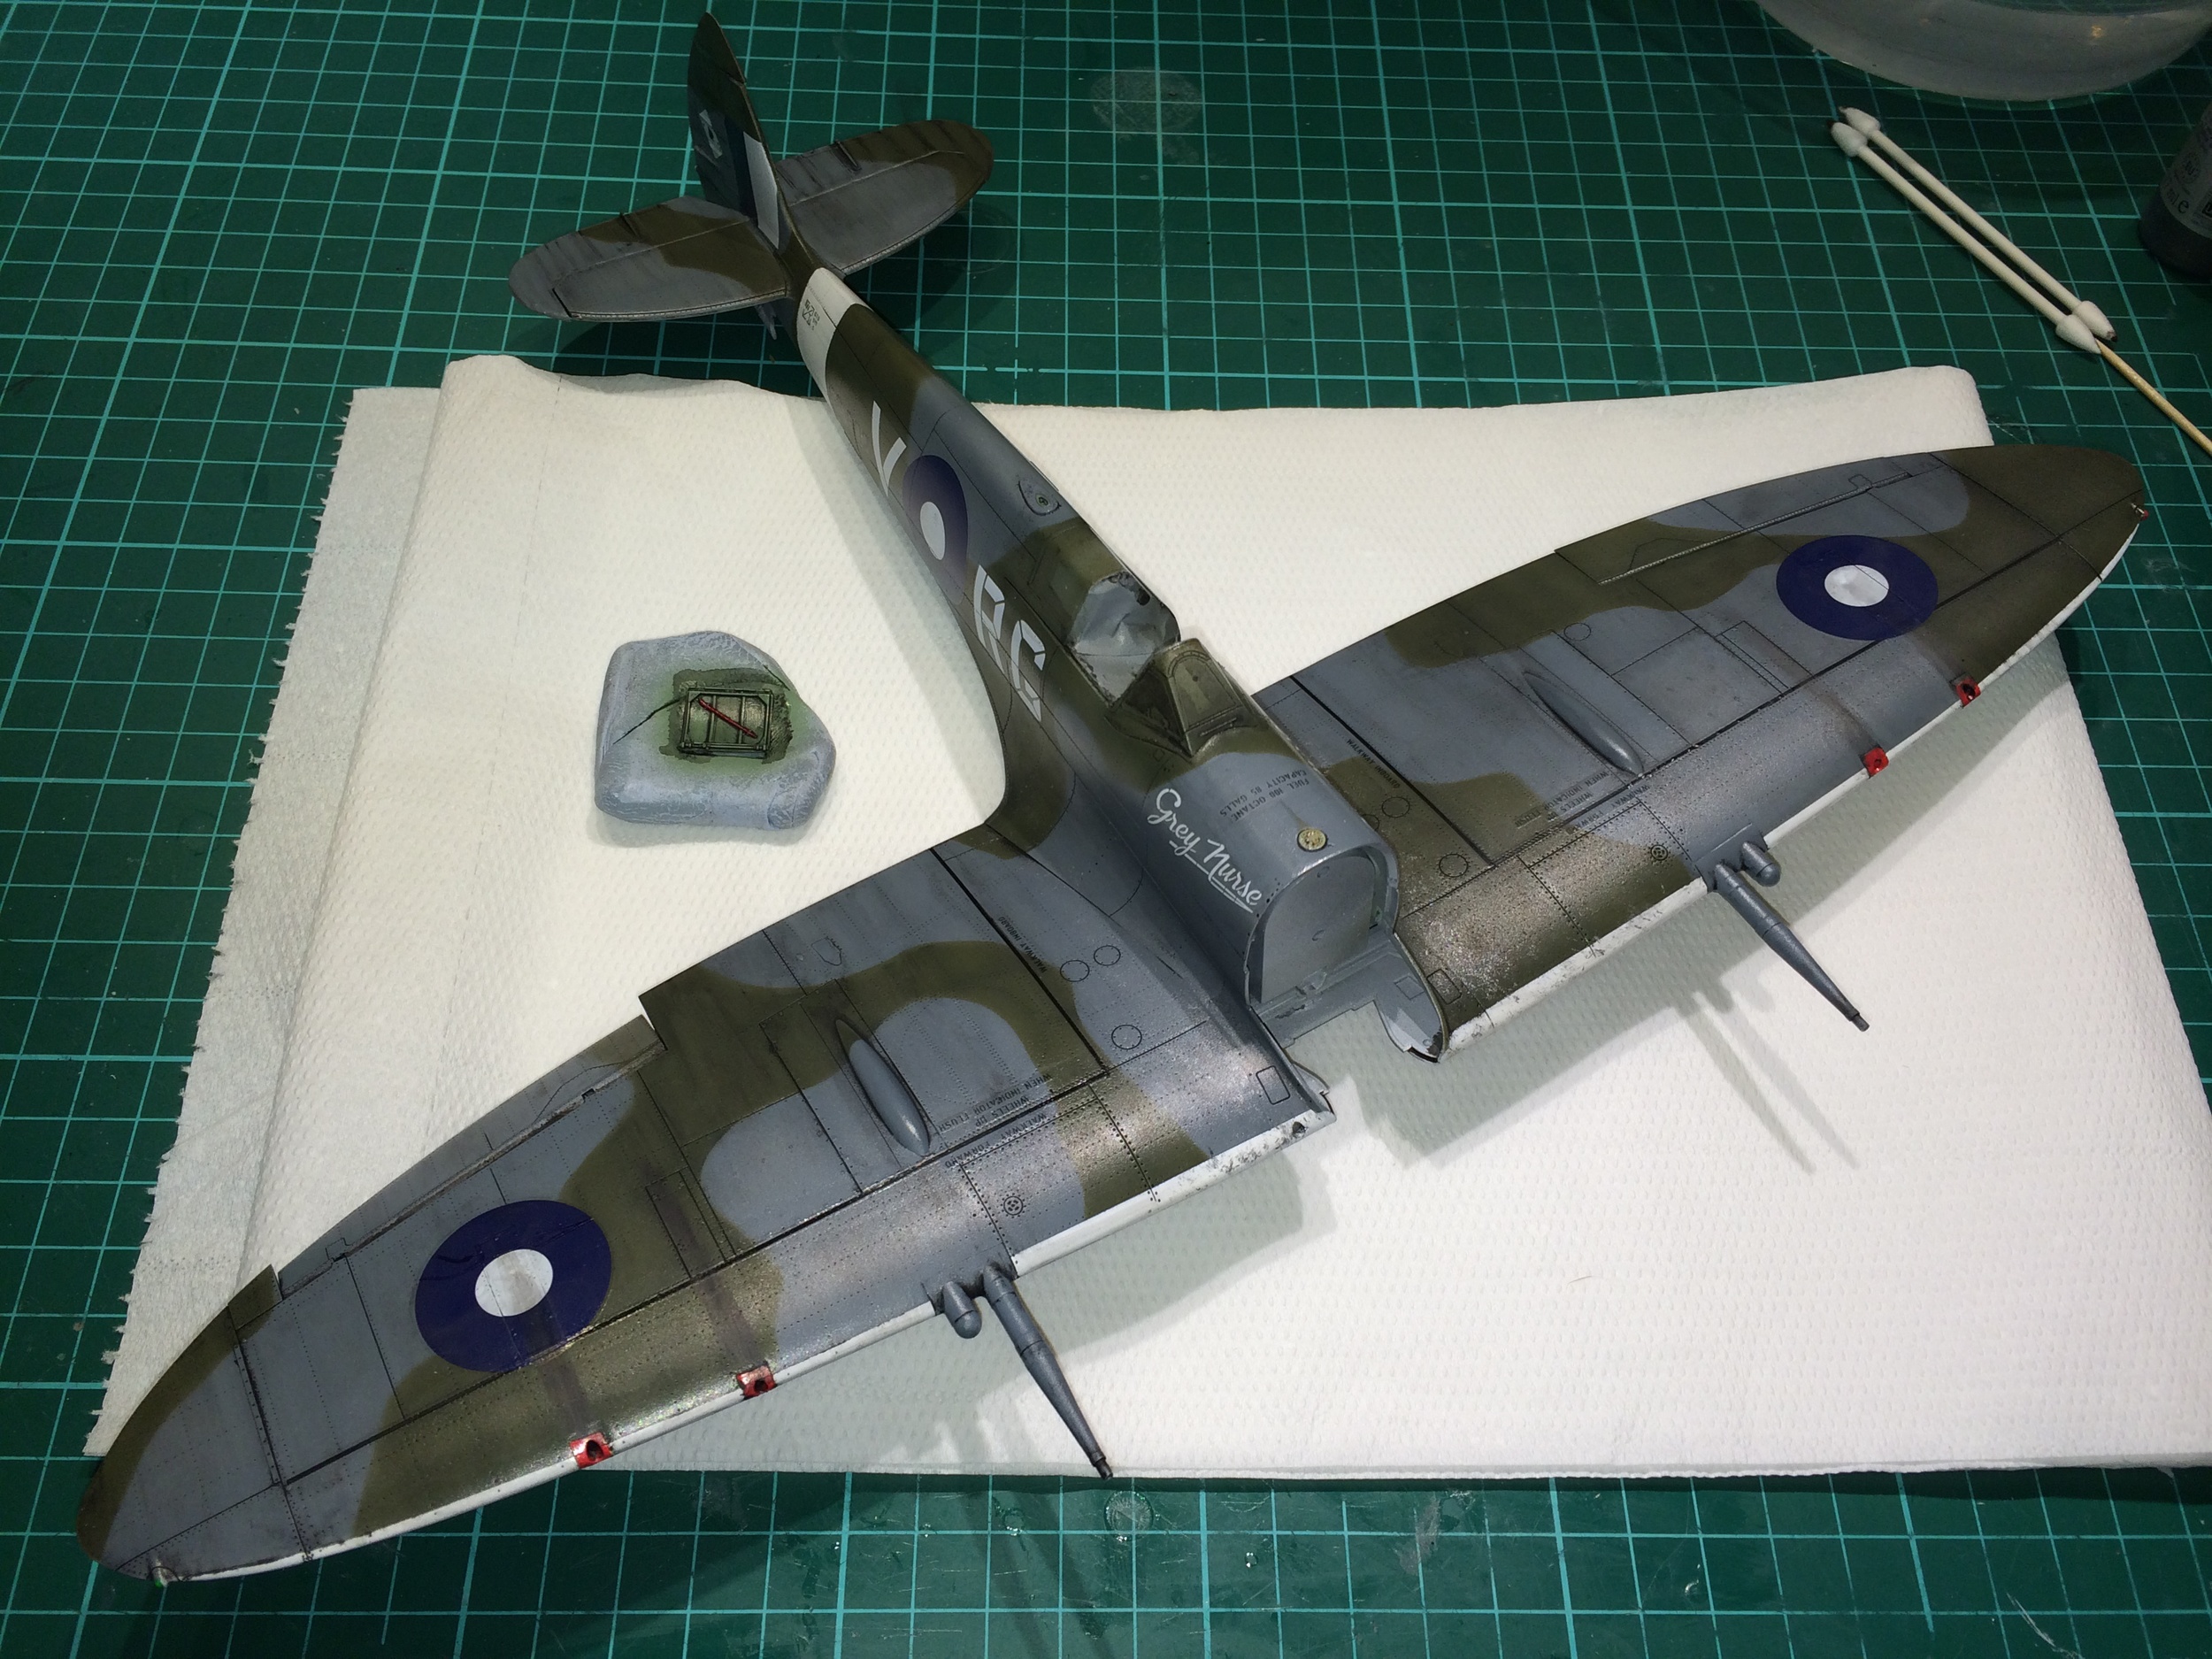
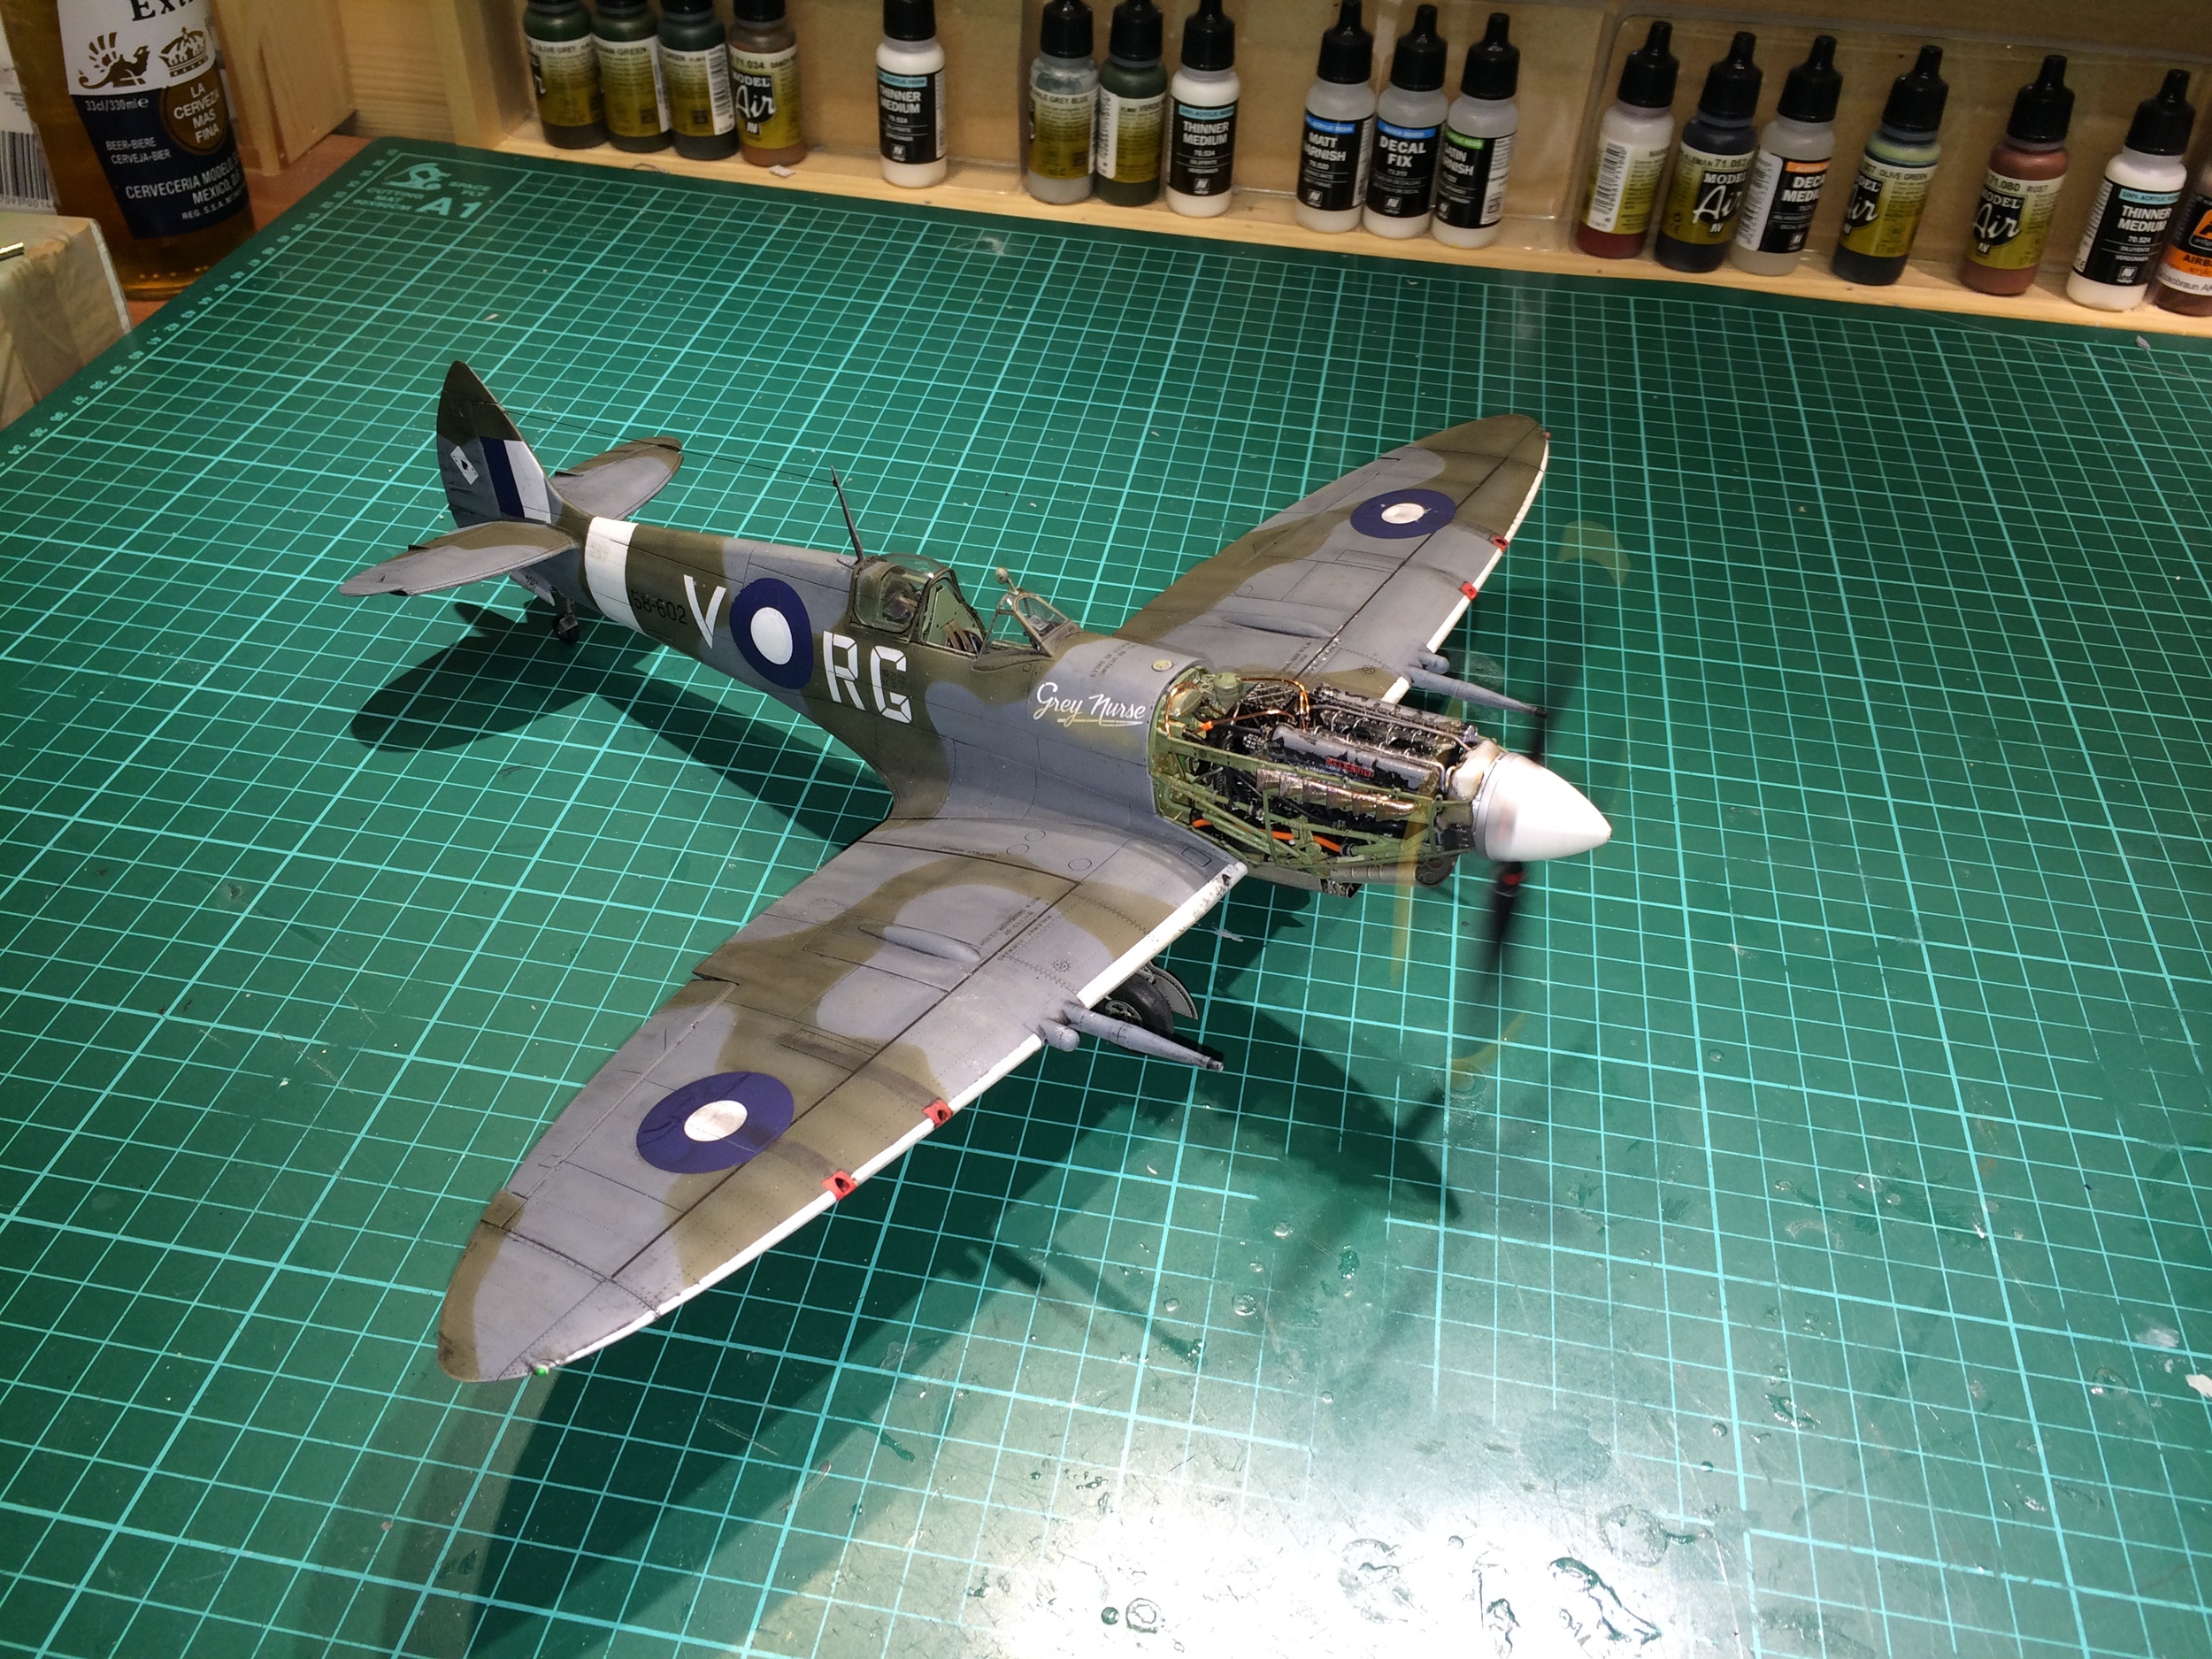
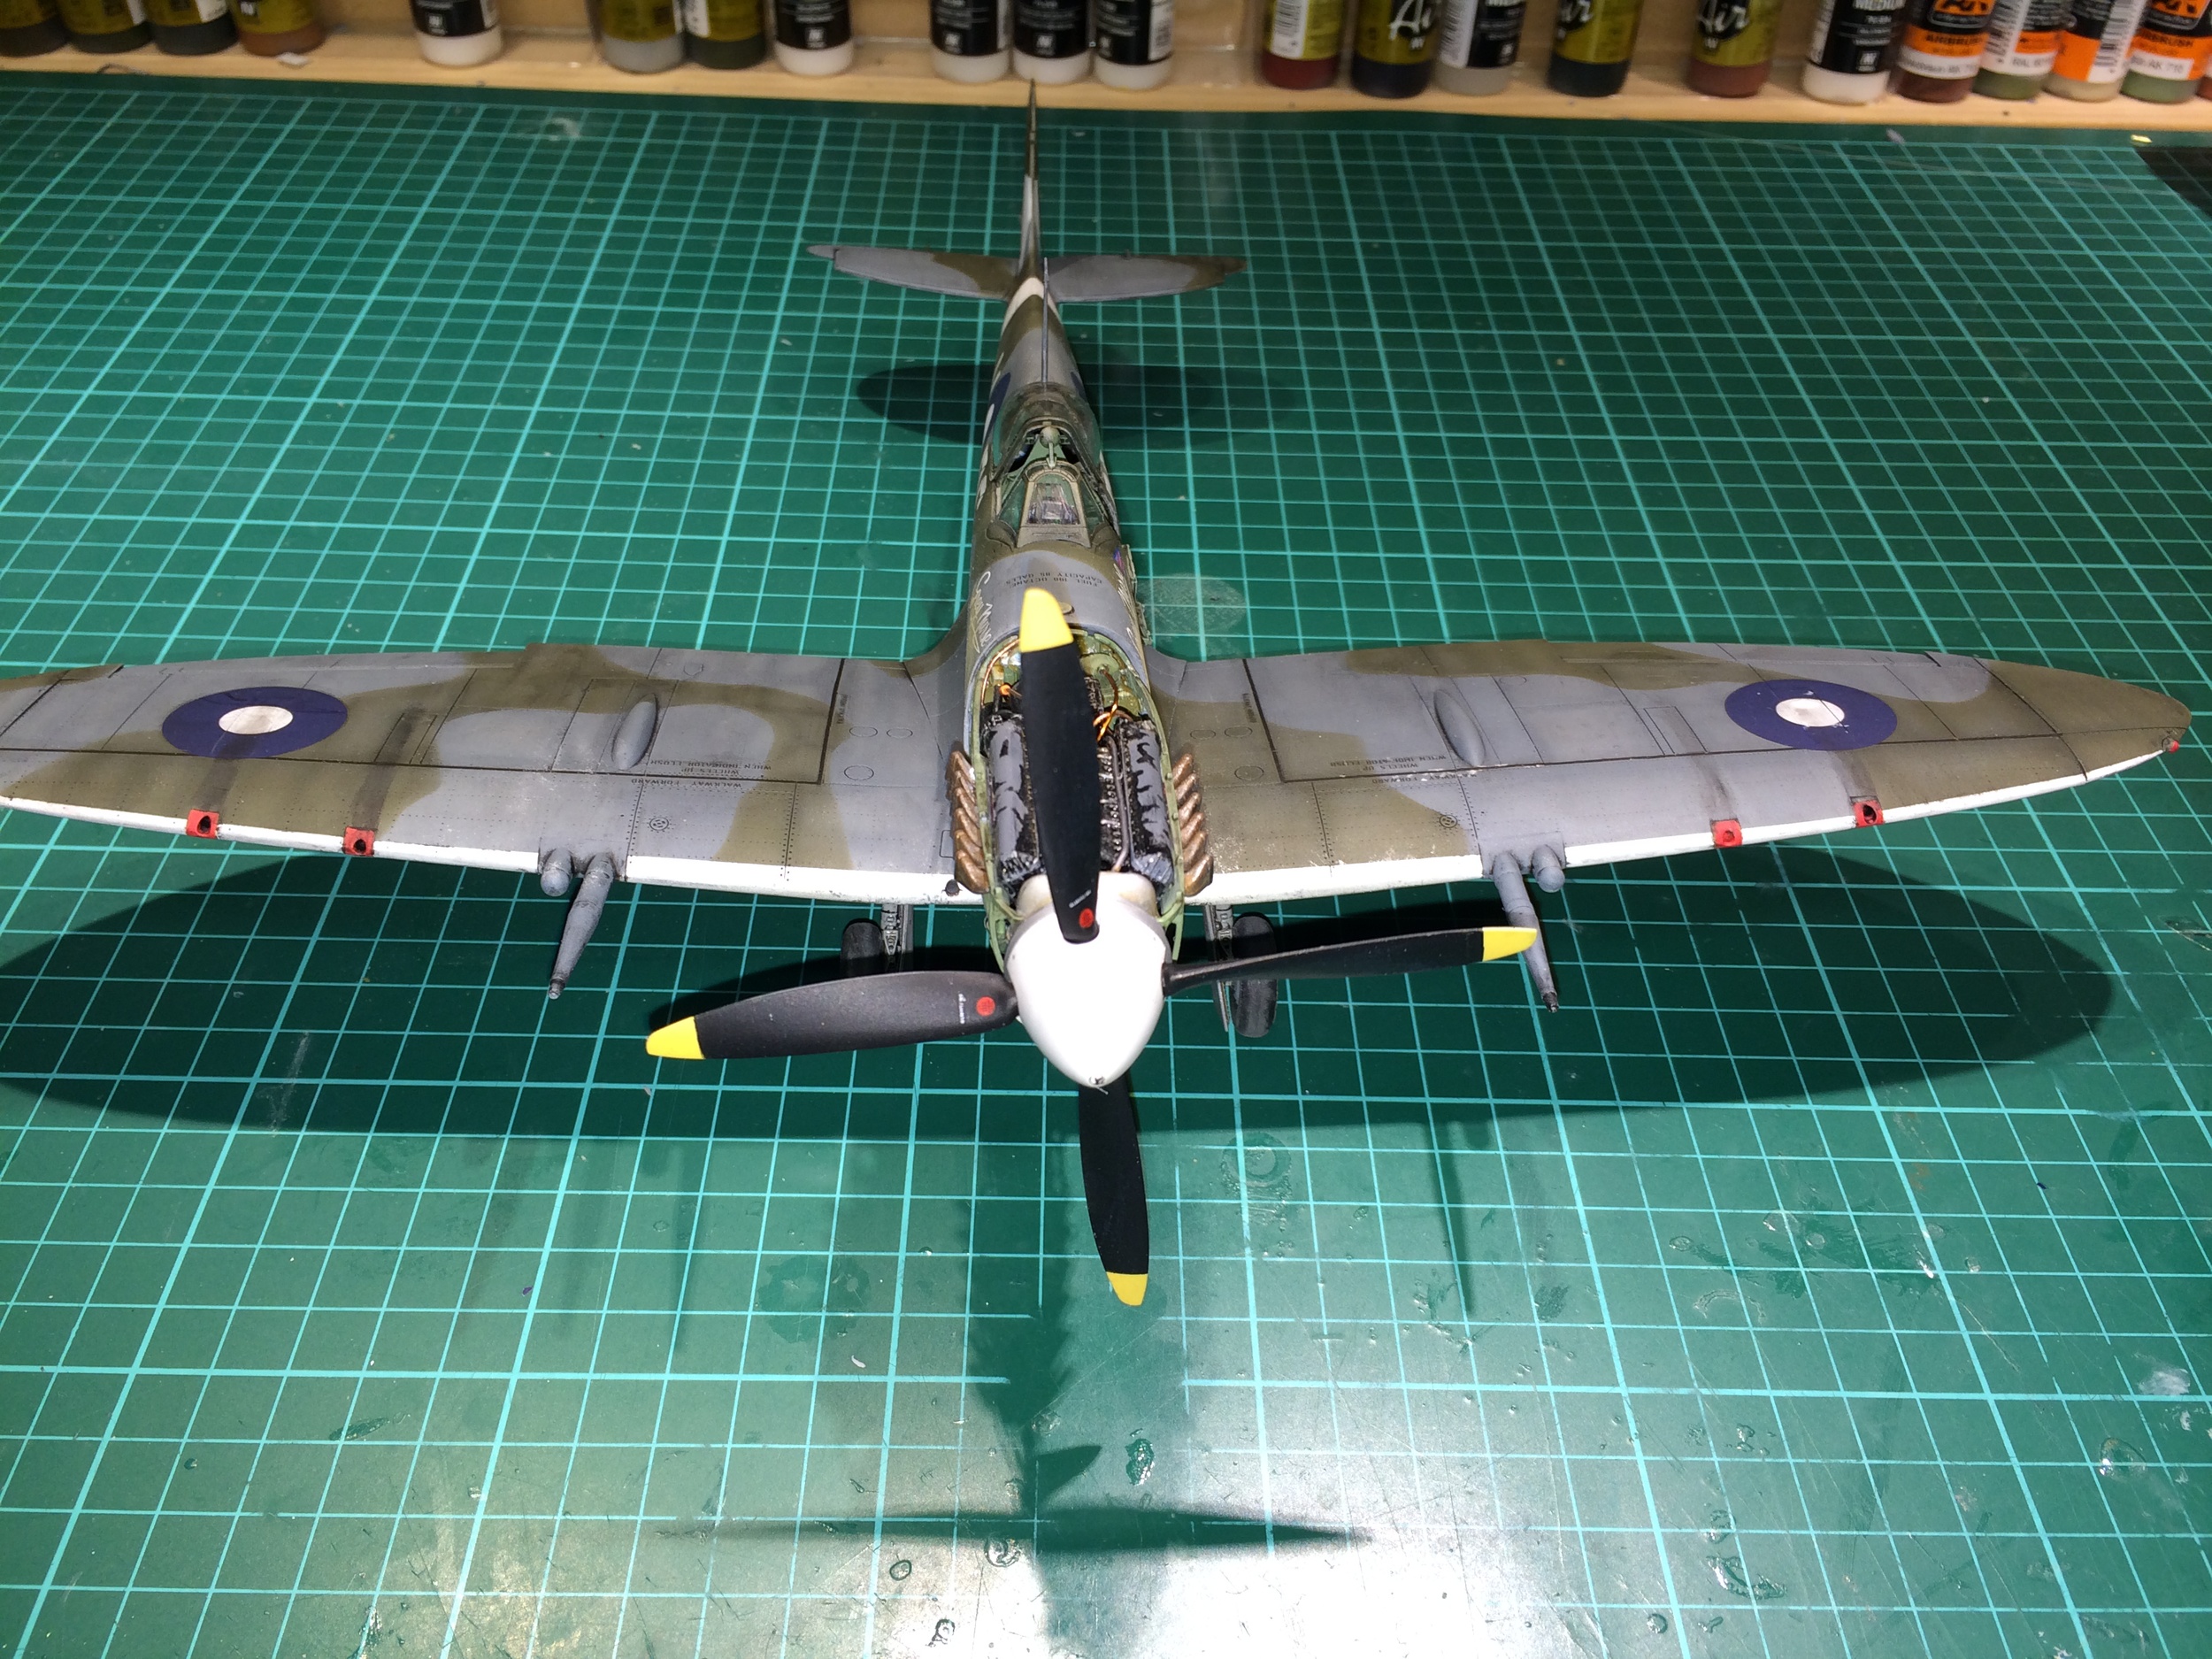
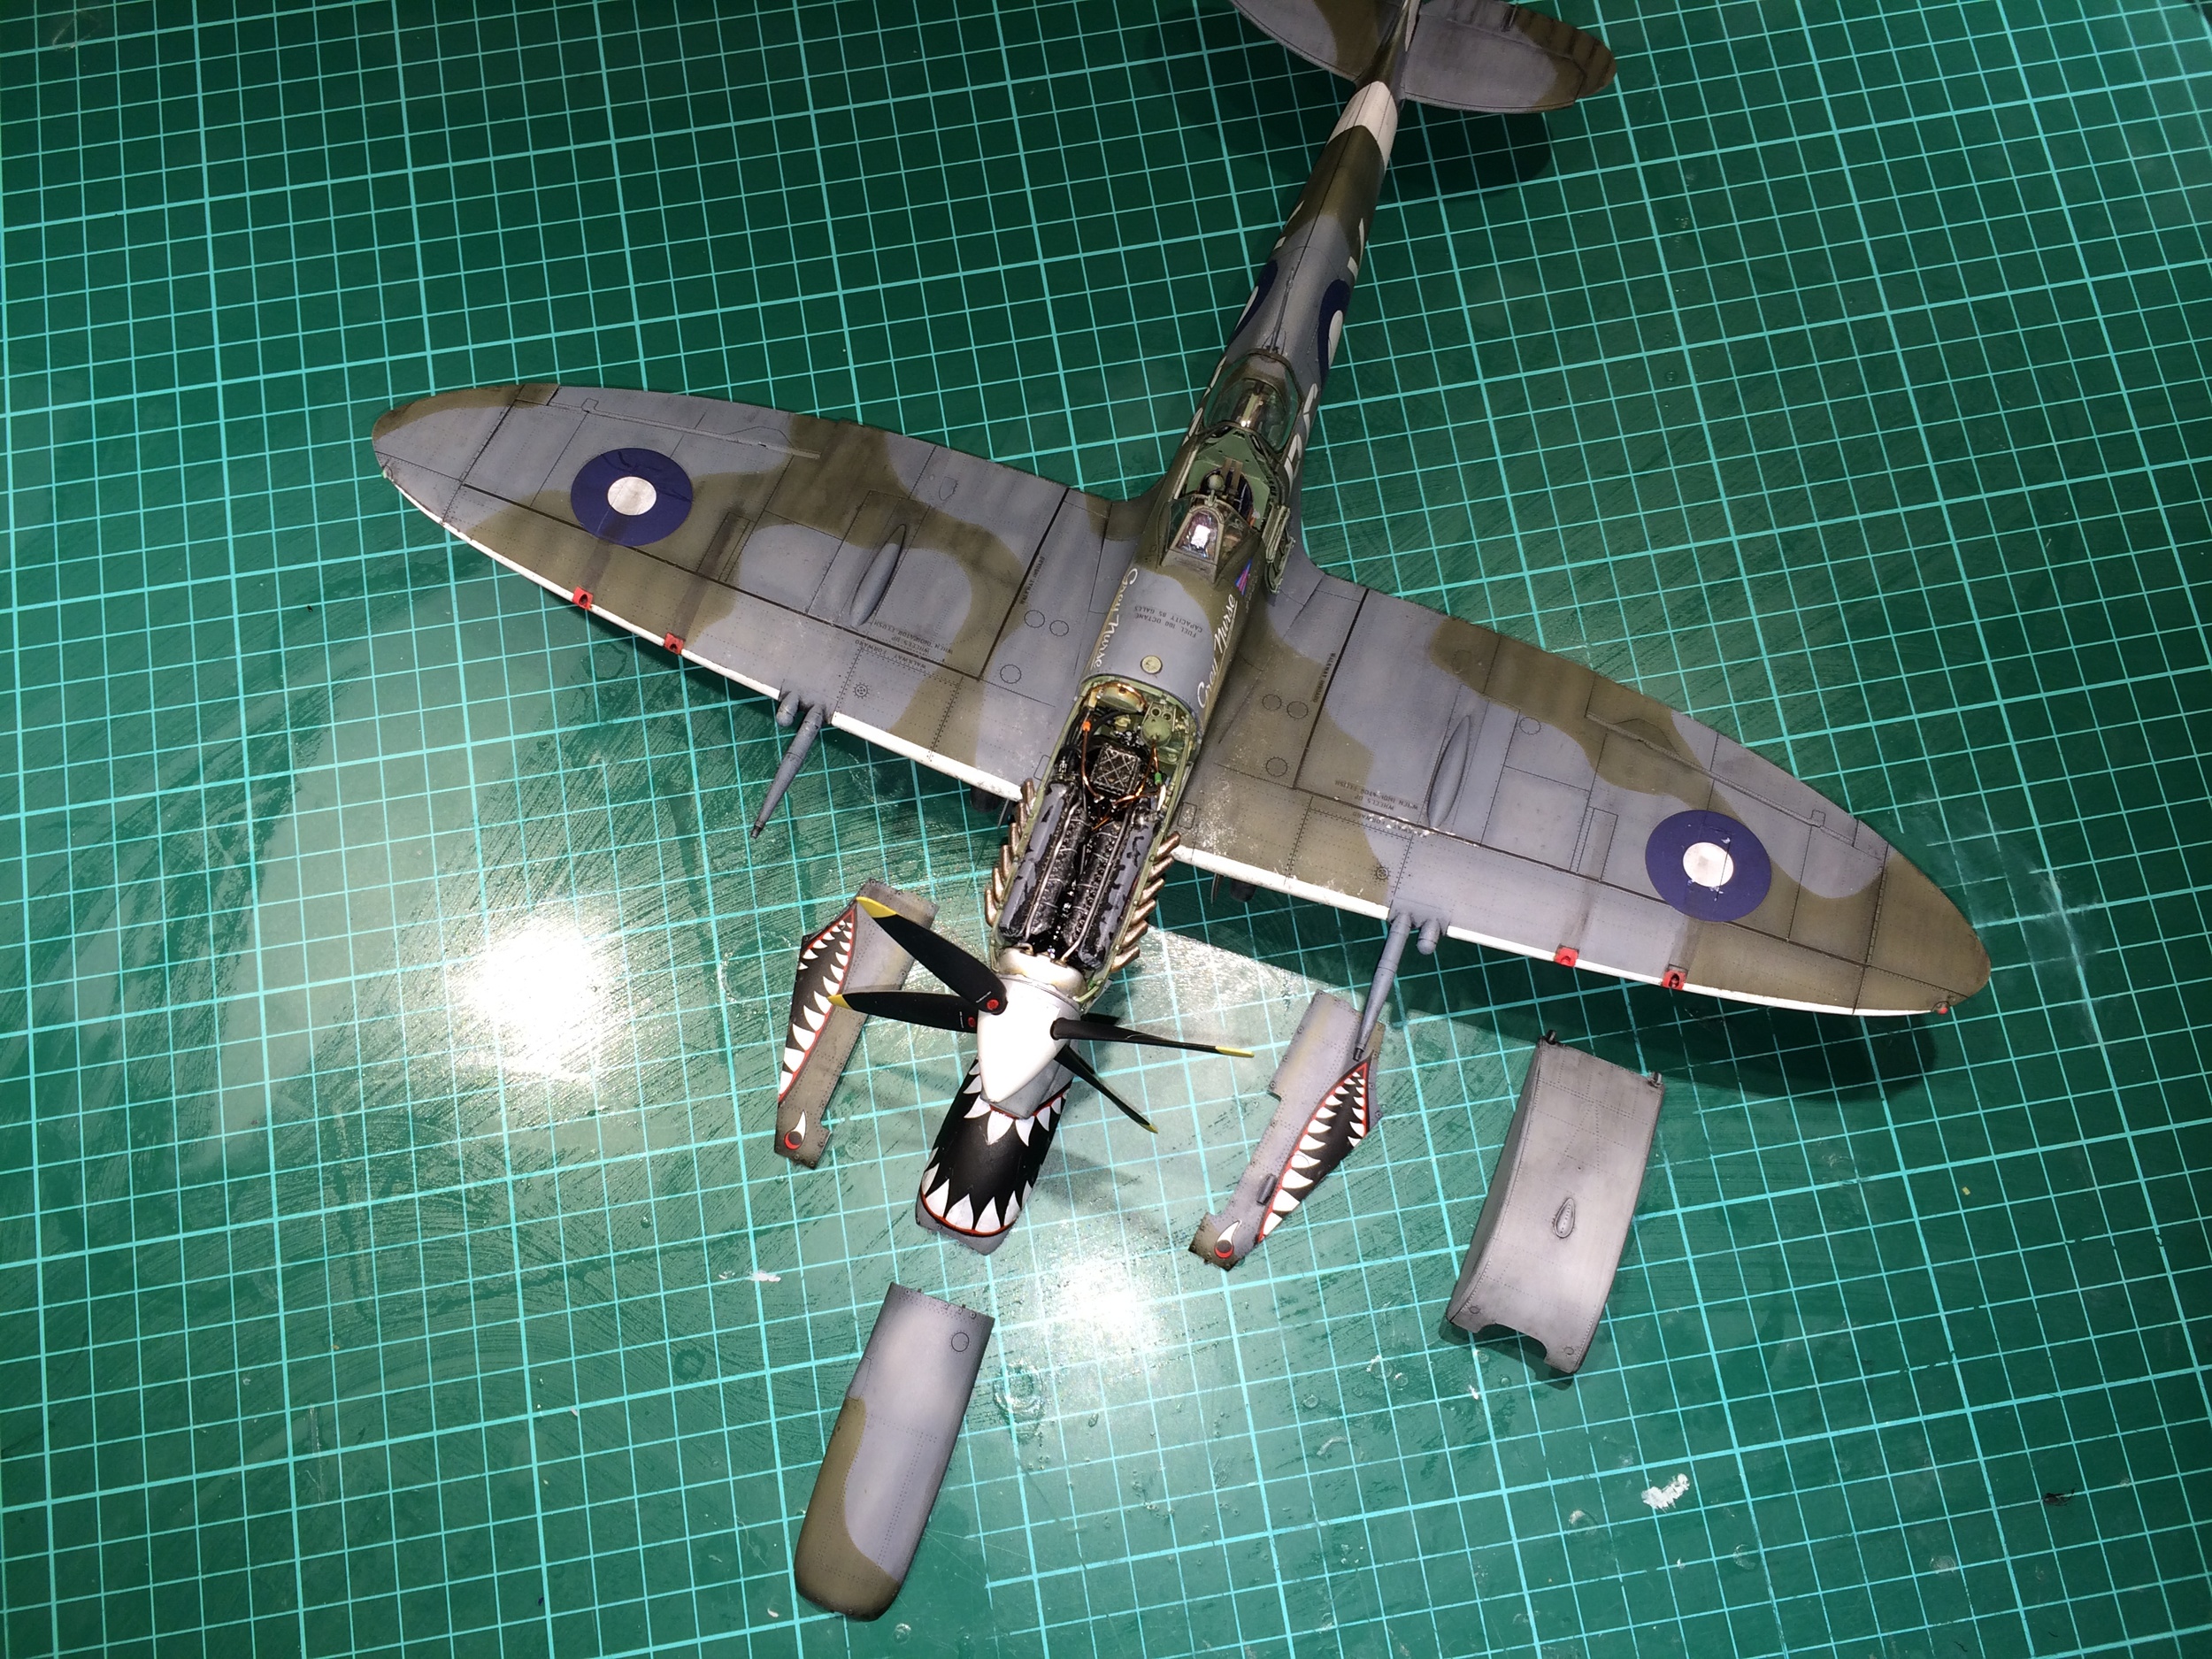
Engine and spinner are attached, its also had its matt varnish applied
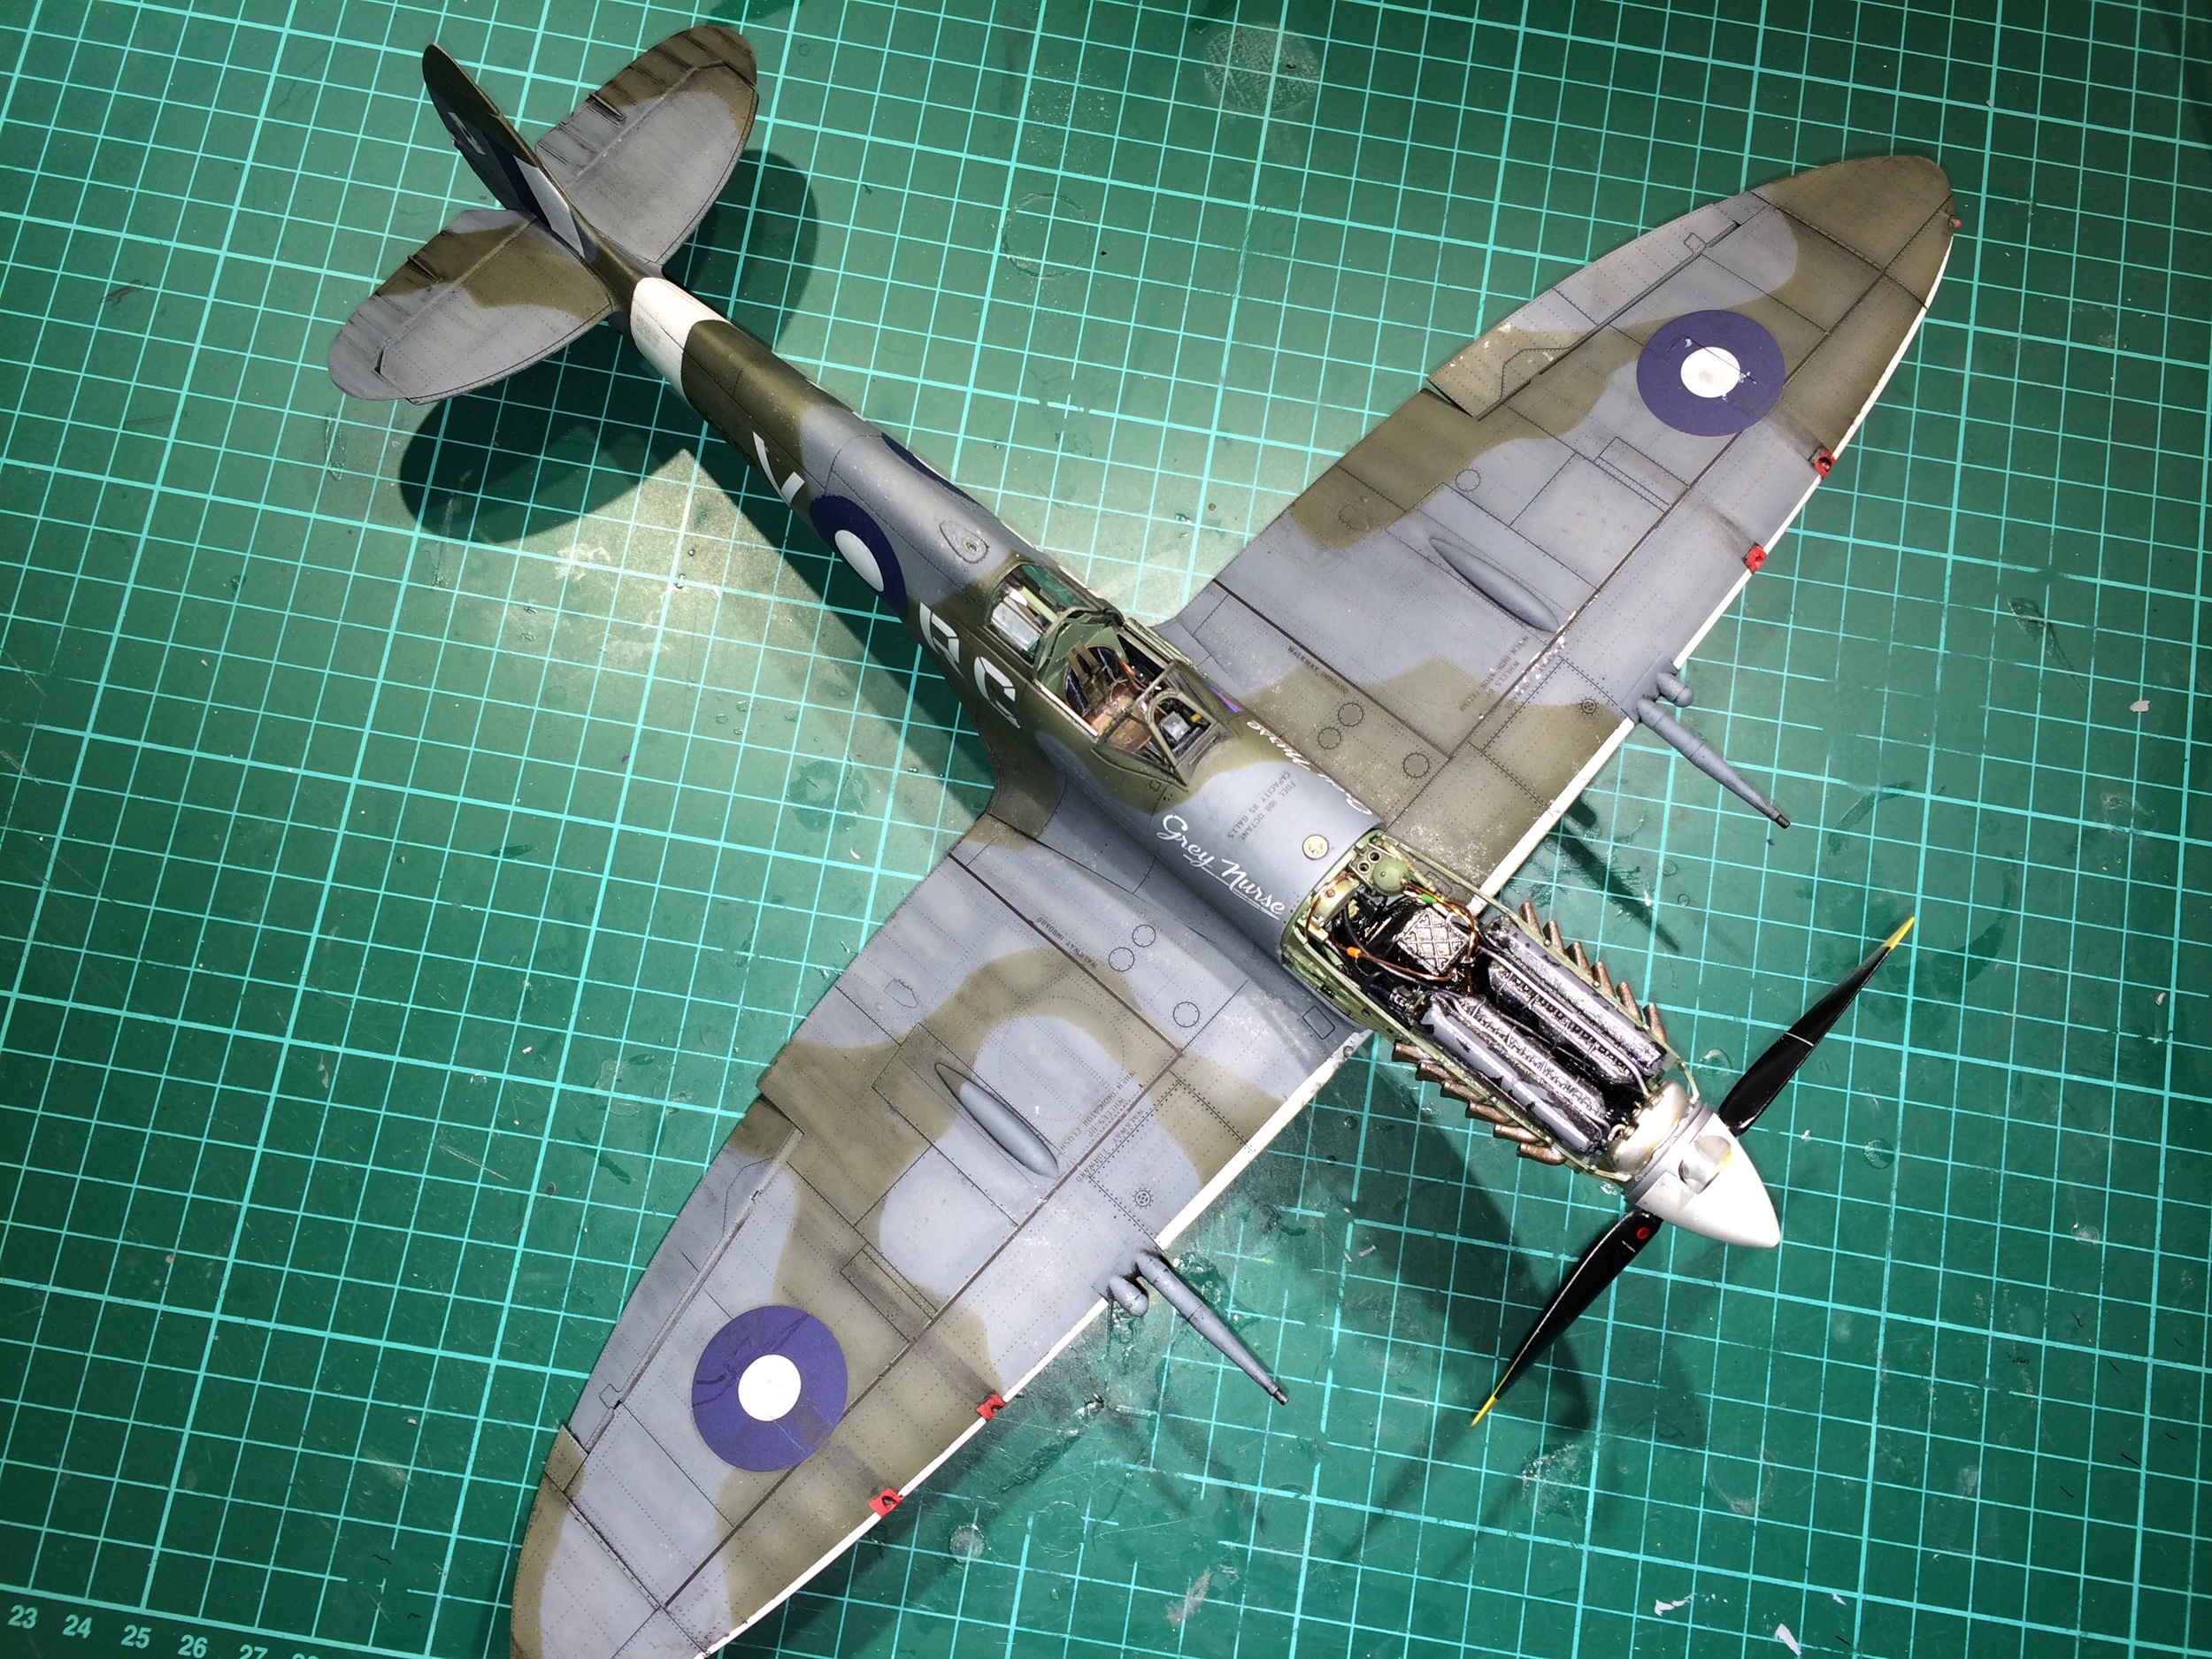

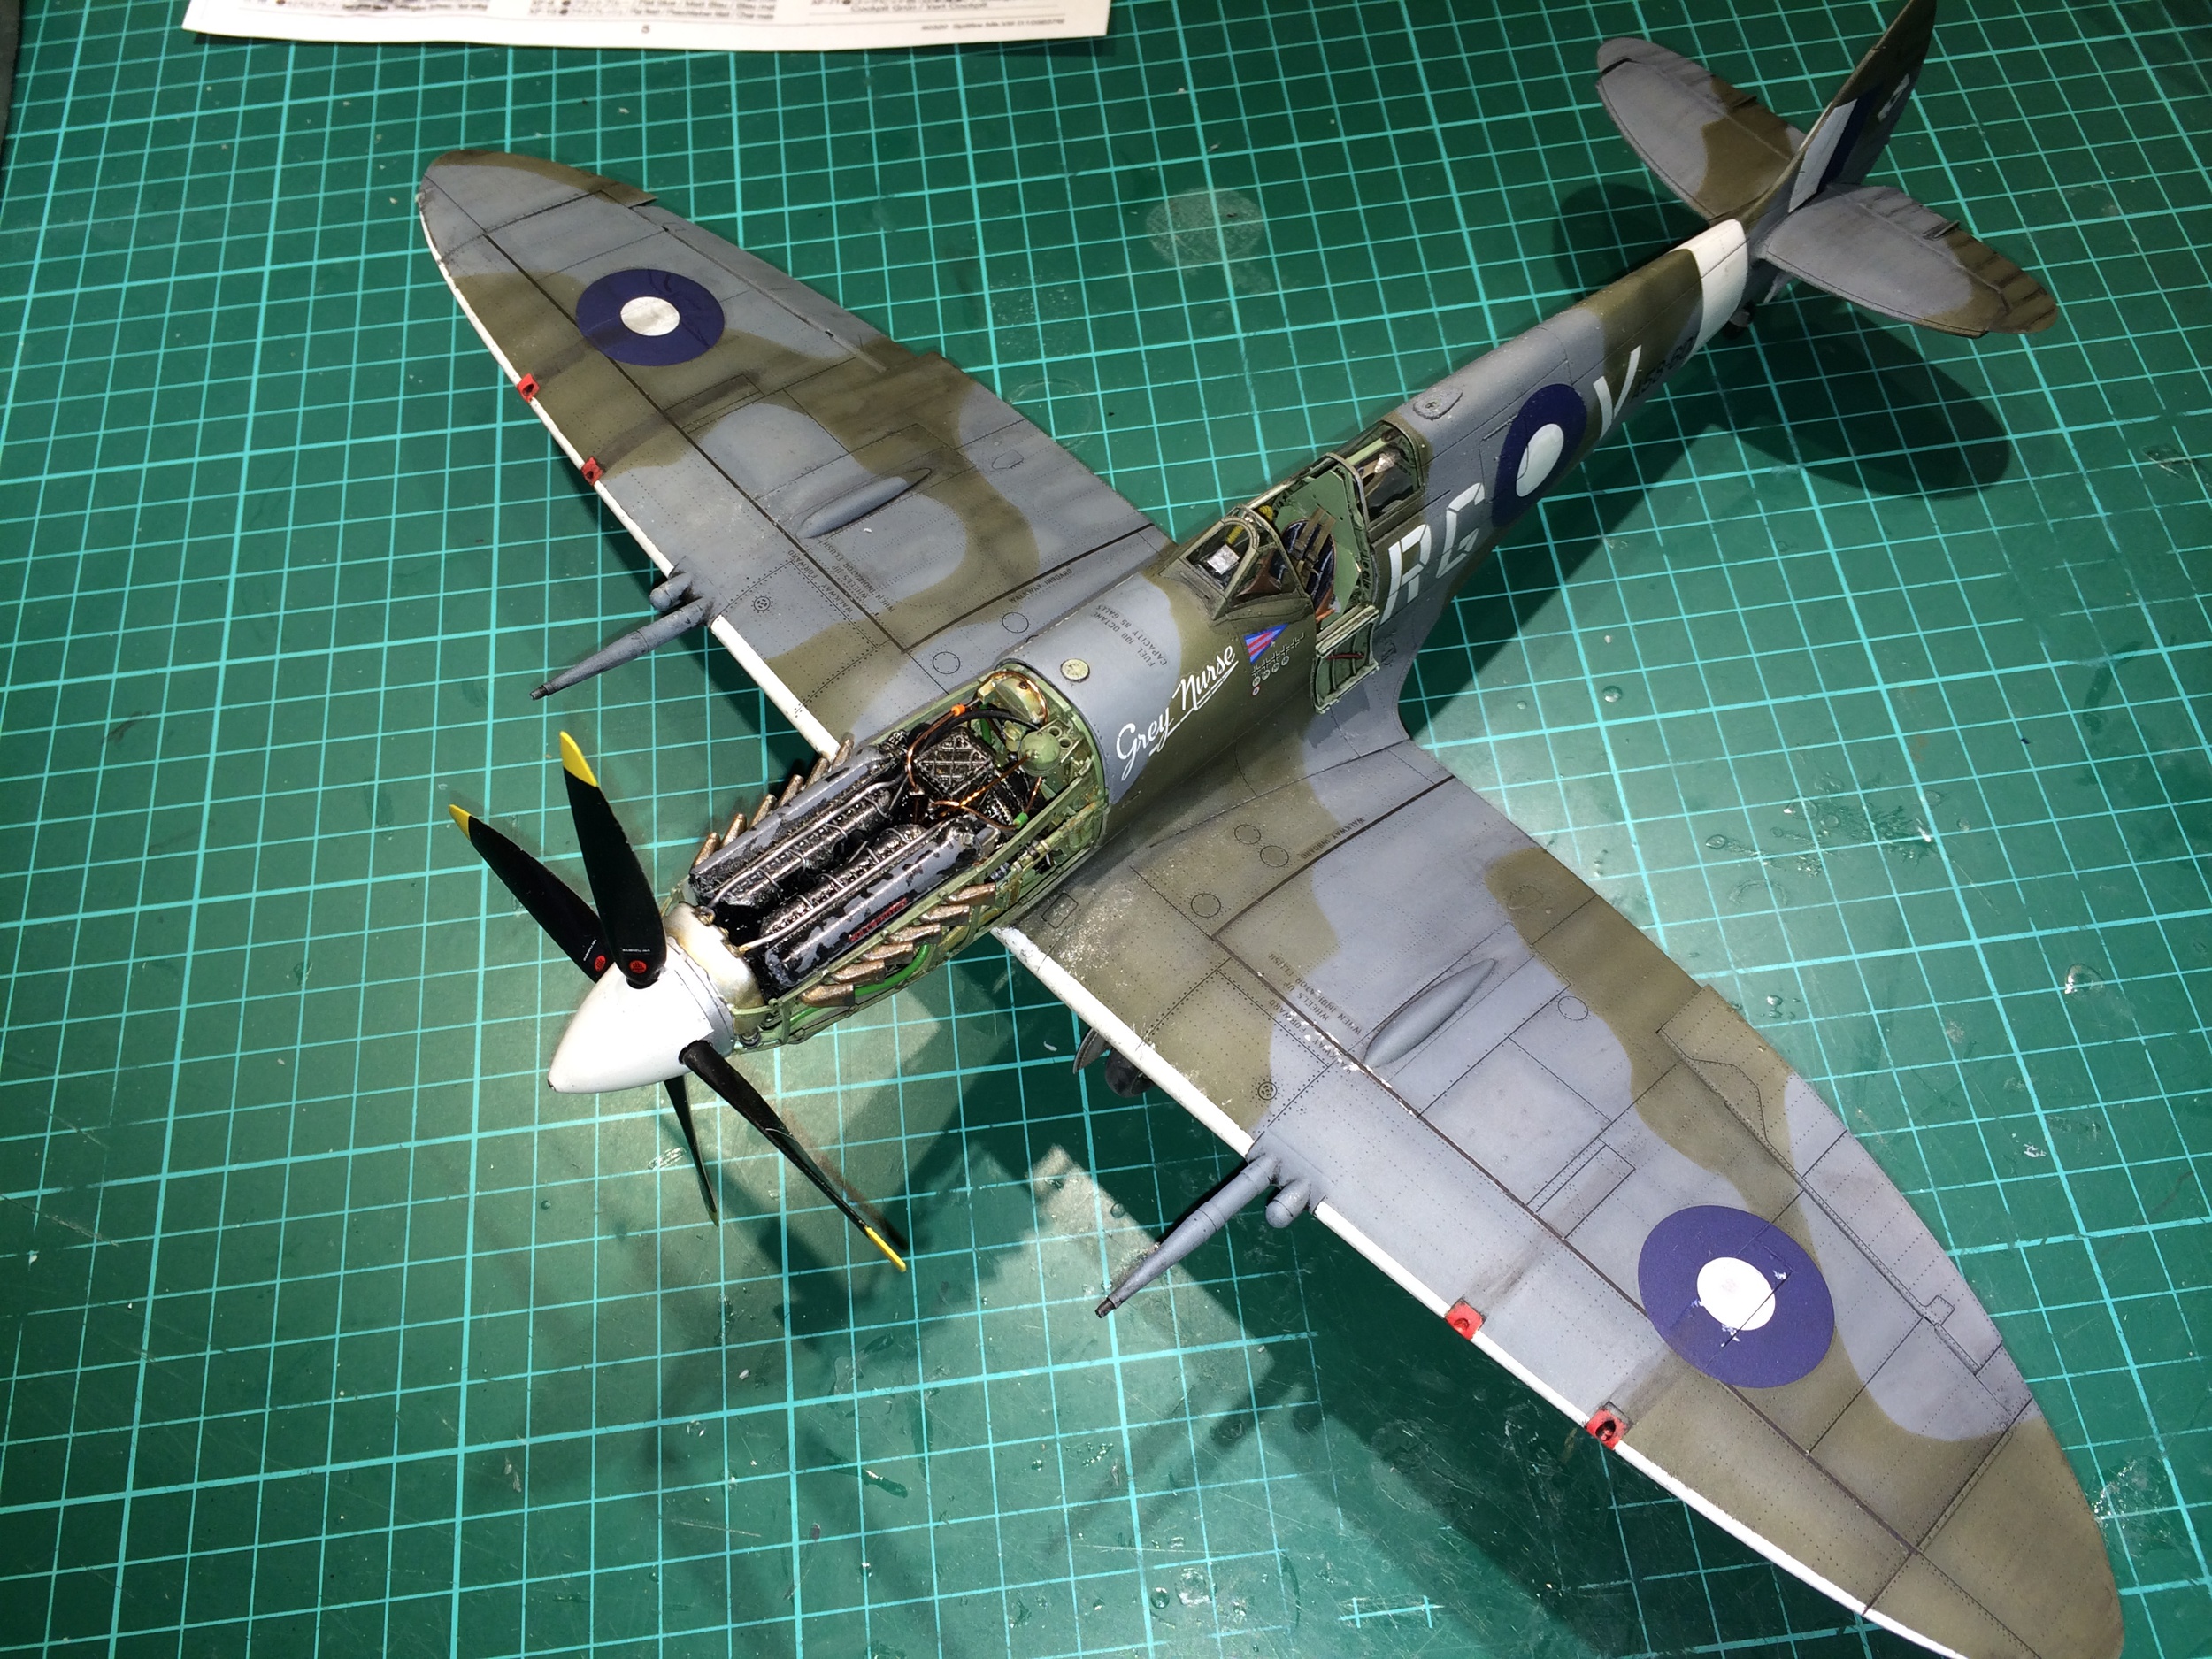
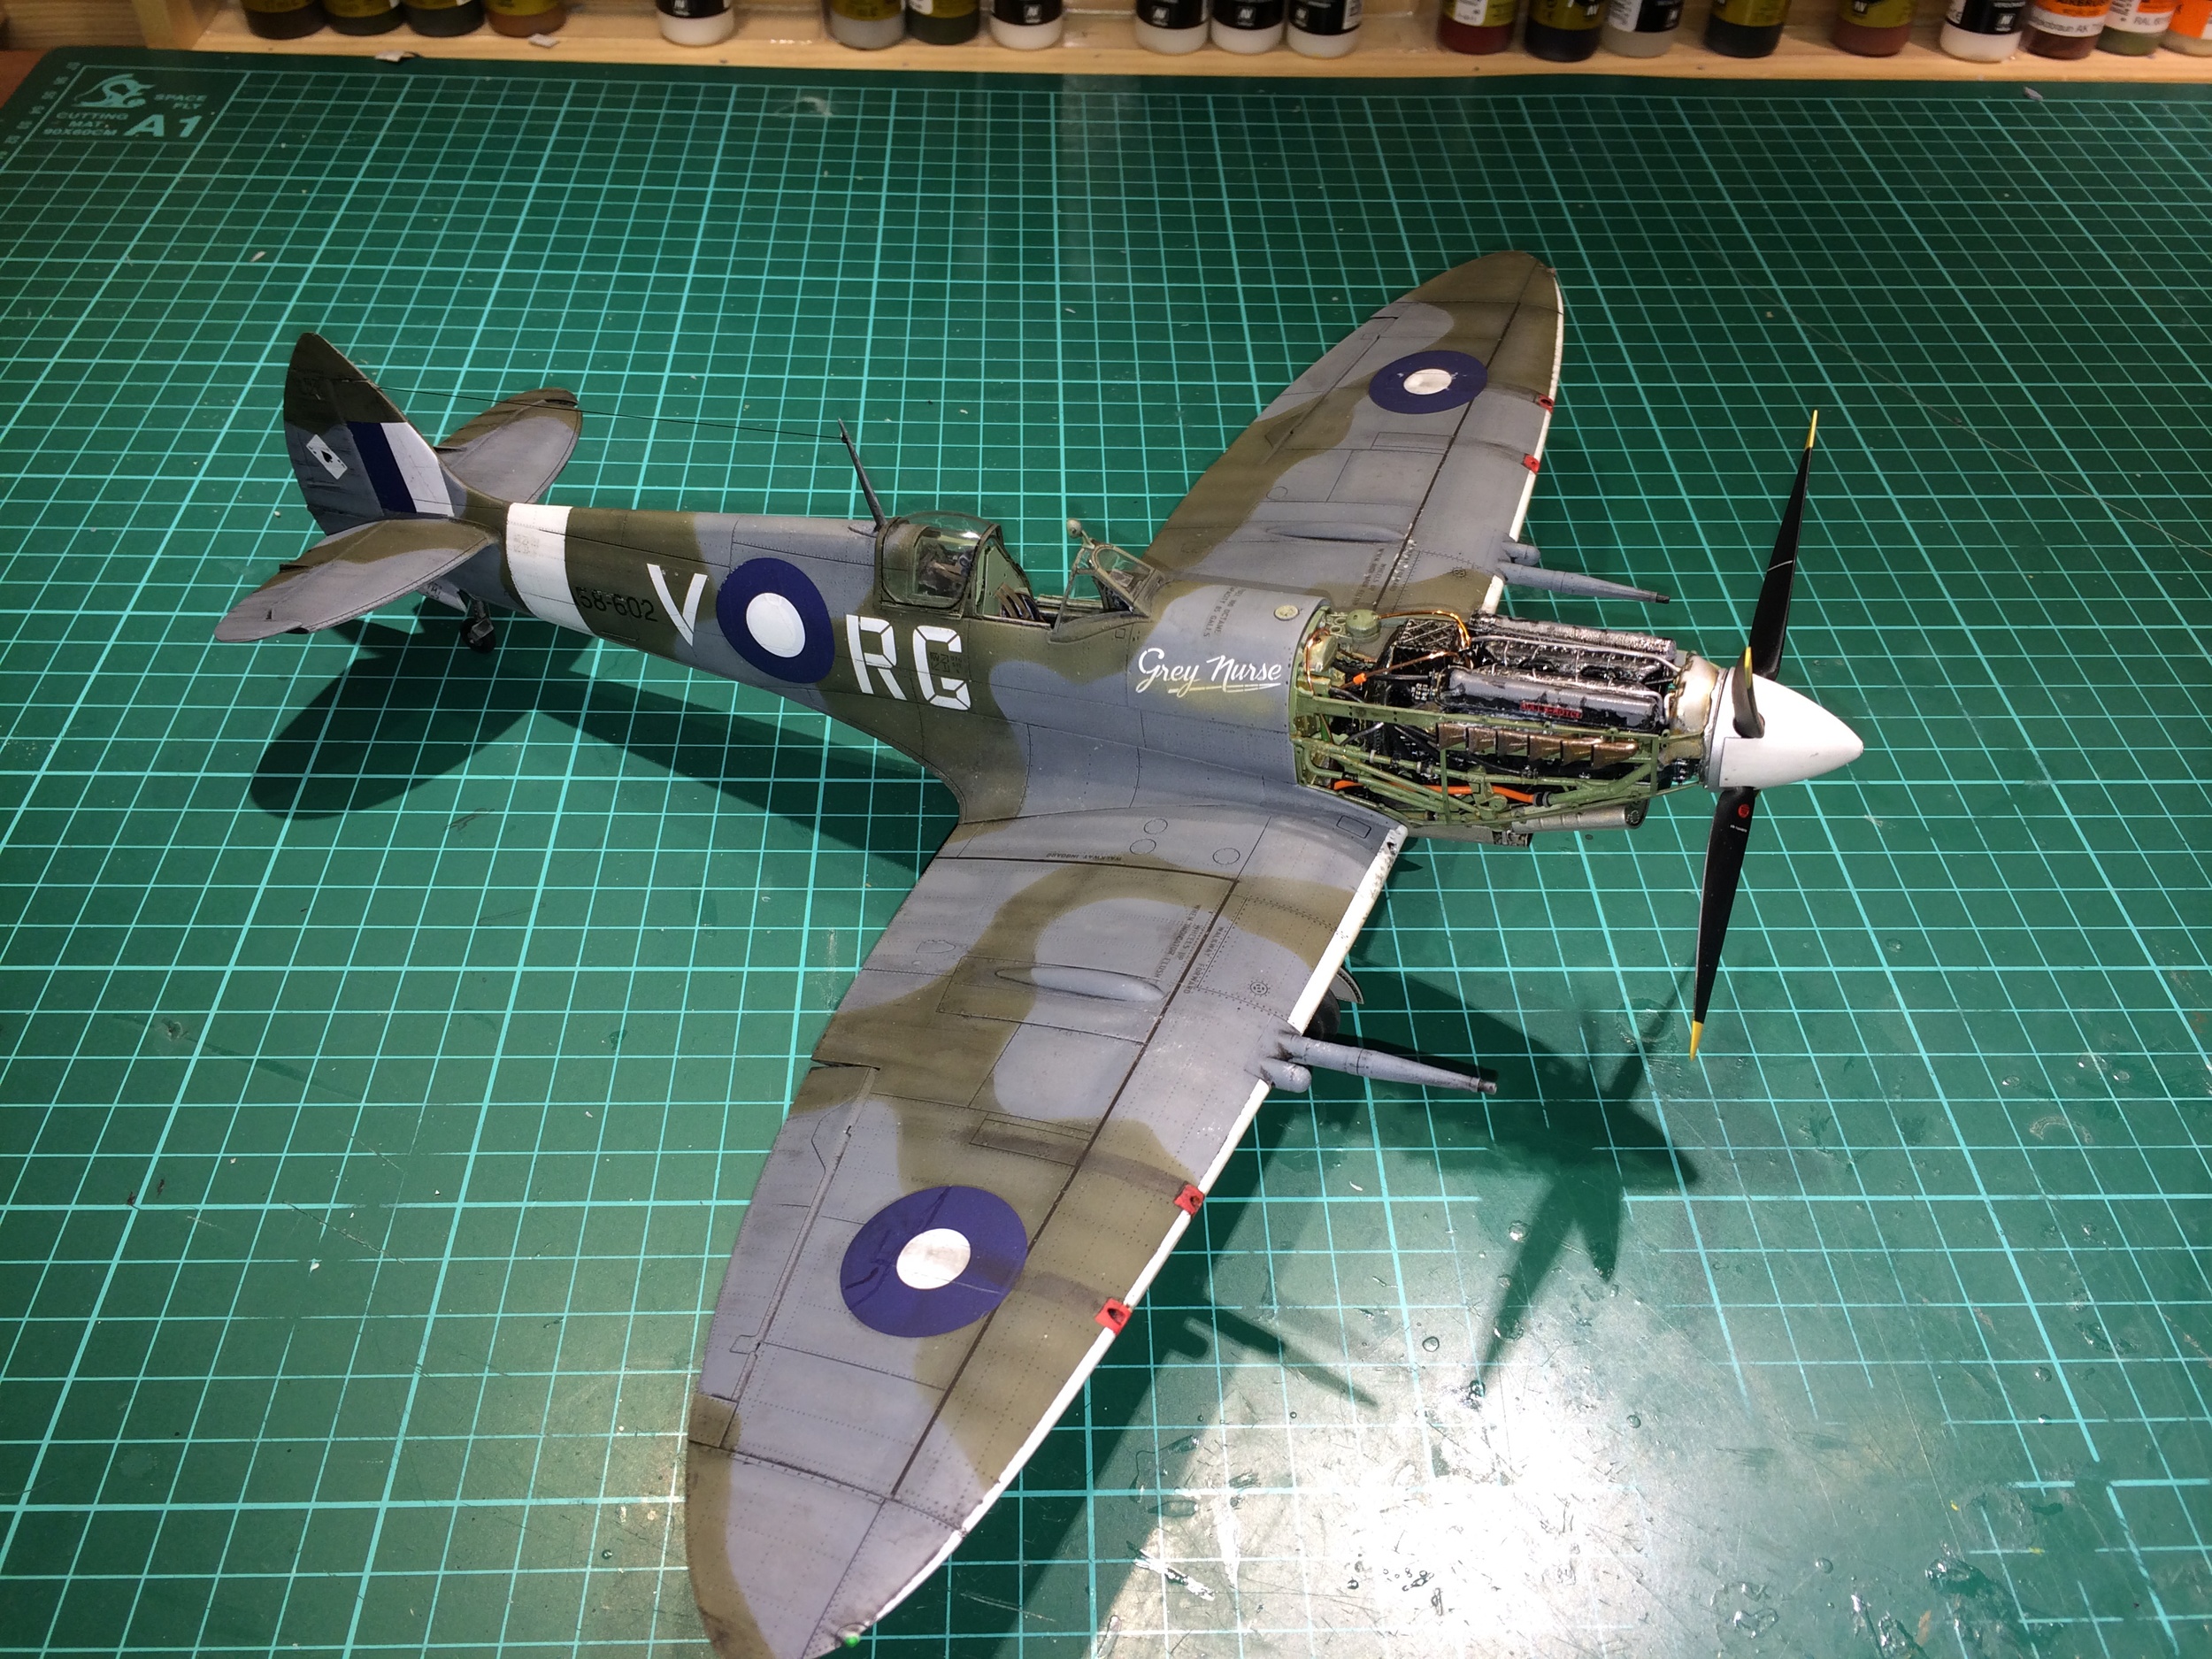
Finished
Engine testing, surprising what you can do with an air dryer

I have been featured in the American Model Magazine, 'Fine Scale Modeler' with my 1/35 Scale Model 'Tiger in the Garden'.
I really appreciate being featured in this magazine as I see it as an open door into the American Model Market. See my feature here in the reader gallery.... http://cs.finescale.com/fsm/m/online/1579873.aspx
I recently attended the IPMS Lincoln & Newark Show at Southwell Racecourse, Nottingham for the second year running. I mainly go to enter into the competitions, but it is also a good day out to mingle with fellow modellers.
I was lucky enough to have my models placed in the following Categories:

F/A-18E Super Hornet "VFA-137 Kestrels"
1st Place - Scale Aircraft Category

Panzer III Ausfg Tank "I've had enough"
1st Place - Military Modelling Category

F-15J/DJ JASDF
2nd Place - Military Modelling Category

Mike Tipping Models, 94 Main Road, Gedling, Nottingham, NG4 3HG | enquiries@miketippingmodels.co.uk